 Day One Fixes
SolvedHow-toUpdated
Queen's Domain: Basic Complete Bestiary Guide
Short answer
A simple guide to the location of all the special enemies.
Steam Community guide by PovKetz.
Introduction and Spoiler Warning
This guide is meant for those who are looking to 100% the Bestiary. It assumes you've already unlocked every single location and have likely already reached Ending 1 and possibly Ending 2.
To start with there won't be any pictures, just location descriptions. But I might add pictures later, assuming a more detailed guide isn't made in the meantime. I'll only go into detail on the location of unique, one of a kind enemies as you're practically guaranteed to encounter the basic enemies if you've played through the game.
Any entries that are BOLD means they're either a secret enemy, a boss/mini-boss, or one of the loot lizards. Either way none of them will respawn.
If you're looking for one of the enemies not given a proper location description, then try and go off which region they're in. Otherwise just leave a comment.
Isle of Neasied (1-15)
- Ratty Bug
- Chicket
- Forest Eye
- Meganeura
- Skeletal Fighter
- Skeletal Archer
- Chilopoda
- Coelacuda
9. Mimic
Found near the base of the center tower, disguised as a chest
10. Star Lizard
11. Shrine Guardian
12. Grave Guardian
In the Cemetery near the side of Deimpo Mausoleum is a small stone structure with a single skeleton inside. Jump around the backside to gain access and flip the lever near the door to reveal a hidden staircase and this enemy.
13. Mossy Golem
On the cliff overlooking the starting beach, where all the Chilopoda are buried, is a mossy stone in the very center. Defeat all the Chilopoda buried in the ground, then Hit this stone a couple times to reveal the Golem. (Might just reveal itself after fighting all the Chilopoda, can't say for sure)
14. White Tree Guardian
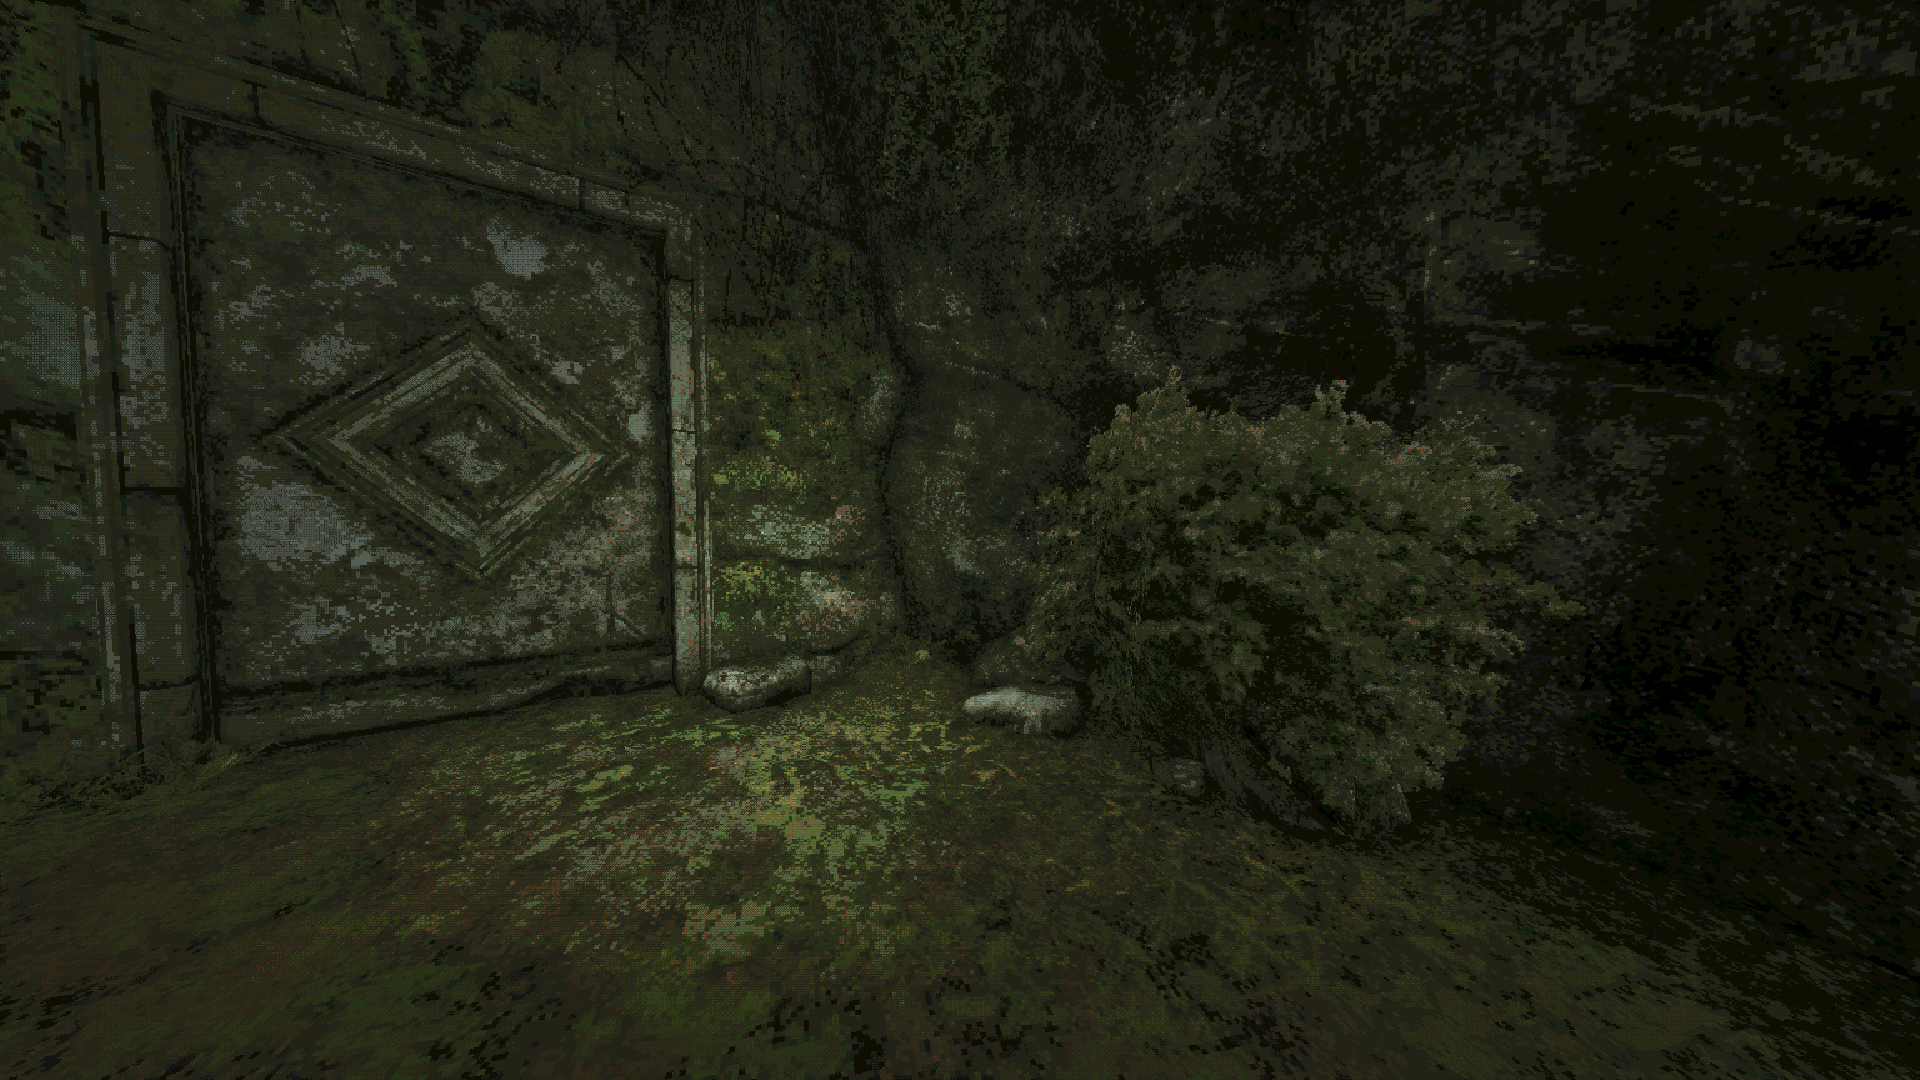
Requires all 5 trident Keys. Found near the area with 2 ratty bugs and the tree with 2 forest eyes on it, To the right of the first dungeon entrance, along the path with the shortcut back to the Deimpo Mausoleum front entrance, is a hidden wall behind a bush. Inside is 3 slots for Trident Keys, then another 2 slots, leading to a room with the enemy inside.
(The bush)
15. Forgotten Sentinel
On the Duck Merchant’s island, towards the east (Backside of the Mausoleum). Needs to be reached by crossing over the water. On the bridge to the Duck Merchant’s shop is where this enemy can be found.
Obmuer Temple (16-35)
- Red Nibbler
- Hardshell Meganeura
- Barnacle
- Skeletal Warrior
- Skeletal Soldier
- Skeletal Arbelist
- Homopiscium
- Toxic Homopiscium
- Glaucusion
- Baleful Chilopoda
26. Yepo of the Royal Orbewa Guard
27. Erda of the Royal Orbewa Guard
28. Wami of the Royal Orbewa Guard
29. Aquatic Star Lizard
30. Dagoom the Sea King
31. Toxic Serf - Homopiscium Priest
33. Rotten Thorny Gape
Inside the temple, in the area with the 3 Royal Orbewa Guard mini bosses. Go to the far back wall on the lower side. There's a hidden wall right before heading up the slope to dry ground
34. Flesh Gargoyle
Located on the top of the island right above where the fish woman Erma resides. Near the pointed rock with cloth spiraled around it.
35. Treacherous Sea Prince
Requires delivering every single Orbewa Egg to Erma. After leaving her alone for a while, upon returning this enemy will be present.
Tower of Knowledge (36-56)
- Book Bug
- Grand Book Bug
- Cultic Book Bug
- Gargoyle Warrior
- Gargoyle Arbelist
- Pus Bag
- Crawler
- Candle Crawler
- Poltergeist
- Manticore
46. Iron Star Lizard
In the open center area of the tower, roughly halfway up, is a very noticeable platform with a circle of candles. In the center of the candles is this enemy
47. Learned Star Lizard
48. Necronomicon
49. Skeletal Executioner
50. Necrotic Baphomet
51. Necrotic Eye of Balor
52. Necrotic Bael - Necrotic Shambler
54. Docile Gargoyle
On the exterior of the tower, near the wing portal, is a series of gargoyles. Near the food dish, one of them has a pile of books in front of them and is wearing a Monocle. Hit it a couple of times to make it hostile
55. Bones of Archivist Inha
Immediately after the trap door, go up the stairs then turn around and jump over the stairs to the ledge above, where a hidden wall gives way to reveal a small dungeon area with Pus bags and the enemy
56. Brass Drilling Unit
Requires the Flying Mushroom Fossil. Located at the top of the tower, underneath the giant bell.
Deimpo Mausoleum (57-77)
- Giant Spider
- Giant Bat
- Venerable Skeletal Mercenary
- Venerable Skeletal Knight
- Venerable Skeletal Marksman
- Chattering Skull
- Grave Eye
- Impaler
- Wheel Dancer
- Azure Crawler
- Golem
68. Wandering Stalker
Right beneath the group of injured knights with the supply chest. There will be an invisible enemy
69. Ujji's Reanimated Corpse
After beating the Mausoleum boss, finding the supply chest key, or progressing far enough(?), return back to the small group of injured knights
70. Grave Star Lizard
71. Poenir, Rotten Wings of Despair
72. Duenir, Depraved Horns of Agony
73. Noble Sentinel
On the roof of the Mausoleum
74. Bound Spiker
Inside the spider cave there's the stone column that rises up and down. When it's fully risen, there's a small space to slip inside, acting as an elevator that you can ride down into a hidden room where this enemy resides
75. Wodaso's Temple Keeper
Requires the Cube Throwable. In the massive chamber with the 3 huge pillars of stone cubes. On each of these pillars at varying heights will be a button. Throw the cube to hit these buttons and activate the 3 torches, revealing a hidden chamber
76. Metallic Pus Bag
Right before the room with the Mask of 2nd Sight and the entrance to the Boss fight, there's a upper area with silvery goop oozing out. Use the pile of rubble to the side to climb up then air dash inside - Bone Machine
Requires the Flying Mushroom Fossil. In the safe temple-like area with the green stained-glass windows and all the nature. Fly up to the circle of windows up above, where one of them is broken. Slip inside to reveal a spaceship and the enemy
Ancient World (78-100)
- Sapphire Rhino
- Ungulacrita
- Scarlet Watcher
- Ochre Coelacuda
- Vermilion Homopiscium
- Sepiicanis
- Nautigallus
- Dolomite Golem
- Viscous Thorny Gape
- Ancient Pail Chopper
- Ancient Aegus Wing
- Ancient Drilling Unit
- Ancient Mecha Knight
91. Ghost Manticore
92. Raging Star Lizard
To the immediate left of the big metal bridge to Siraatsu Castle is a cliff with Sepiicanis on it. You'll see the bubbles. Climb up the cliff or drop down from above from the upper fish pond area to find the enemy right up against the side of a cliff
93. Deep Star Lizard
94. Ancient Besom Cutter
95. Josami Lord Saijha
96. King Upobna
Near the upper(Not the Lower) Fish pond. There's a series of fliers on the cliff wall with a crudely drawn fish man on them. The empty space between these fliers has a hidden wall, hinted at by the fliers on the ground.
97. Strange Explorer
Deliver all 10 Data Modules to the scientist, then leave/rest and return later to trigger the fight with this enemy.
98. Arch Sepiicanis
Found in the underground Lab located on the separated island with 1 of the 3 signal towers. The same lab with the shock rifle. Inside the room where you drop down from the vents is a hidden wall behind some boxes, right next to the food platter. behind this wall is the enemy
99. Furtive Nautigallus
On the separated island with 1 of the 3 signal towers, up on a cliff near the piles of scrapped robots and the save crystal.
100. Aureate Ratty Bug
Right above where you enter the Ancient World for the first time. Up on the cliffs out in the open
Siraatsu Castle (101-124)
- Pail Chopper
- Aegis Wing
- Drilling Unit
- Mecha Knight
- Besom Cutter
- Auger Impaler
- Fated Wheel Dancer
- Josami Berserker
- Josami Sentinel
- Agate Thorny Gape
- Tourmaline Chromobula
112. Regal Star Lizard
113. Drilling Unit X
114. Besom Cutter Pro
115. Duke Obetda
116. Duchess Ubhaer
117. Ritual Blood Tauropod
118. Ritual Blood Stalker
119. Queen Siraatsu
120. Enraged Queen Siraatsu
2nd Phase triggered by fighting Queen Siraatsu using the True Holy Sword Akunra - Soul of Sipeha NOT REQUIRED FOR 100%. Spoilers for Endings
Triggered by fighting Queen Siraatsu using Okbujo's Judgement
122. Albino Bookbug
Found in the storage room near the room with the big table full of food and the bar. The note behind the bar hints at what the enemy is. Attack the book in the storage room
123. Gilded Pus Bag
Behind a hidden wall in the hallway with all the bedrooms on the 2nd floor. Almost directly across from the doorway into the room with the 2 drilling Units, a console and a chest against the back wall.
124. Cosmic Bones
Found in the 2nd area where you go down a one way drop into a big open room with oil/water inside. The same room that has all the piles of robot scraps and the flying Tourmaline Chromobulas. Immediately after dropping down, fly across the oil to the empty platform to the right. There will be a hidden wall.
Assorted Dungeons + Verdant Hollow (125-155)
This is probably the most messy section of the Bestiary, containing an assortment of monsters spread throughout multiple small dungeons and also some that show up in later areas like Verdent Hollow. This includes the Dungeon beneath the caves beneath the Tower of Knowledge, the Dungeon by Obmuer Temple, and the Forgotten Dungeon
[D1] The Tower of Knowledge dungeon is reached by clearing up the flesh bits in the cave area then progressing further down
[D2] The small dungeon near Obmuer Temple is reached by going left instead of right(the entrance to Obmuer Temple) when you reach the fish statue, allowing you to drop down onto a small cliff with a food platter, then continuing left into the dungeon area.
[D3] The Forgotten dungeon is the only named location that has no teleport. It's reached primarily by traveling along the bridge connecting the Tower of Knowledge and the Deimpo Mausoleum and jumping over to the circular tower structure and falling down into a small cave/dungeon area, then falling MUCH further down into the Forgotten dungeon proper. For clarity this will be the sub and main respectively.
125. Mechanical Spider
126. Dappled Giant Bat
127. Putrid Chicket
128. Shrouded Crawler
129. Thorny Gape
130. Stygian Barnacle
Completely separate from the entries around it, found at the top of the Tower of Sin in a lush forest area. It shoots inky black balls at you.
131. Black Skeletal Reaper
132. Black Skeletal Butcher
133. Black Skeletal Gunner
134. Obsidian Golem
Found in the more cavernous section of the Forgotten dungeon with the pools of blood water. In this section you'll find a cave entrance that's very low towards the blood water. Entering inside there will be some candles and a few pots. This is where the Golem appears.
135. Sparkle Bug
locked in a cell within the main part Forgotten Dungeon.
136. Scarlet Mimic
Found in the small dungeon ABOVE the Forgotten Dungeon. go up until you find a room filled with Occultists and spiders, with a single chest and bars on the windows looking out at the Tower of Knowledge. There's a broken section of floor you can drop down to with another "chest" to loot.
137. Gleaming Star Lizard
138. Occultist Josami Warden
139. Occultist Josami Templar
140. Fanatical Star Lizard
141. Lost Sentinel
142. Black Skeletal Witch Husipo
Found in the main part of the Forgotten Dungeon.
143. Cursed Skull
Spawned by the Witch Husipo when you fight her
144. Blood Angel Lord Yuumed
145. Blood Angel Lord Woyeki
144 and 145 are together. Requires the Blood Angel Josami Key which is earned after going through the blood ritual gauntlet found inbetween Verdent Hollow and Rotting Cavern. It's a big circular pool of bright red blood. Very hard to miss. After getting the key, go down into the Forgotten Dungeon main area and stumble around until you find a big red door to use the key on.
146. Manticore Cultist
147. Orphic Ungulacrita
148. Mystic Watcher
149. Forest Walker
150. Pale Nibbler
151. Ghost Coelacanth
Found swimming around the big lake in Verdant Hollow. Very hard to miss as it glows bright blue
152. Huge Rotting Bat
Found within the Rotting Cavern, right behind the door that requires the 4 black triangle pieces to open. Will be inside the room with the snake statue
153. Dragon Lord Usunha
154. Malachite Dragon Wujomiod
153 and 154 are together. Found behind the massive door with 8 green torches surrounding it, inside the temple in Verdant Hollow, You'll have to take the lens inside the temple then use the Mask of 2nd Sight and find all 8 statues holding the circular disk to open the door.
155. Vespula Ungulacrita
Wandering around the forest area of Verdant Hollow, specifically in pretty much the exact middle of the region. Very hard to miss. Check the cliff near the section of collapsed bridge
Rotting Cavern (156-171)
- Vile Serf
- Pungent Shambler
- Noxious Glaucusion
- Fetid Meganeura
- Rotten Homopiscium
- Perverted Mass of Warped Flesh
162. Depraved Mass of Charred Flesh
Found floating around inside the sewer-like dungeon in the center of the Rotting Cavern
163. Rotting Eye
Inside the sewer-like dungeon, specifically down the tunnel where the turquoise turtle switch was located, on the right side of the tunnel is a hidden wall with this enemy waiting behind it.
164. Jejano The Forgotten
Up on the center island part of Rotting Cavern above the sewer-like dungeon, in the small set of ruins, there's a closed doorway sitting randomly on the side of the cliff. Next to it is a small bell that needs to be hit with a throwable weapon, opening the door and revealing the enemy inside
165. Gigantic Serf
Keep walking around through the rotting water to bait the big fish into attacking you
**166. Blood Angel Berserker - Blood Angel Sentinel
- Blood Angel Warden
- Blood Angel Templar
- Ritual Blood Chromobula**
166 through 170 are all fought during the blood ritual Gauntlet, found in the big ruins in-between Verdant Hollow and Rotting Cavern
171. Irdunuub, Priestess of Jigeki
Found behind the locked door in Jigeki's temple in Verdant Hollow. You'll need all three key pieces to enter inside. Obtained by killing the Gigantic Serf, found in a cave under the big metal bridge to Siraatsu castle, and in the hidden Chamber found by going into the spider caves of the Mausoleum and going to the section of the stone elevator that moves up and down, waiting for it to go all the way up, revealing a small pocket you can step inside and ride down to the chamber
Record of Sin (172-181)
- Lost Book Bug
- Mystic Book Bug
- Champion Keeper
- Vigilant Keeper
- Eye of Silver
- Beryl Chromobula
- Tauropod
176 to 178 won't spawn until after the boss Herald of Okbujo is activated/defeated - Stalker
180. Raw Glaucusion
In the basement area of the Tower of Sin, where you collected the 3 blue orbs. In one of the stalker cave areas you reach by going through the broken walls, there's a hidden wall that reveals the Raw Glaucusion. Specifically the cave area to the left, not the right. The one that lets you drop down to the left or right. Go through the hole in the wall, then slightly to the left of the blue plant roots will be the hidden wall.
181. Herald of Okbujo
Petrified Garden (182-188)
- Living Stone Skeleton
- Living Stone Chilopoda
- Living Stone Homopiscium
- Living Stone Spider
- Living Stone Crawler
187. Epha Mimic
188. Lost King Ojjama
182 to 187 won't be active/reachable until you've defeated Lost King Ojjama and slotted all 5 trident pieces into their proper color-coded slots, with the colors represented by the different gem colors of the 5 statues around the world.