 Day One Fixes
SolvedHow-toUpdated
Queen's Domain — 100% Walkthrough, All Endings, Weapons & Bestiary
Short answer
A complete 100% route from the shipwreck to Siraatsu Castle and all four endings, with maps, recommended character and weapon levels, and chronological achievement callouts. Includes reference tables for melee and throwing weapons, accessories, consumables, key items, mementos, treasure, permanent…
Steam Community guide by Digitol.
━━ MAIN WALKTHROUGH — START TO CREDITS ━━
Follow these sections in order for the full 100% route from the opening area to the credits.
Start Here — What 100% Means

Spoiler warning
This is a start-to-credits completion route. It names every major late-game branch, the four endings, the lenses, the garden ritual, and the two final weapon paths.
How to use this guide
Start with the 100% Roadmap, then use each region page when you are actually standing in that area. The route stops being strictly linear after the first Castle pass, so a locked side branch is usually a note for the listed return trip—not a reason to comb the map for an answer right now.
- Keep one continuing save. The four endings are best handled as a sequence, not as separate fresh runs.
- Use the in-game Challenges menu after each major return trip to track treasure, secrets, enemies, and regional work.
- Keep special keys, lenses, eggs, books, seals, meal tickets, and skulls. These are progression or completion items, not vendor clutter.
- If a path is out of reach, mark it and return after the required movement, lens, or weapon upgrade.
How to read the route maps
These are directional route schematics, not extracted 3D floor plans. I currently have no way to extract a usable 3D map from the game, so each chart is laid out to match the in-game compass and the relative direction between areas: north is up, with north-east, north-west, south-east, and south-west connections shown where appropriate. The numbered panels are the recommended traversal order for a first pass; arrows show the intended route rather than exact walking distance. If I find a way to get more specific maps I will add them no doubt.
Guide convention
Each numbered step starts with the sightline that should confirm the location, then tells you what matters there. “Main route” advances the story. “Cleanup” is a deliberate return after the named movement tool, key, or quest state; it is not a cue to exhaust every locked door on the first visit.
Guide markers
LANDMARK — the visual cue that confirms you are at the right place.
RETURN LATER — a specific movement tool, key, or quest state is still required.
CHECK BEFORE LEAVING — a rare encounter or easy-to-forget pickup on the current pass.
ENDING LOCK — make and preserve a manual backup before the named decision.
At a glance
Main path: Isle of Neasied → Obmuer Temple → Tower of Knowledge → Deimpo/Mausoleum → Peha/Puwema → Ancient World → first Siraatsu pass → Wodaso/Record of Sin → Verdant and Rotting returns → Petrified Garden → Jigeki and seals → final Puwema → final Siraatsu → endings.
Return pass: Use the Roadmap ledger for air-dash gaps, the split Puwema/lens branches, NPC hand-ins, Garden cleanup, Jigeki, and seals.
BACKUP: Make Backup A before the first ending choice.
100% Roadmap - Exact Region Order
The one-pass 100% route
Use this order for a first clear that still keeps the long-term checklist intact. Several collection branches are deliberately split between an early visit and a later return, so a blocked door is usually a route note rather than something you are expected to solve immediately.
- Isle of Neasied: Knight's Encampment — Dagger Belt — Underground Dungeon — Endu Shrine — first two Wind Gems — Azure Torch — beacon #1 — Aganmi's Camp.
- Obmuer Temple: four slates — Trident keys — Wind Gem #3 — royal guards — Dagoom — Erma/Egg quest — beacon #2 — final Isle beacon.
- Tower of Knowledge: Executioner — basement loop — Occult Spear/Knives — window lever/Wind Rapier — Wourha — Storm Gem — Necronomicon — Acid Vial — Skull Rod.
- Deimpo and Mausoleum: establish monuments — Mausoleum weapons — Wind Gem #4 — Peha's first Puwema Lens — Knight Expedition Key and Puwema runes.
- Sealed-door and Ancient World thread: Poenir and Duenir — King Gius Abraon — Ancient World — Ossi's 10 Data Modules — Data Centers/seal breakers — Lord Saijha — Siraatsu Castle.
- First Siraatsu pass: explore the Castle and make Backup A before Queen Siraatsu's first choice. The first result returns you to the island and opens the late cleanup circuit.
- Post-castle return run: Wodaso Lens — Record of Sin/Herald — Verdant Hollow — Rotting Cavern and Blood Angel ritual — Sipeha Lens — Petrified Garden.
- Obmuer and seal returns: four-tiara display — three Jigeki key pieces — Muagyo's Congregation/Jigeki Lens — eight Sipeha Seals.
- Final Puwema and weapon route: Temple Puwema gatekeepers — true Akunra or the alternate late weapon path — final Siraatsu return.
- Endings: preserve Backup A — take Endings 1–3 — reload each time — then complete Garden-gated Ending 4.
At every monument
- Use a monument as a deliberate checkpoint after a boss, named key, Wind/Storm Gem, lens, seal, permanent-stat meal, or unique weapon.
- Before fast-travelling away, compare the area with its Bestiary and weapon entries.
- Do not sell named weapons, lenses, keys, figurines, skulls, eggs, seals, or quest drops.
The detailed region chapters below expand each numbered stop. If you hit a locked route, check the named later-return condition in that chapter instead of skipping the entire region.
Isle of Neasied — Step-by-Step Route
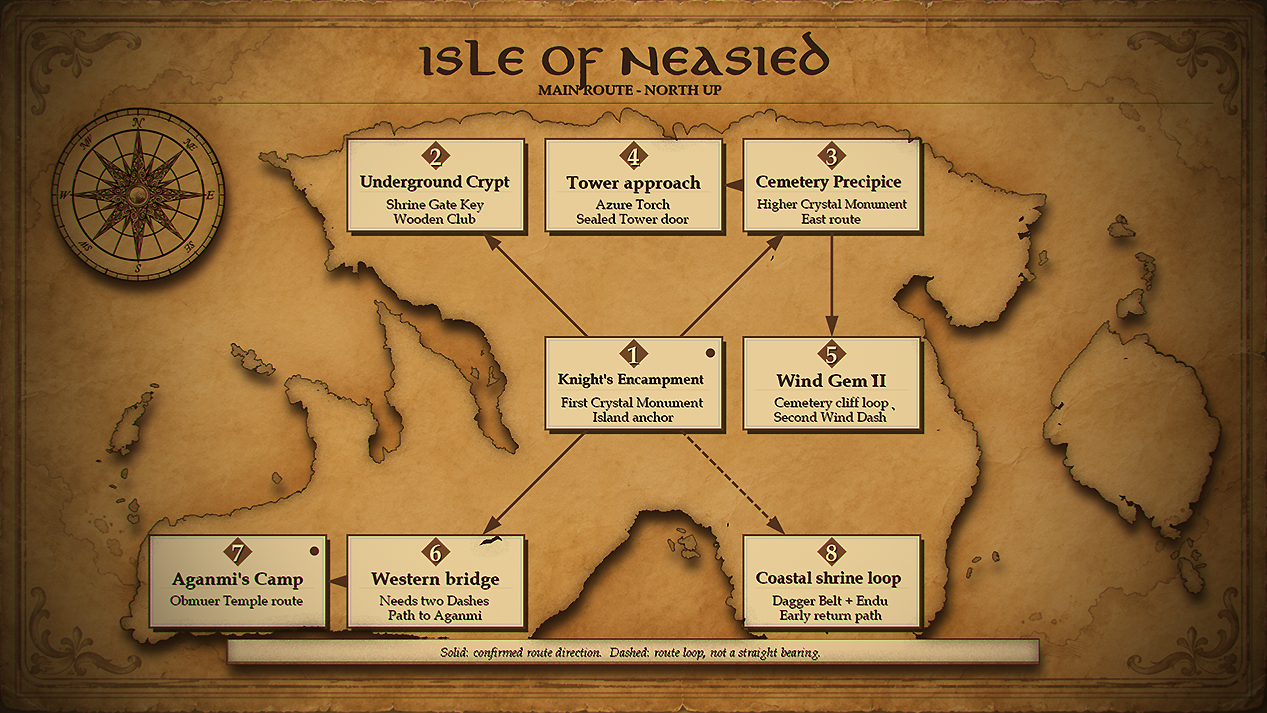
The first island pass
Take the numbered route from the beach to Aganmi's Camp. This first visit is about building a dependable kit: make the Dagger Belt coast, Underground Dungeon, and Endu Shrine your priority, then leave anything that clearly needs more air dashes for the marked return.
Route goal
This pass should leave you with Holy Sword Endu, the Azure Torch, two Wind Gems, the useful early throwables, the easy permanent-stat food, and beacon #1 lit. After Obmuer grants the third dash, circle back for the Orbewa Egg and final Isle beacon. RETURN LATER: those are movement-gated pickups, not things you missed.
1. Knight's Encampment: establish your kit
- From the beach, climb the northern/right slope to the wooden barricade and Commander Ekonta’s camp. Take the Rusted Short Sword.
- Loot the Dried Herbs behind Arjaot; break the crate behind Ekonta for 3 Elirix; collect the herb left of the breakable barricade.
- Break the barricade and activate the Knight's Encampment Crystal Monument; it is your first Isle return anchor.
- Use the left stairs and pull the first Ratty Bug back down before fighting it. Leave the Forest Eyes until you have the Dagger Belt.
2. Dagger Belt, Spear, and dungeon key
- Go uphill, take the first right through the rock gap, then right again. Run through the Ratty Bug/Forest Eye stretch to the two small islands. Jump to the far island for the Dagger Belt. It gives three recharging Throwing Daggers; a dagger drops Forest Eyes immediately.
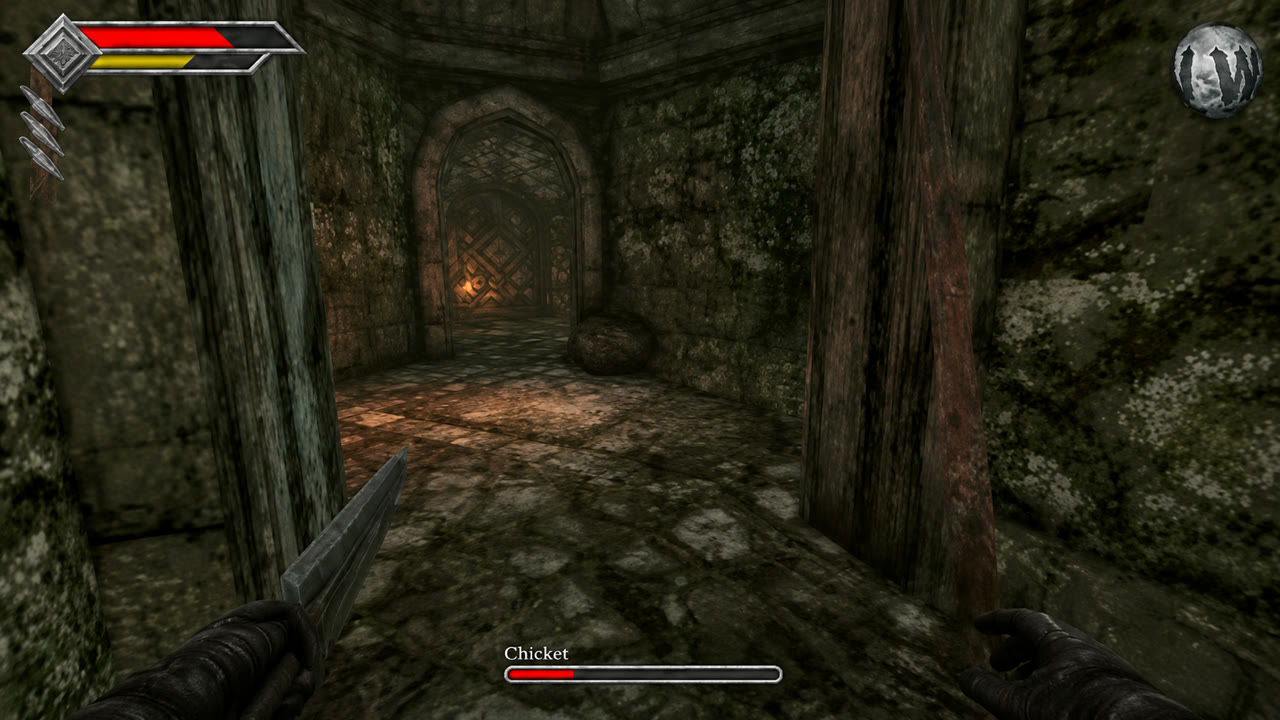
- Fight back toward the tower. Kill the Chicket, use daggers on the Forest Eyes, and keep Chilopoda at range to avoid poison. In the tower chest, take the Rusted Spear (Pierce; its special moves you backward).
- From the tower area, climb northwest. At the drop, clear the Forest Eyes and descend. Throw a dagger into the diamond socket to open the nearby cave door. Pick up the Ancient Coin by the skeleton and break the containers.
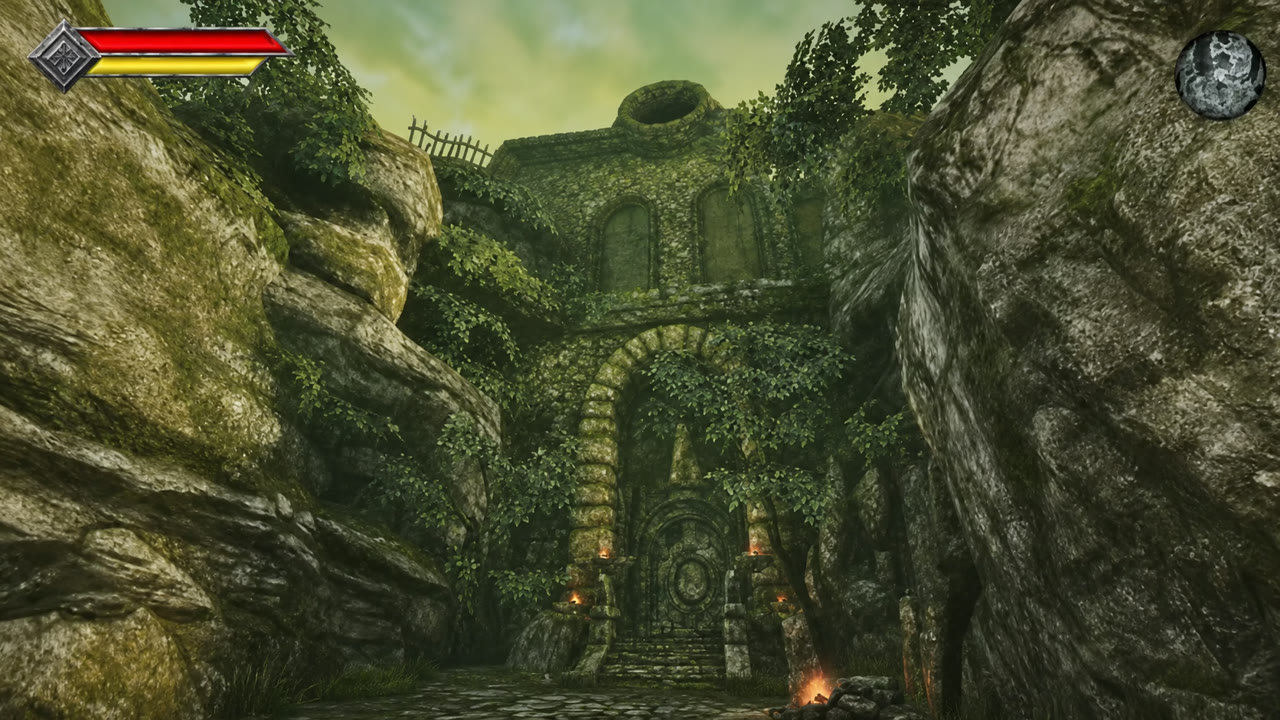
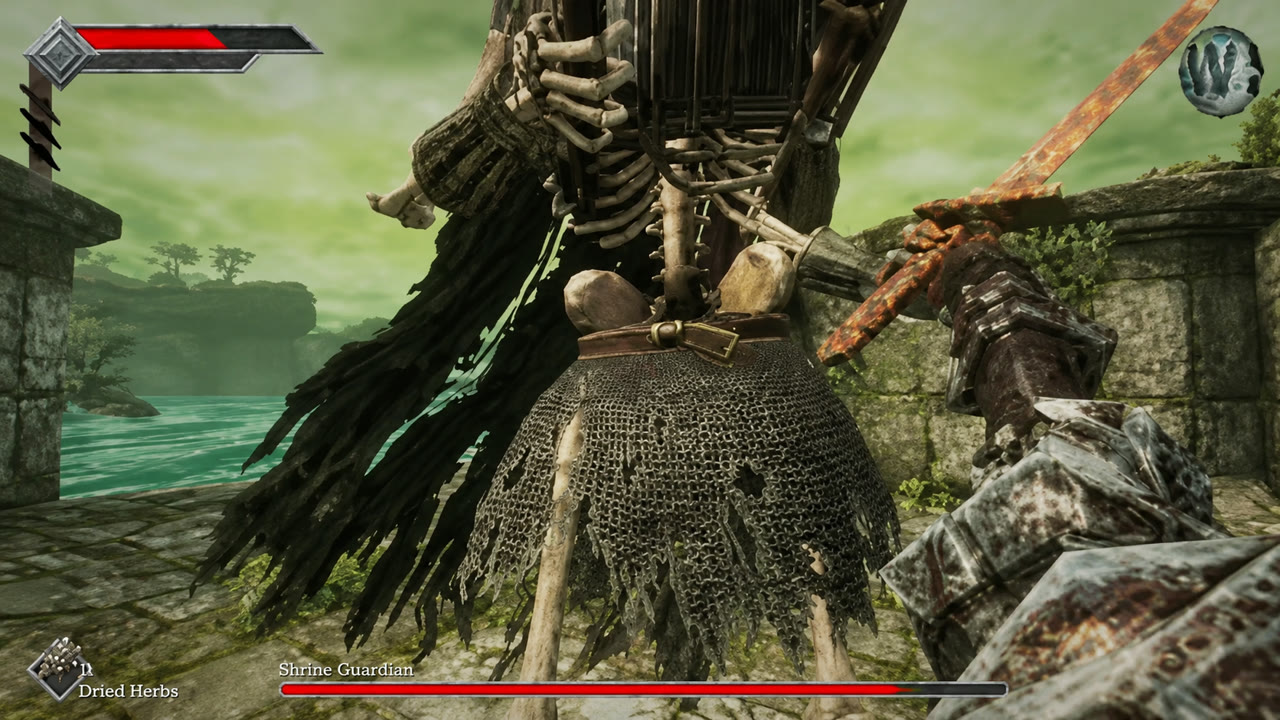
LANDMARK — the torchlit stone door is the Underground Dungeon entrance opened by the dagger socket; the Dagger Belt itself is on the two-island spur described above. - Ride the elevator to the upper monument. Return to the Dagger Belt coast, then cross the short mossy stone causeway over the turquoise water. The single broken arch at its far end is the Shrine Guardian gate; if you have left the shoreline, backtrack. Defeat the Shrine Guardian. Boss quick note: Shrine Guardian is weak to Impact, so bring the Wooden Club. Take the Stone Duck Figurine, then claim Holy Sword Endu and its first Wind Gem.
BOSS ARENA — the shoreline’s single broken arch is the Shrine Guardian gate.
BOSS INFO — Shrine Guardian
Stats: 450 EXP / 260 Life / 18 ATK — weak to Impact.
Watch for: its committed swing; reset to the open edge after each charged hit.
Strategy: Bring the Wooden Club, circle around the attack instead of trading, then spend the recovery on a charged Impact hit.
ACHIEVEMENT
Flying Sword
Collect the Holy Sword Endu.

3. First Endu sweep: food, camp route, and Cemetery Precipice
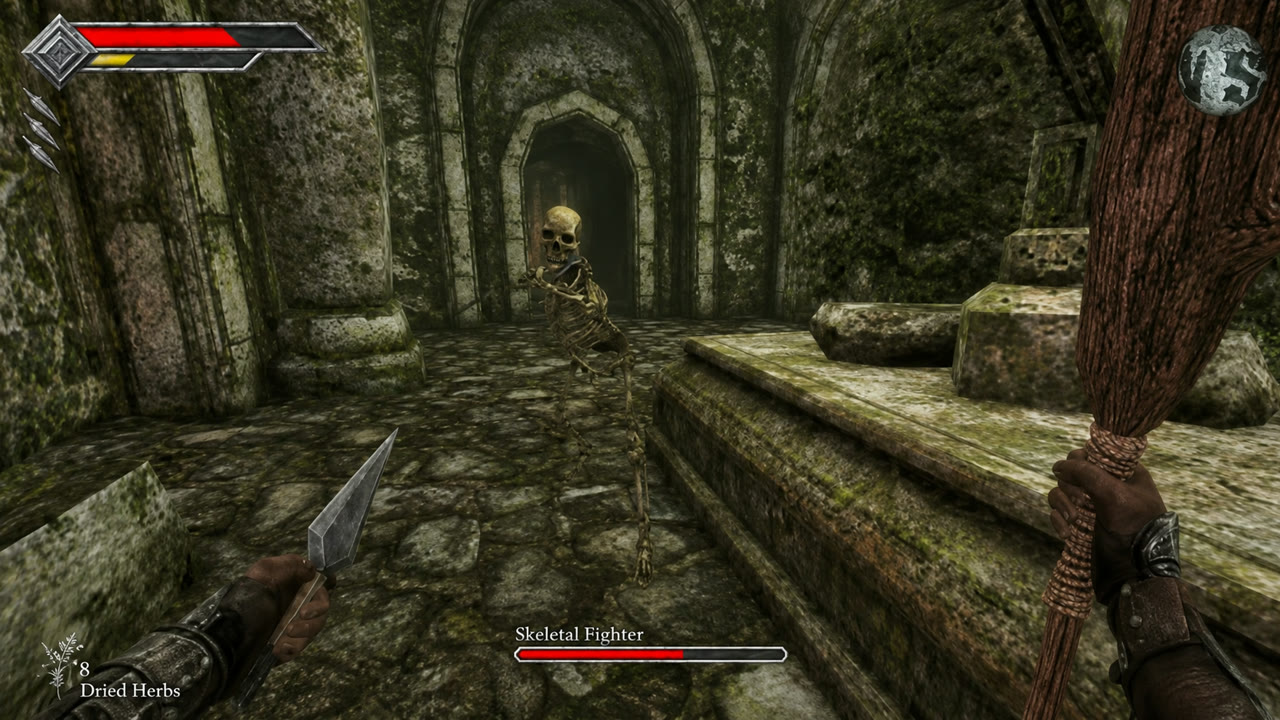
- Use the shop from a monument only for essentials; keep coins for later weapons. Pick up free herbs, Badu Powder, Elixir, and any Iron Pineapple you pass.
- Just north of the Knight's Encampment monument, clear or evade skeletons and air-dash to the first platter for Broiled Meat (permanent Attack) and a Meal Ticket. Continue east through the cliff gap to the higher platter for Roasted Poultry (permanent Life) and another ticket.
- Follow the eastern uphill road. Chase the first Star Lizard immediately—the loot sacks are easy to miss if it escapes. At the later fork, take the left branch, clear it, and activate Cemetery Precipice.
- From this monument, cross the northern gap and use the bridge/backtrack routes to reach the glowing gargoyle at the Tower approach. Take the Azure Torch. Its light and rechargeable azure fireballs make the next cave and beacon routes safer.
- Optional but useful: the damaged-bridge route contains the future Orbewa Egg pickup; a breakable crate by the injured keeper note contains the Ratty Bug Compendium. Leave it for the later return.
4. Wind Gem #2 and beacon #1
LANDMARK — the blue glow through the trees marks the Wind Gem #2 branch; use the lantern, crate, and broken stairs in the next bullet to confirm the beacon approach.
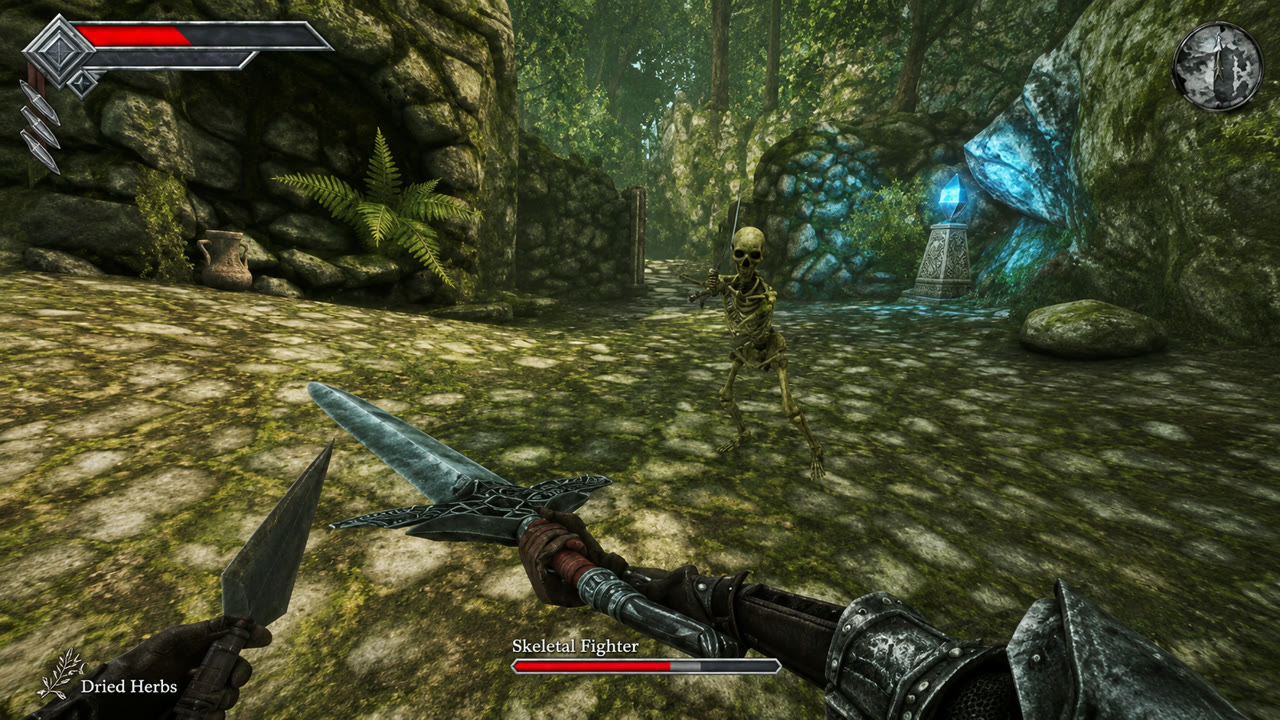
- From Cemetery Precipice, work east through the Star Lizard route, then climb the rubble road north and west. Air-dash into the small towers for Wind Gem #2. With two dashes, take the nearby upper Roasted Poultry platter and Meal Ticket.
- For the first beacon, take the southeast path past the blue lantern and crate. Dash to the broken stairs, clear the skeletons, and fire the Azure Torch into the gargoyle mouth.
5. Reach Obmuer Temple
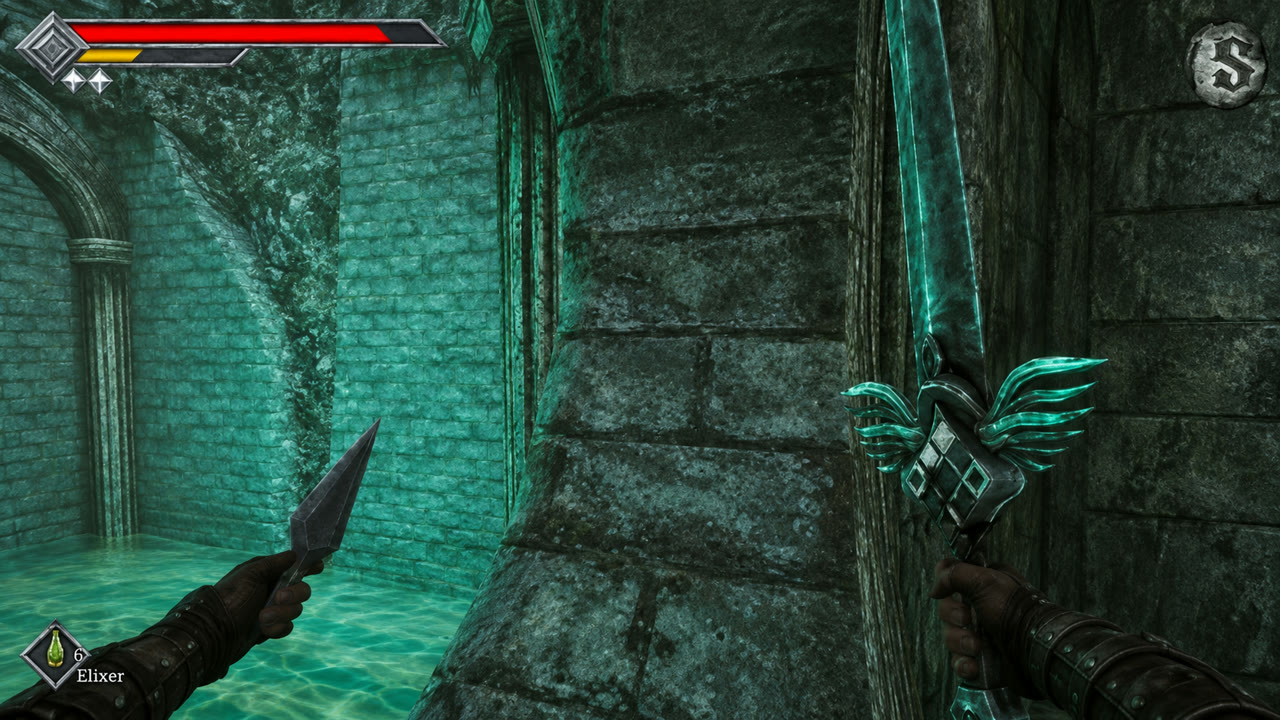
- From the broken stairs, dash across the western pillars. Deal with the Skeletal Archers, then continue past the platter and wall. The Mossy Golem cliff is optional now; you can retreat by dropping down if it is rough.
- Use two dashes across the southwest broken bridge from the tower and activate Aganmi's Camp beside Obmuer Temple. This is your next mandatory route.
ACHIEVEMENT
Ocean Walk
Reach the Obmuer Temple.

Isle cleanup notes
- Forest Eye: a Throwing Dagger is the cleanest early kill.
- Chilopoda: keep distance; poison is more dangerous than its direct damage.
- Star Lizards: pursue them as soon as they appear; they leave the area quickly.
- Save after each key item, Wind Gem, and beacon. The monument network becomes the backbone of later 100% cleanup.
ACHIEVEMENT
Queen’s Domain
Overcome every challenge on Isle Neasied.

Obmuer Temple — Step-by-Step Route
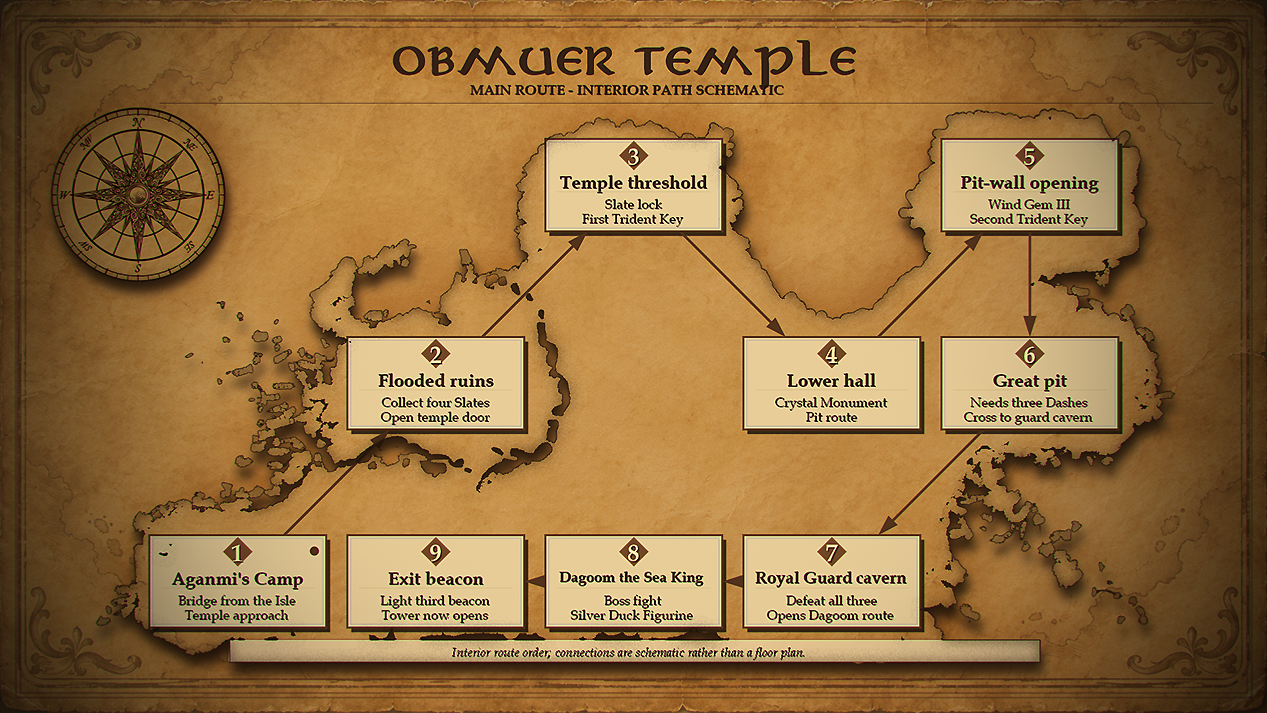
Route goal
Treat Obmuer as a loop, not a straight dungeon. Its first pass gives the Trident, Wind Gem #3, the Splash Hammer, Dagoom's reward, and the route back to the remaining Isle beacons. Keep the Dagger Belt ready for safe pulls, and make a manual save before Dagoom rather than relying on the earlier monument.
1. Flooded approach: collect the four slates
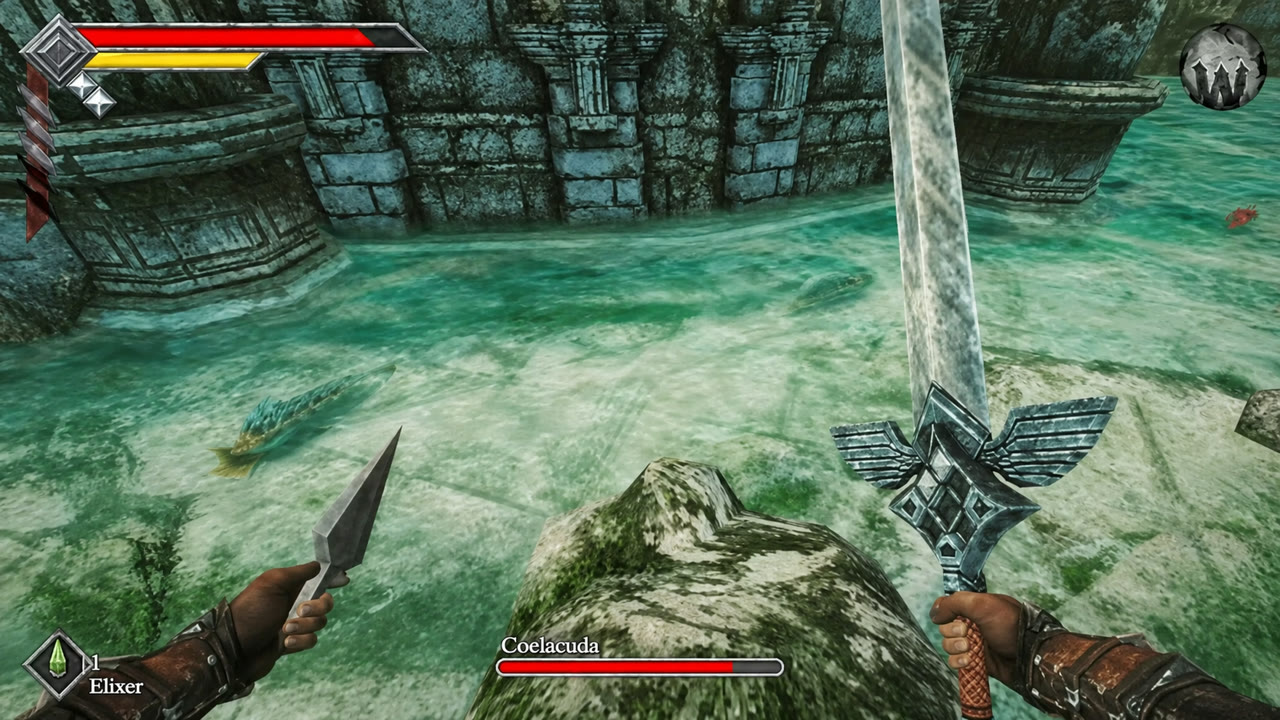
LANDMARK — the shallow turquoise channels confirm the four-slate approach; the moss-covered tower is in the next open-water section.
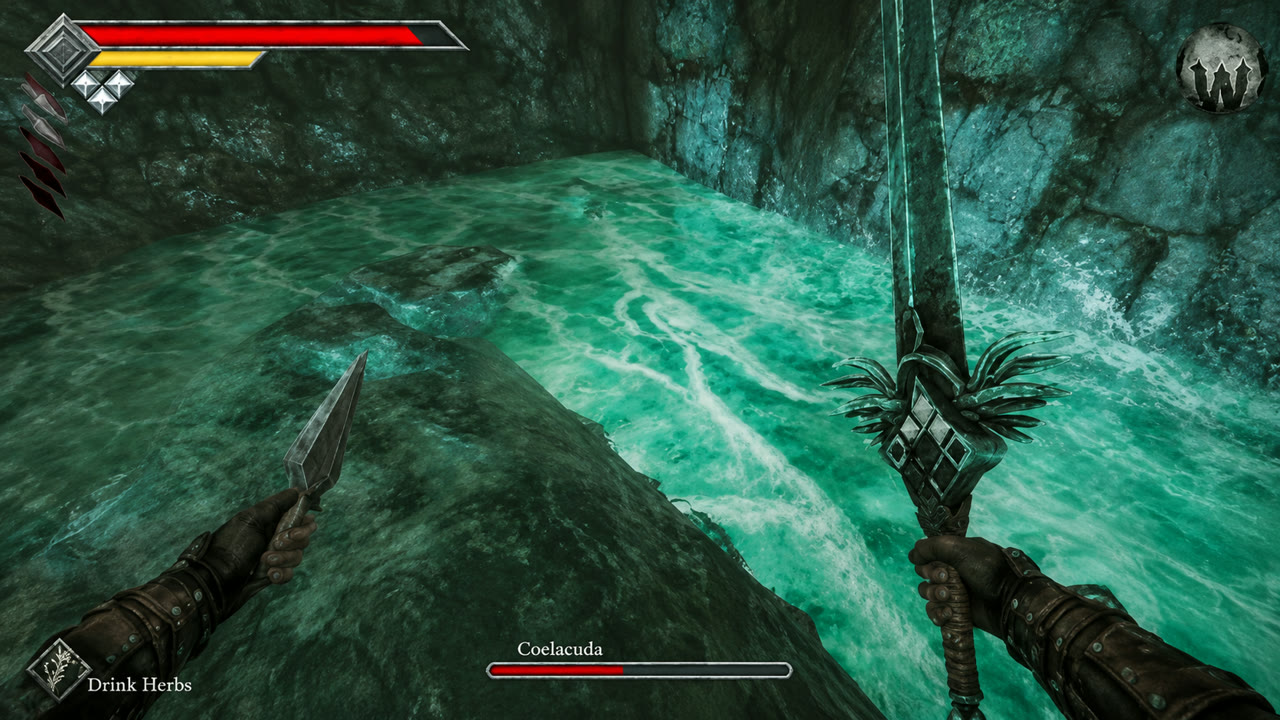
- Speak to Aganmi at the camp, then activate the monument. Fight Coelacuda from dry ground where possible.
- Follow the submerged route, air-dash the gap, then retreat along the narrow path to break up the Red Nibbler pack.
- At the round, moss-covered tower rising from the shallow turquoise water, take the left side first for Slate #1 on the dry rock; skeletons spawn after you take it. Circle right around the tower, climb the ramp, clear the Glaucusion/Barnacle group, and chase the Aquatic Star Lizard.
- Dash over the broken wall on the right for Slate #2.
- Take the Trident from the statue outside the temple. Return through the shallow water past the monument and fallen pillar; the southwest pillar holds Slate #3.
- For Slate #4, dash to the northeast distant/sinking platform. Pull the skeletons away from the slate before collecting it. Use all four slates to open the entrance, then activate the Cave Entrance monument.
2. First interior keys
LANDMARK — the torchlit water passage marks the first interior route; its side doors lead to the Sapphire branch and later three-key return.
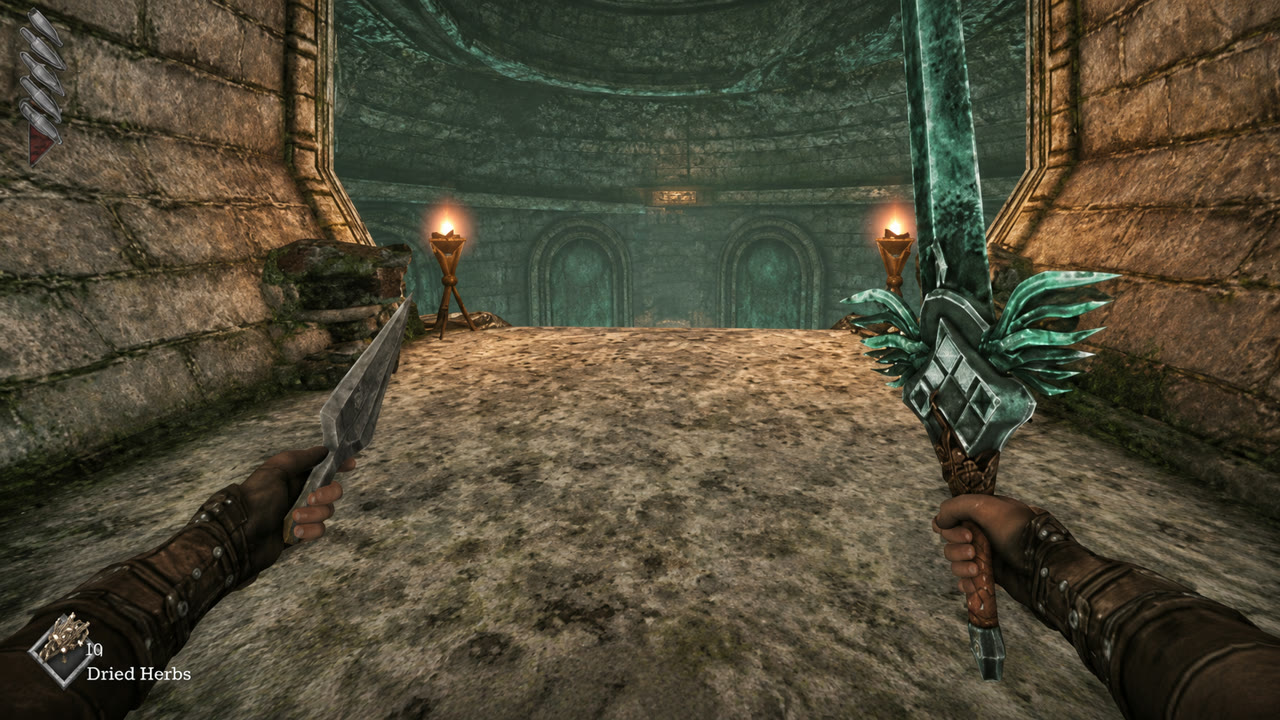
- Clear the first water rooms of Homopiscium, Toxic Homopiscium, and burrowing Chilopoda. Follow the water flow down for Idinti Soap and the Sapphire Trident Key.
- Use Sapphire on the one-key door on the left. The sealed three-key door is a later reward pass; ignore it for now.
- Air-dash into the upper-left passage. Clear Barnacles, Baleful Chilopoda, Hardshell Meganeura, and the Toxic Homopiscium ambush. The skeleton ledge holds the Emerald Key; collect Wind Gem #3 in this branch as well.
- Use Emerald, activate Sacred Cistern, and open the shortcut lever. Cross the Cistern with three dashes.
- Use the side opening on the movable elevator for the Amethyst Tear Charm (+50% poison resistance), then continue upward.
3. Prison corridor and royal-guard cavern
LANDMARK — the Prison Corridor monument sits before the keyed side rooms and lever route to the royal-guard cavern.
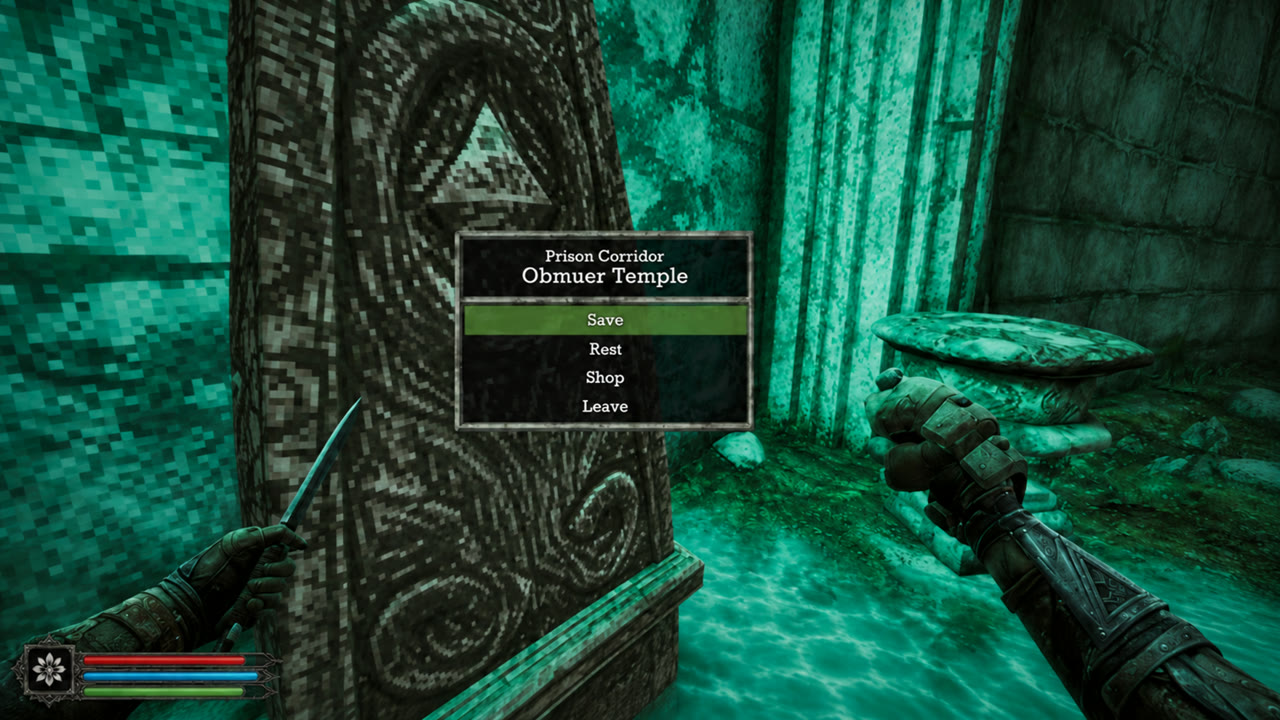
- On the dark central path, reach the ledge over the skeleton for the Piercing Needle chest. It is a useful penetrating throwable.
- Activate Prison Corridor. Work the keyed side rooms and levers, always recovering the key you need for the next door; the central path leads to the cavern.
- In the cavern, take the Gold Conch Necklace behind the staircase. Clear the three royal-guard arenas: Yepo drops the Silver Conch Necklace, Erda drops the Silver Nautilus Crown, and Wami drops the Silver Scallop Tiara.
- Before the boss, dash to the chest for the Splash Hammer. Its charged area hit is excellent when several small enemies close in.
- The three royal collectibles open the boss door. The nearby monument is the clean checkpoint before Dagoom.
4. Dagoom
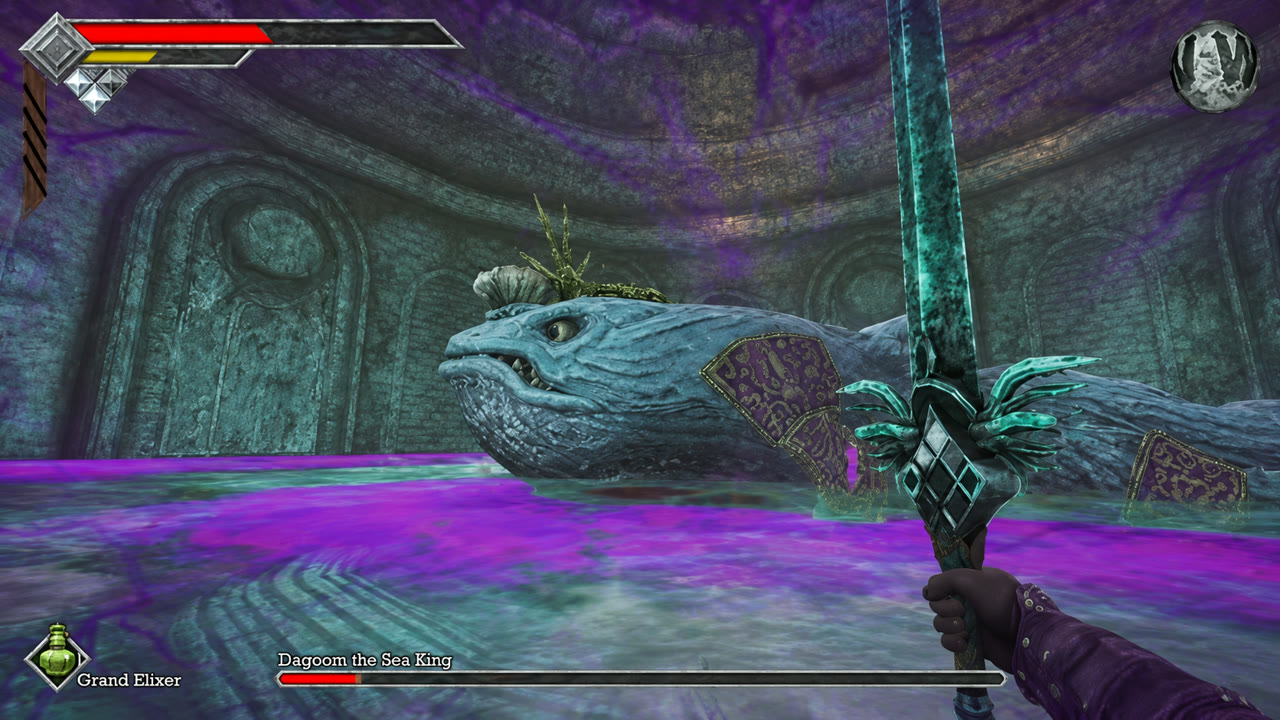
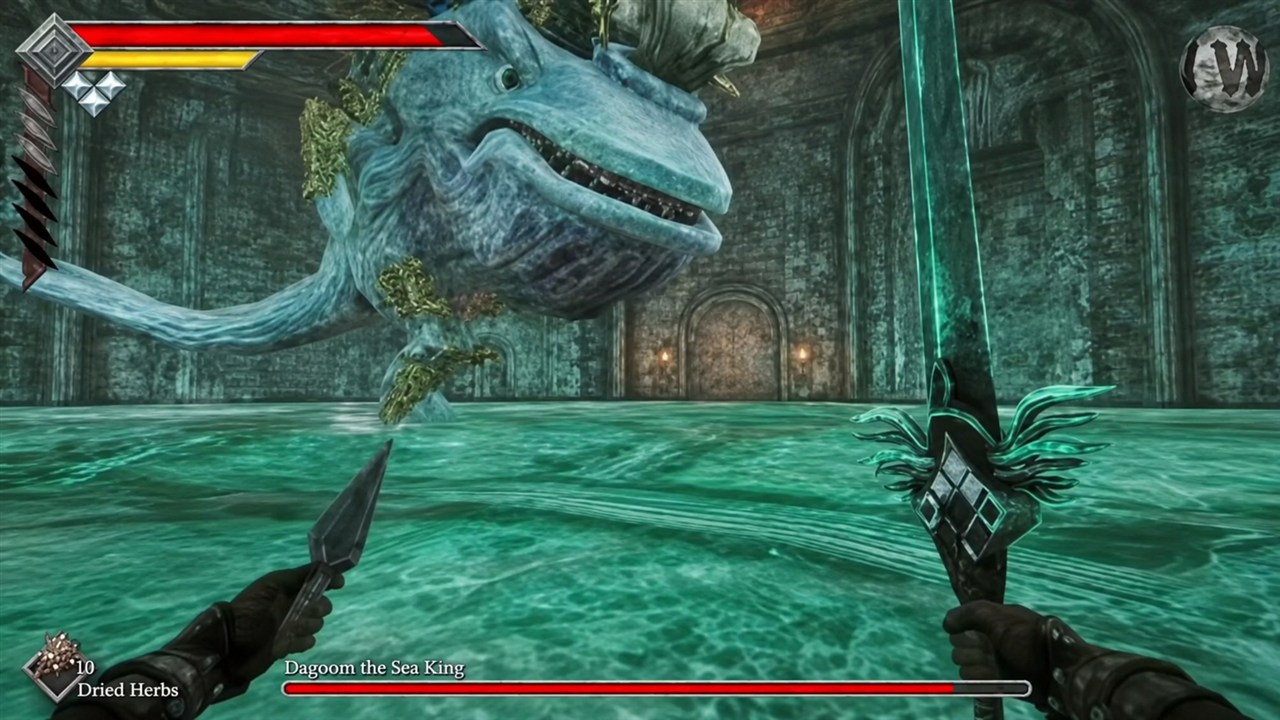
- Keep moving around the arena rather than trading hits. Air-dash through unsafe lanes, avoid poison clouds, whirlpools, and water jets, and delete Toxic Serfs before they crowd the fight.
- Dagoom has no weapon-type weakness, so use the tool you handle best; the Splash Hammer is good for controlled close openings, while charged Torch fire is safer at distance.
- Win to receive the Silver Duck.
BOSS ARENA — clear Toxic Serfs before Dagoom’s arena hazards overlap.
BOSS INFO — Dagoom the Sea King
Stats: 3,000 EXP / 1,500 Life / 27 ATK — no verified physical-type weakness.
Watch for: poison clouds, whirlpools, water jets, and Toxic Serfs stacking together.
Strategy: Keep circling the arena, air-dash through unsafe lanes, clear Toxic Serfs before they crowd you, and use charged Torch fire when a close opening is not safe.
ACHIEVEMENT
Treacherous Baleen
Defeat Dagoom the Sea King.

5. Post-boss interior cleanup
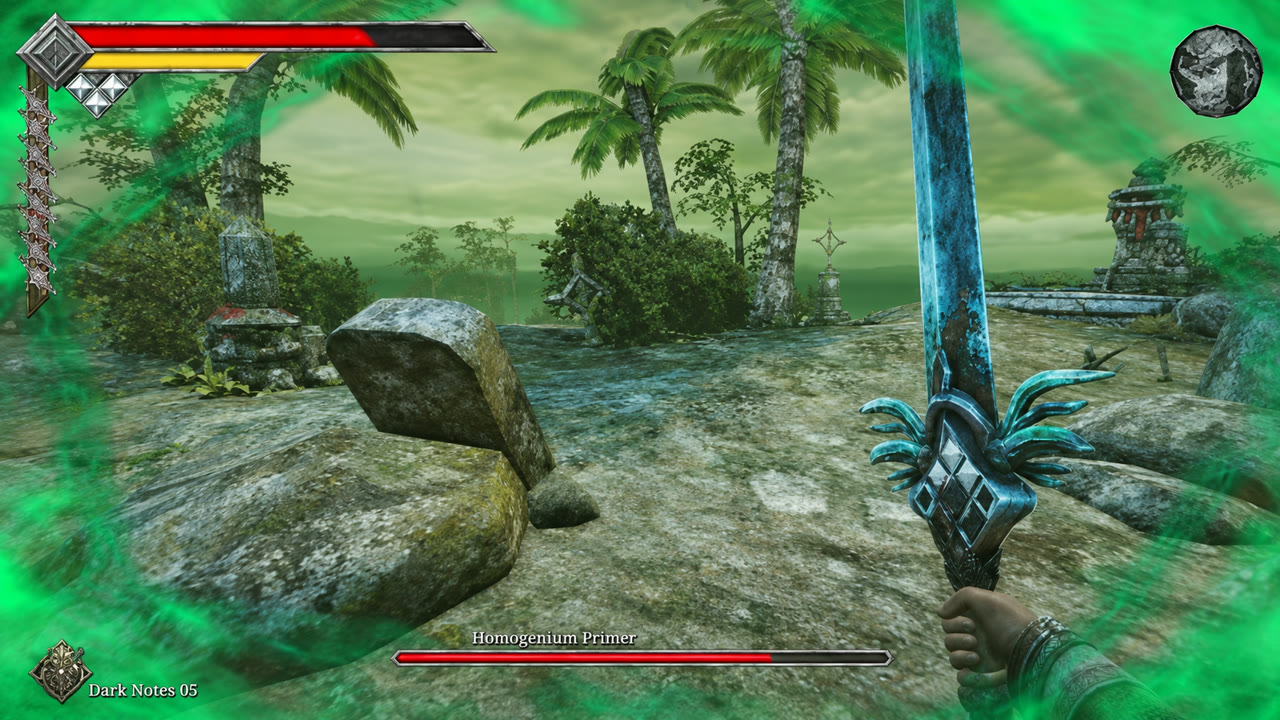
- After the boss elevator, inspect the western wall/gap route for a Travel Crystal fragment. The two-key reward branch contains Roasted Poultry, a Meal Ticket, and the Silver Fish Treasure; recover the keys afterward.
- Check the southwest tunnel for the solid-looking wall that hides a passage. Beneath the elevator, take the Strange Silver Etched Skull.
- Back at the surface, the hole chest contains a Throwing Dagger and coins. In the left cave, meet Erma to begin the Orbewa Egg objective.
6. Finish the beacon loop and return to Tower
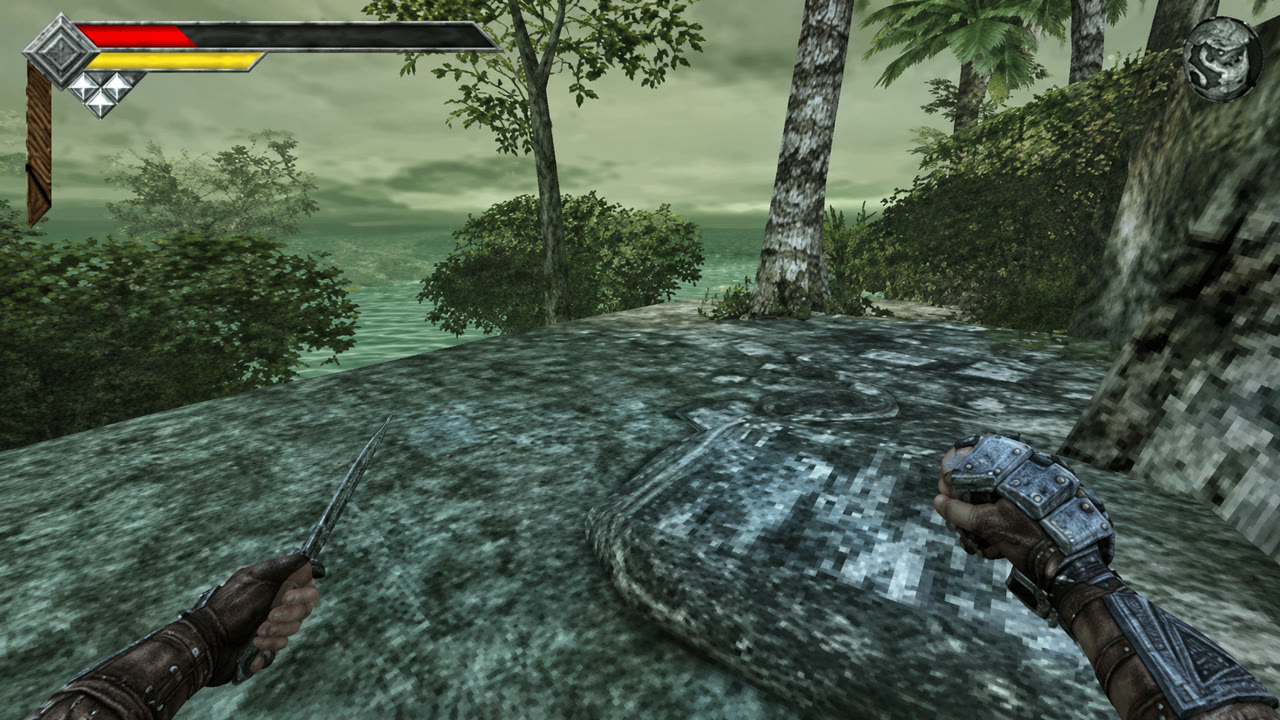
ROUTE IMAGE — this grey exterior ridge is the return path toward the final Isle beacon and the three-dash Orbewa Egg.
- Light the nearby Azure Torch gargoyle by Erma for beacon #2.
- Use the fast-travel spire back to Isle of Neasied. Speak with Gagi for Grilled Fish, then take the right route to light the final beacon.
- On the left return route, open the mimic chest carefully and take the Chakram; use the elevator to restore the normal loops.
- Return to Cemetery Precipice. With three dashes, take the previously unreachable Orbewa Egg on the steps, then dash north to the Tower entrance. All three beacons should now be lit, so the Tower door opens.
100% notes
- Save the sealed three-key interior door for the later reward pass.
- Record each unique royal guard in the Bestiary. Their drops are both completion items and clear proof you finished the cavern branch.
- If poison is causing repeated deaths, equip the Amethyst Tear Charm before clearing optional water branches.
Tower of Knowledge — Step-by-Step Route
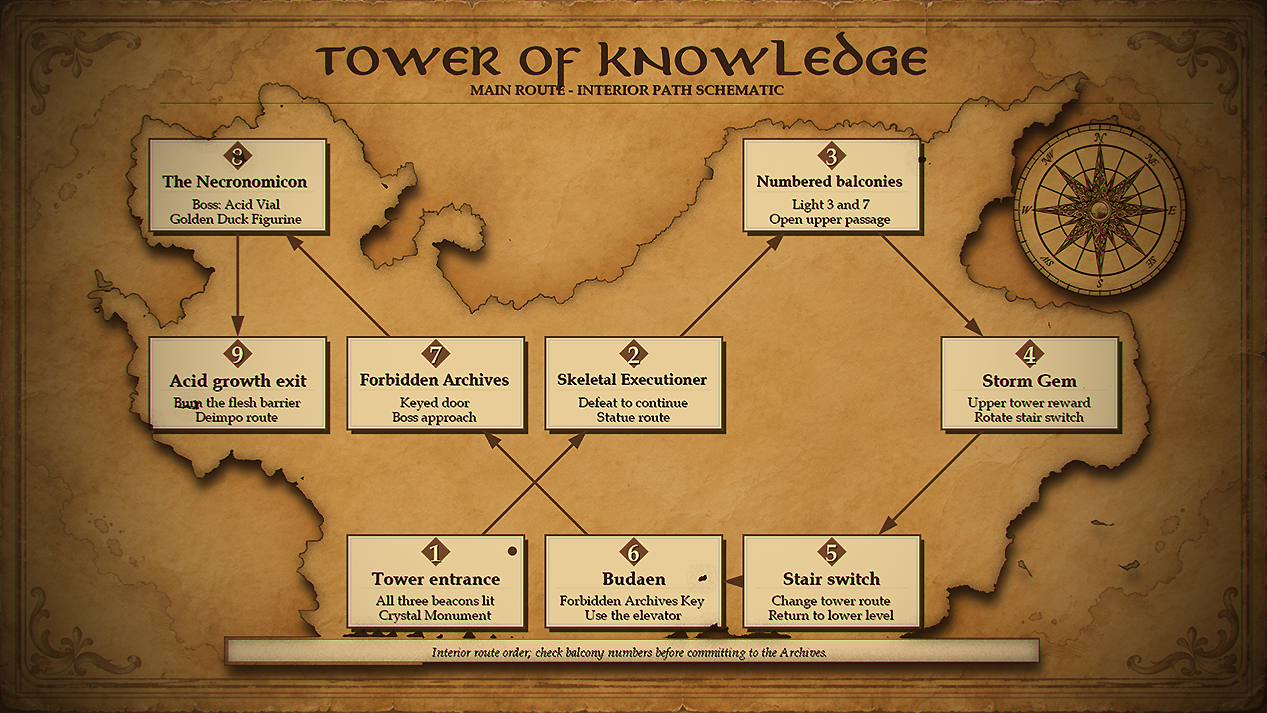
Route goal
Enter after all three beacon fires are lit. The Tower is easiest to manage as a vertical loop: open the window-lever route, take the hidden weapon rooms while you are nearby, then use the upper wing for the Storm Gem and the Mausoleum path. Trying to clear it floor by floor makes the return routes harder to read.
1. Entry, Foyer, and first floors
![](https://images.steamusercontent.com/ugc/18443133900372909230/7496BF37E20799F2800EBAC784298AB820