 Day One Fixes
SolvedHow-toUpdated
Jurassic World Evolution 3: Challenge Mode - Jurassic Difficulty Guide
Short answer
A moderately detailed guide to beating JWE3's challenge mode on Jurassic difficulty, which is required for 100% achievements.
Steam Community guide by nyaos.
Intro
All challenges shown complete, except the safari which is currently bugged for me.
Challenge mode returns to JWE3, and is tied to a good number of achievements. There are four difficulties for each challenge, three of which nobody will ever play because the only people who do challenge mode are achievement hunters, and you need to beat everything on the highest difficulty (Jurassic) for said achievements.
Not to worry, hopefully this guide will help with that!
I recommend completing the campaign first, of course. Going into challenge mode you should already have a strong understanding of park management mechanics. The core to success in any of these park challenges is maximizing guest comfort and dinosaur appeal, while surviving whatever challenge modifiers are attached to each challenge. (The exception being the photo challenge level, which I'll talk about later)
The key stressor is that these challenges are timed. The "par" time is probably incorrectly named, as par time implies an average time to shoot for. You fail the challenge if you exceed par, it's a hard time limit.
Here are some general tips that are important in all challenges.
- You need to minmax your staff, always. To start you should always have one logistics person, one geneticist, one welfare person. I usually rename them to "Logistics, Genetics, Doctor, Synthesis, Incubator" etc to keep track of them quickly. It rarely pays to make staff jacks of all trades. I found Altruist less important in JWE3, hire what you need.
- All challenges have instant cooldown on staff rest. This means you can use everyone you can to shorten timers on research, synthesis, extraction etc without fear.
- Unlocking a staff center should always be a priority in the early game, so you can hire more and rest staff.
- The moment your park opens, your priority is 100% guest comfort. One restroom, one shelter, one hotel, and 1 ammenity of each type will get you a decent starting cash flow.
- When low on cash, take photos from your helicopter. Take multiple, the cash from diminishing returns is still worth it.
- Cheap expeditions often pay big cash from valuables found.
- You'll occasionally run into dilemmas where you may take a publicity hit for a big cash payout, or increase sabotage risk. If you are low on money these are often worth it, as publicity improves quickly and sabotage isn't that big of a deal if you stay on top of your park.
- Pause as much as you can, don't waste time. Dolomites and Hawaii don't let you pause, but the other ones you can.
- Practice maximizing space. Most levels have scenery collision disabled so you can push buildings very close together.
- Adjusting terrain elevation is free in this game. I usually flatten all big areas to make building easier and cause less issues with paths, especially with vehicles driving on them.
On a side note, forgive me if I misspell dinosaur names because I'm a normal human and not a paleontologist. I also wrote this guide alongside completing each challenge.
Kauai Camerawork
TL;DR:
Flare the first dinosaurs for rare behavior, then spam photos along the trail and hope you win.
Overview:
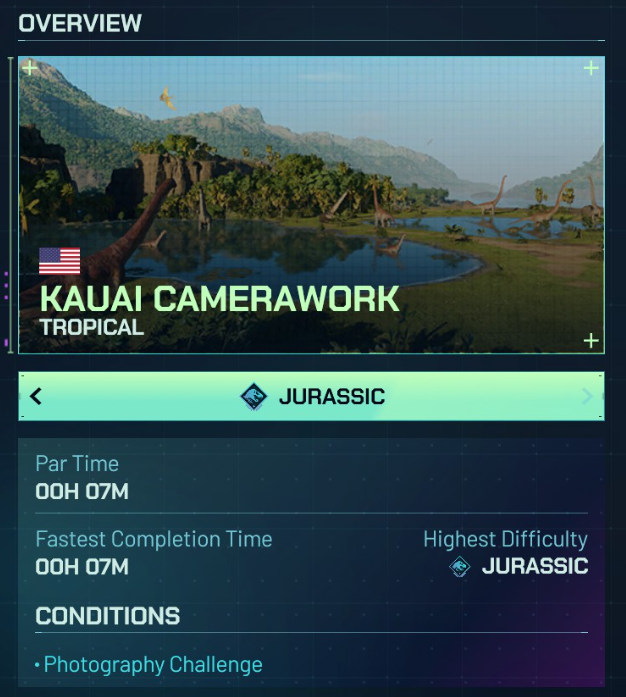
This is a timed photo challenge. To be honest, this challenge kind of sucks and it's a bummer that it's the first one you encounter because it sets a bad tone for the rest of them. Thankfully it doesn't take too long so repeating it won't be too frustrating... hopefully.
You only have 7 minutes to photograph 30 species doing 9 different behaviors, spread around a pokemon snap style photo trail. Follow the path and take as many photos as possible, don't stop moving as much as you can as the whole trail takes about 5-6 minutes to drive at good speed.
Strategy:
I recommend you find a youtube video that covers the whole trail, otherwise it'll be trial and error. Pay attention to the icons on the compass on the top, and ensure they are all disappearing as you near them. Icons that move faster when you pan the camera left and right mean the dinos are closer.
The hardest part of this challenge is capturing 9 unique dinosaur behaviors. To make this a lot easier, you can generate one rare one immediately by shooting a flare and capturing a dinosaur fleeing from it. After that, you need to just spam photos and drive the trail as quickly as possible.
Dont try to take perfect shots, just keep clicking in the direction of any dinosaurs as you move along and hopefully you'll encounter the last required behaviors at the end of the trail, usually "looking for water" etc.
I saved this one for last because it's the worst challenge of the bunch. I finished with like 5 seconds to spare, assuming I was going to fail missing the last behavior needed. Don't give up until the very end area!
This video was helpful for me.
https://www.youtube.com/watch?v=FNyLU1f6vZA
Good luck!
Dolomites Sanctuary
TLDR:
Accept every dinosaur delivery asap, don't delay them. Put them in appropriate enclosures and keep them happy.
Overview:
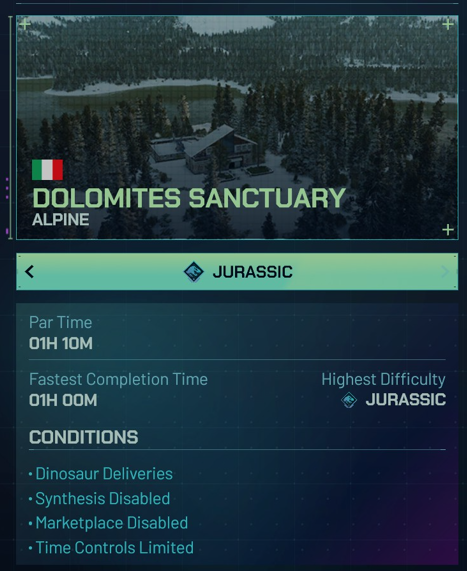
The first actual park challenge, this one is mildly difficult because you only have 1hr and 10 minutes, and since you can only get dinosaurs via delivery you have little freedom.
The hardest part is that you cannot pause this one, so when you're informed a particular dinosaur is coming in three minutes, you have that much time to find a place to put it. You have very limited time, so do not delay deliveries!
Strategy
Start building pens for the dinosaurs as they arrive. If you need to pause at anytime, you can at least take a break with the escape menu, you just can't see the park or anything like that. I put the Compies in their own little pen right off the bat, and then the Gallimimus on the other side of the path in their enclosure.
As you are delivered herbivores, expand the Gallimimus pen and mix in the Maisauras, Nasutos, and Sinos into one large herbivore paddock to save space.
I kept the Lystrosaurus in their own small exhibit, and didn't combine any other species. Create appropriately sized enclosures for the 4x Dimetrodons, 4x Mamenchiasaurs, 4x Yutyrannus, 4x Velociraptors, 5x Dreadnoughtus, 2x Trex.
As you're building enclosures simply ensure guest needs are met. You'll need to research wider paths and monorails at some point to ensure everything is 100%. As with any park challenge, most of your money will come from well utilized amenities so make sure they're set up correctly.
Since this challenge is timed and also quite short, do not delay any deliveries! I finished this with only 10 minutes to spare. I mostly delivered the dinos using delivery drop zones, but you can actually trigger the countdown to the next delivery sooner if you deliver each dino individually, as 5 helicopters will show up at once and start the countdown, as opposed to waiting until the box is delivered and opened with a drop zone.
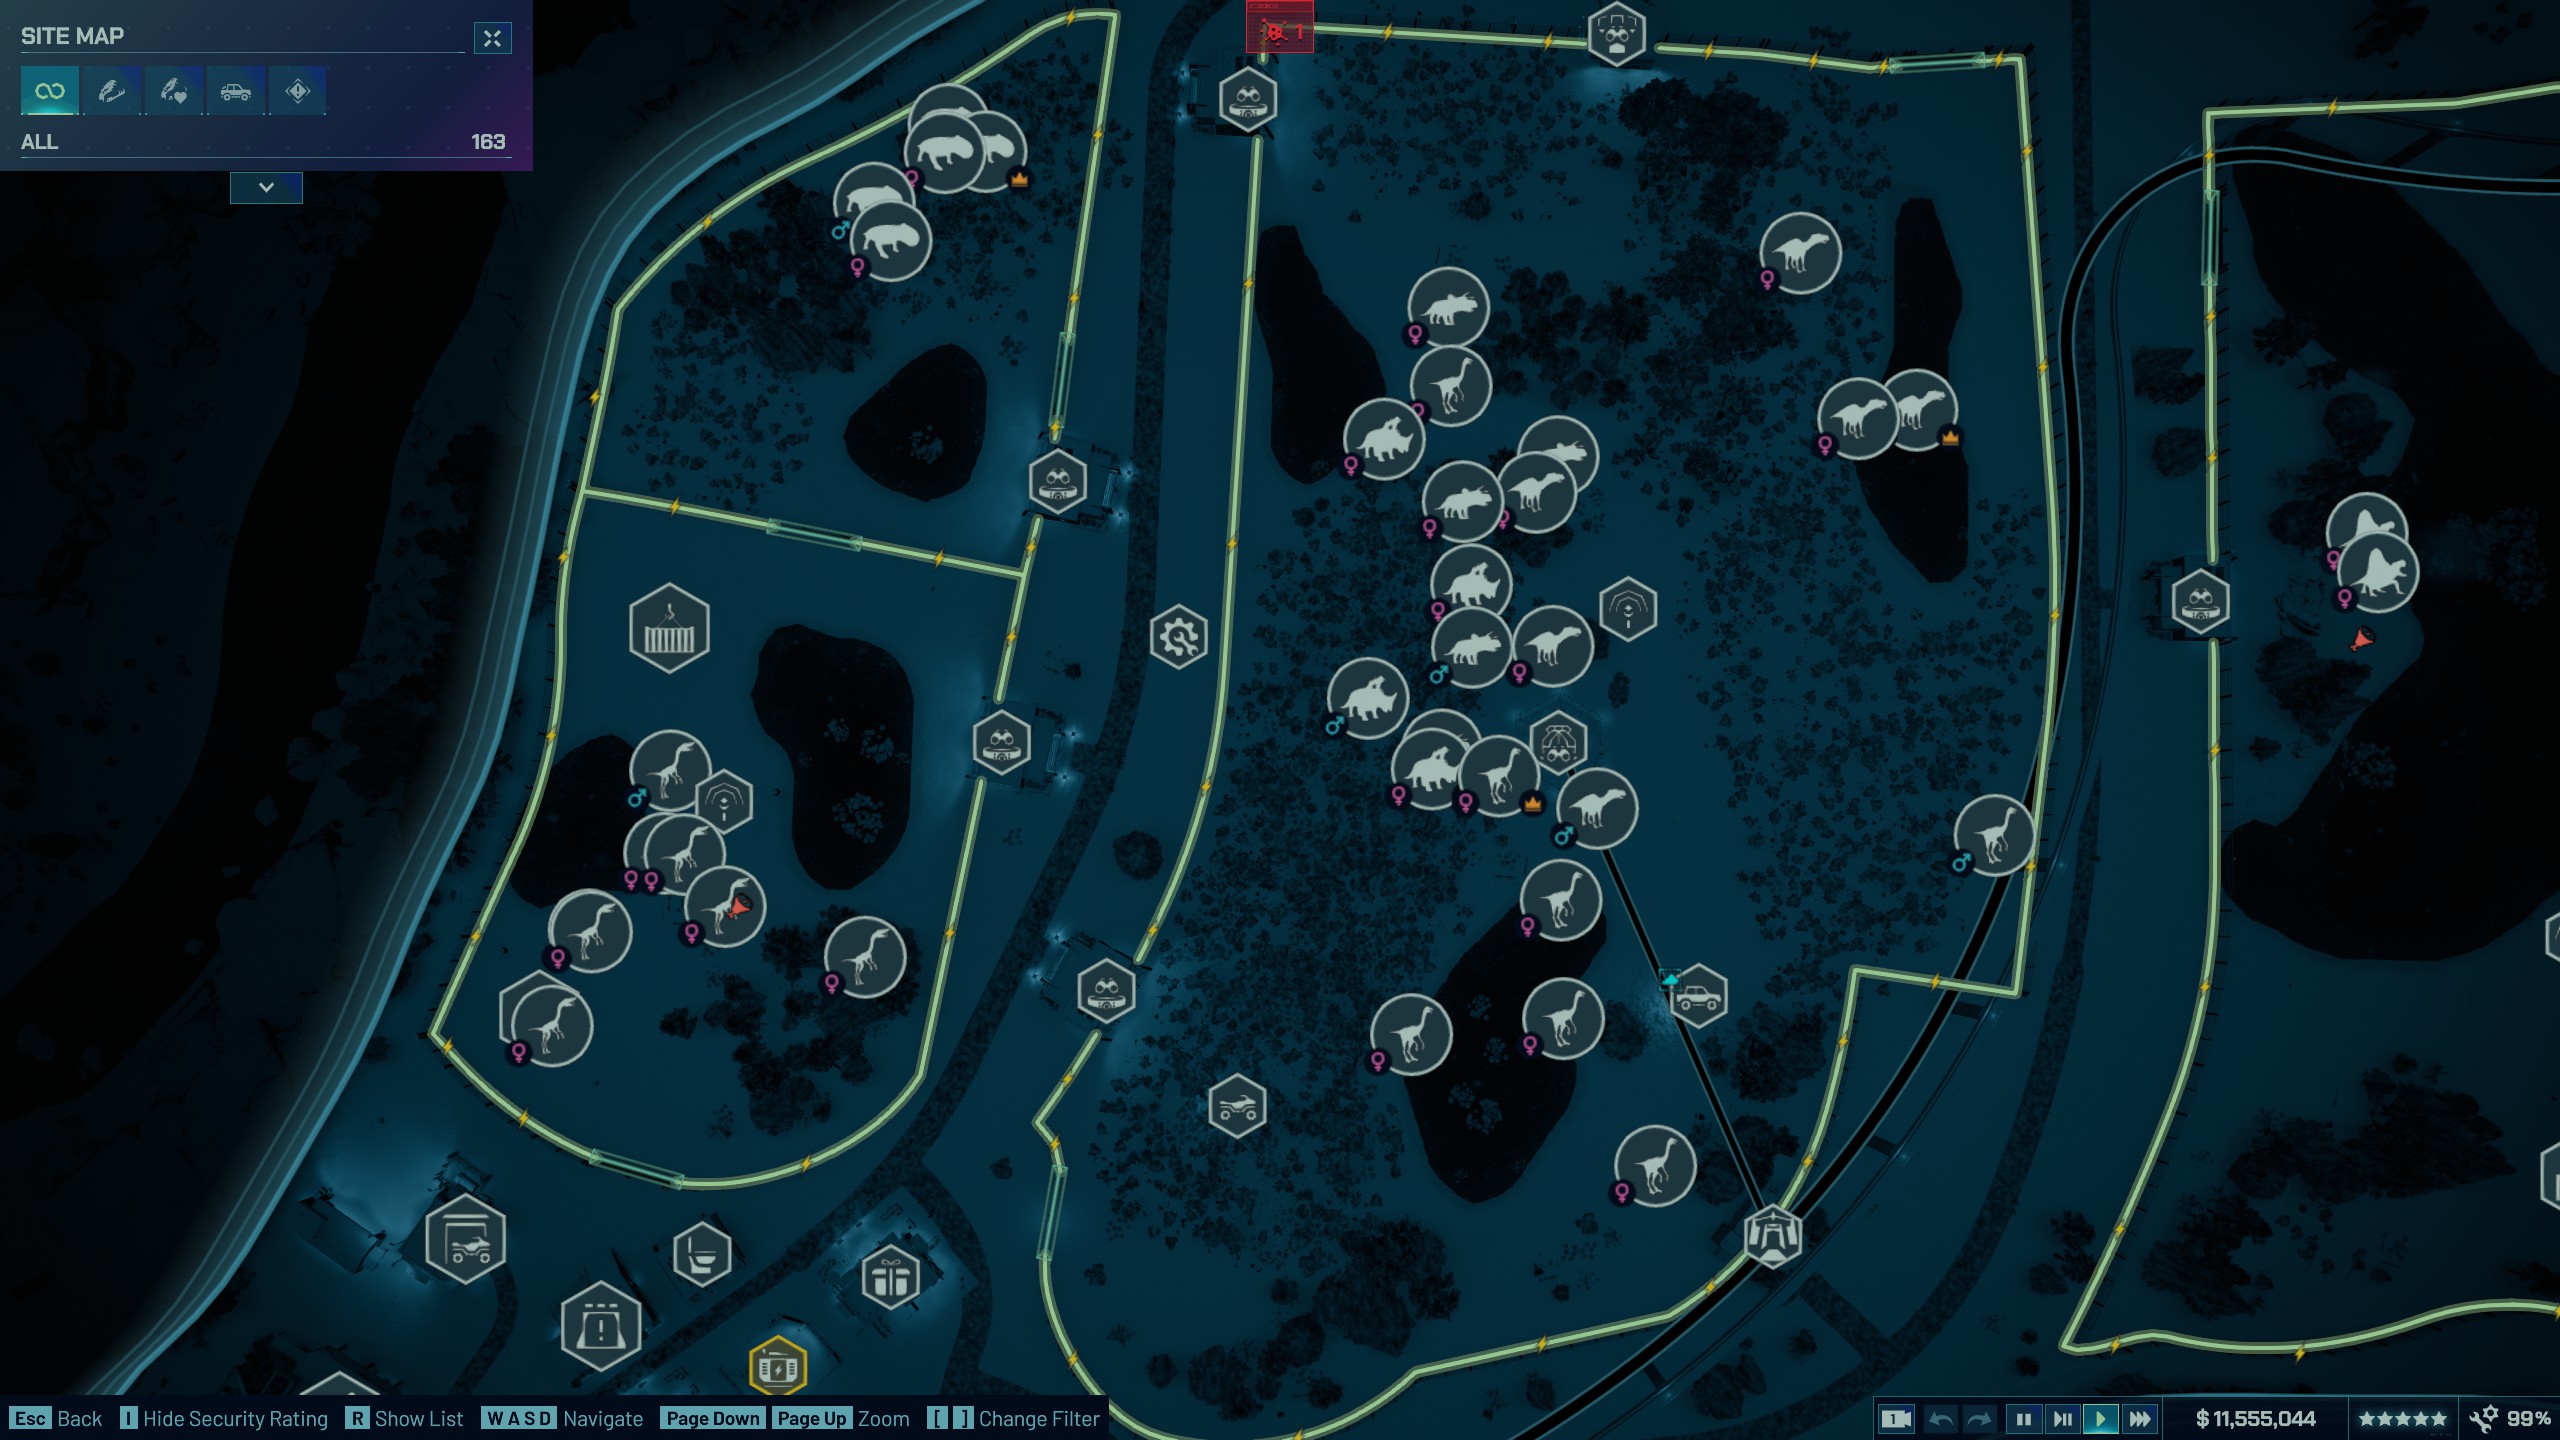
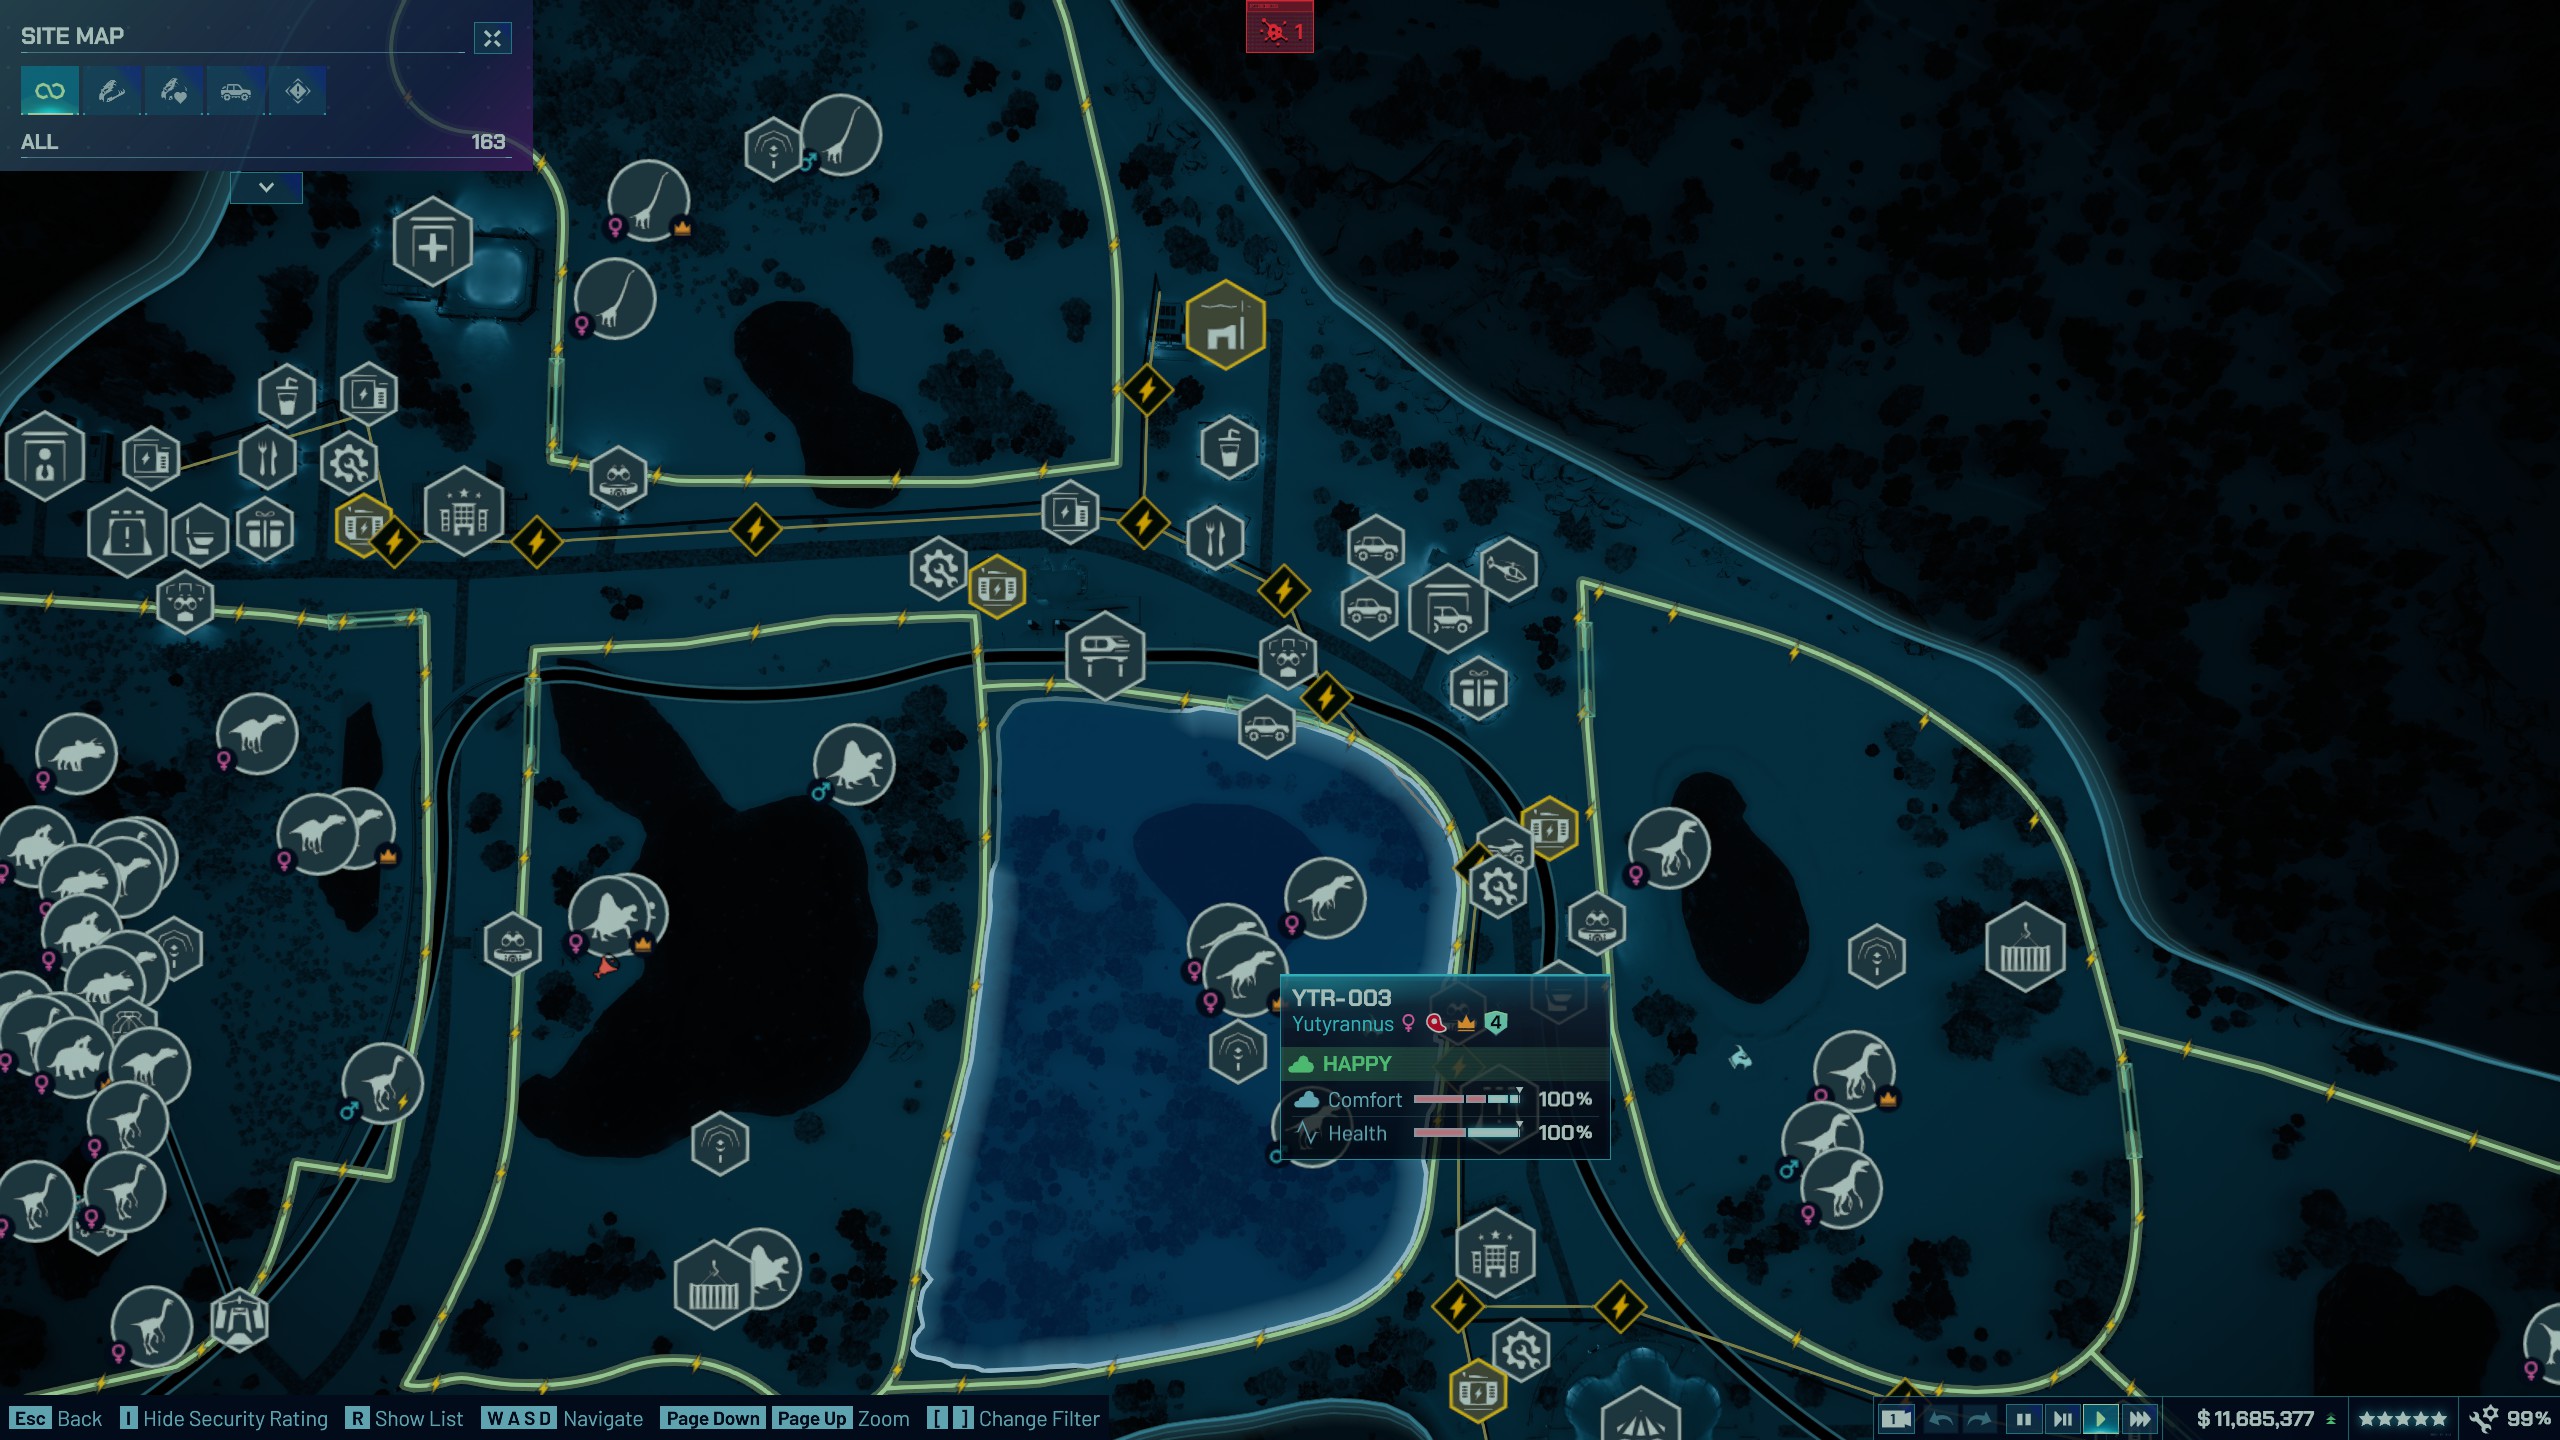
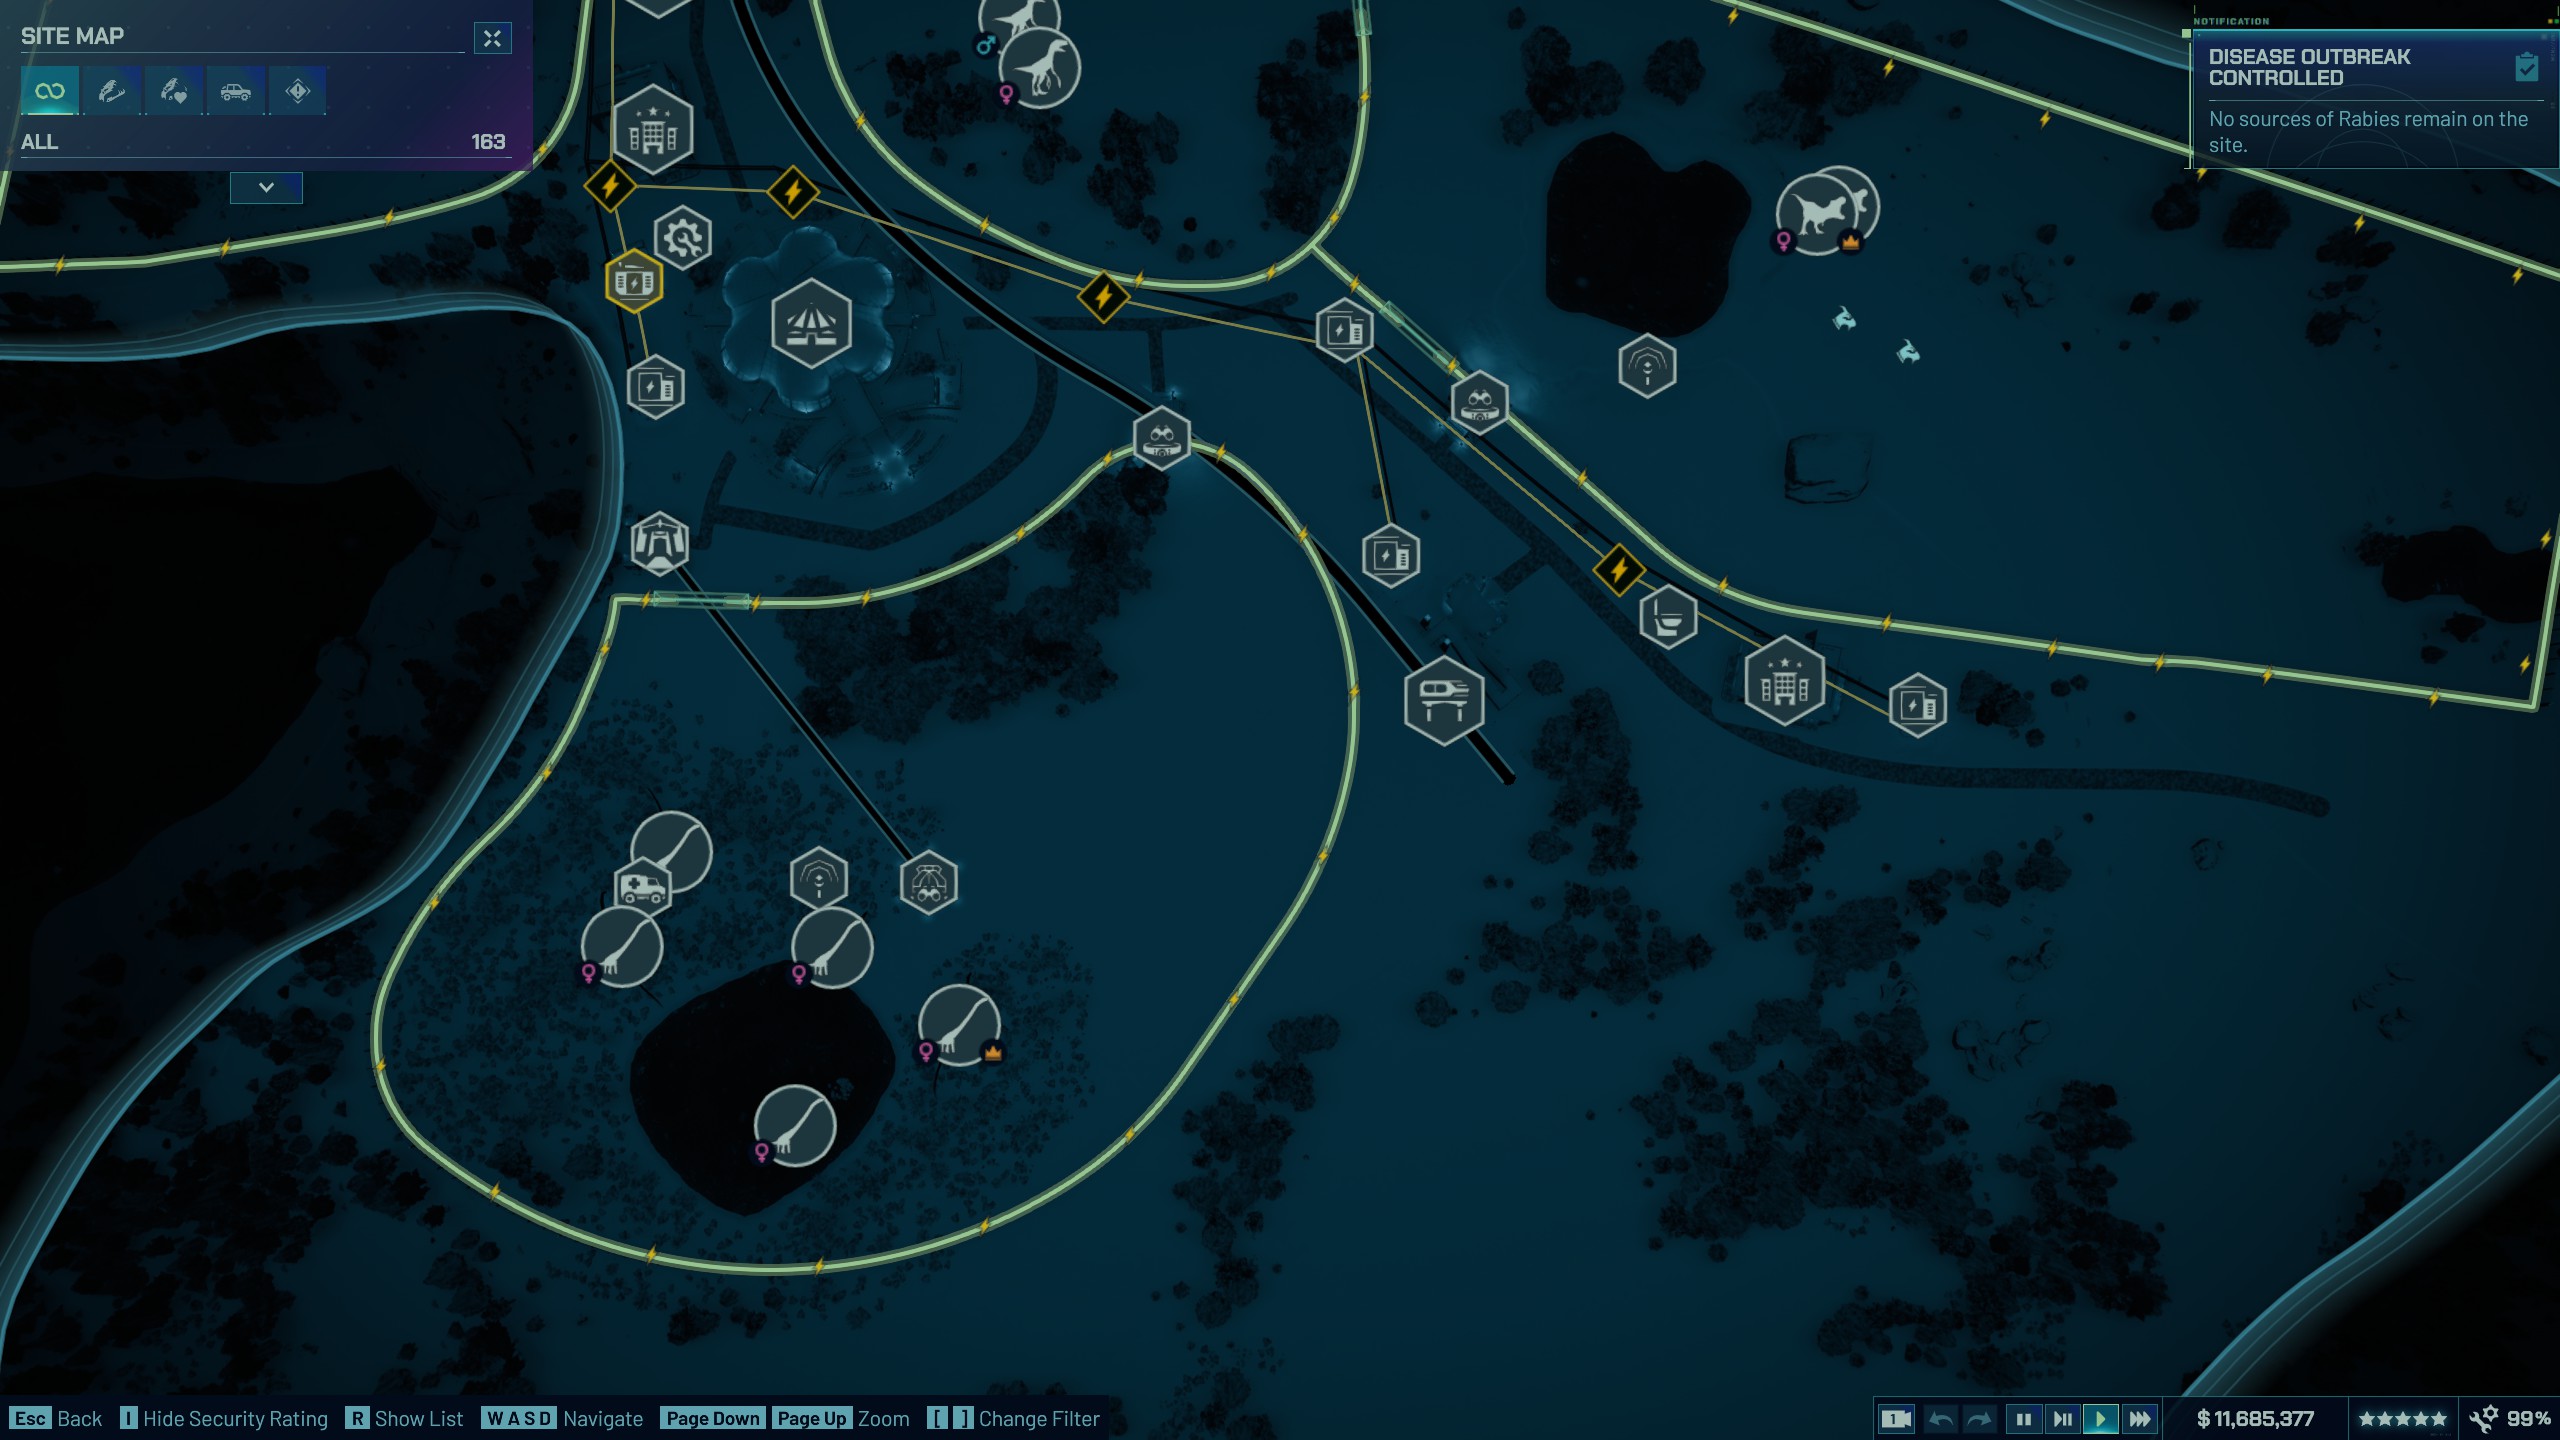
Site map
Clark County Finances
TLDR:
Fix the basic stuff, focus on flying dinosaurs.
Overview:
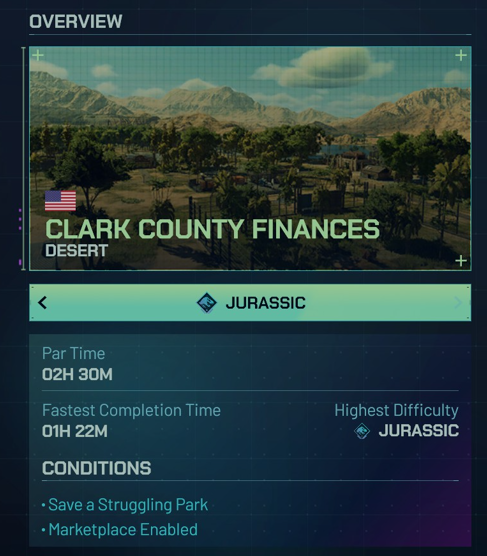
Clark County Finances is pretty straight forward. You inherit another disaster attempt of a park in midst of a crisis, with only a cool $1mil to start with, that you will burn through quickly repairing most of the damage.
You have the abilility to pause time again, which makes this less stressful.
Starting:
The first priority is to clean up the disaster. The park is already open so build an emergency shelter immediately and activate it, then jump into a maintenance vehicle and start manually repairing things. Prioritize the response facility and the fences.
Tranq any dinos that have escaped and return them to their enclosures.
Do not waste money fixing non-essential buildings right away. The remote enclosure and aviaries do not need to be fixed right away either.
Start improving comforts your existing dinosaurs once they are back enclosed. Some require additional dinos for 100% comfort, but simply improving their environments will be enough to keep them happy for now. Expand the size of the enclosures as needed.
Take photos anytime you have a down moment for extra cash.
Don't forget to look for easy to fulfill contracts as well. This is a key way to generate cash early on in every challenge going forward.
Once the crisis is dealt with, you can move into the park management strategy. Build all the basic ammenities required and in the early game, should be making 50-100k+ per minute on only one star.
Strategy:
Like the campaign, avian reptiles have a big bonus to appeal here so you'll want to focus on them. Save up money to research the avian digsite, it costs 200k and your 3 starting scientists can research it.
You have two aviaries you can expand to start with. I started with the smaller one and increased the genome for Pteranadons, since the dig sites were cheap and bred these first. Later, you can add Geosternbergia to the same exhibit, just make sure you have more space for them.
Breeding is very useful on this map, as you start with a bunch of male and female dinos, so you can research and add nests immediately to the enclosures that have a mix of genders and start getting baby dinos quickly.
You start with the genome over 50% for Dilophosaurus, which is cheap and easy to breed, so add some more to the pen, increase it's size. You can easily add Compies to this exhibit for more appeal as well.
You also start with Nasutoceratops genome, which pairs well with an expanded Corythosaurus exhibit that you start with.
Once you have cash, build a large Tropeognathus exhibit in the larger aviary.
As always, min/max your staff by focusing on having two to three staff specializing in each general area: logistics, genetics, and welfare.
There are opportunities on this level to take big cash payouts at the cost of increasing sabotage risk. I took one payout for a Pteranadon egg, but my sabotage risk never went over 15% and nothing came of it.
The main weather event here are occasional Tornados. Ensure you activate the guest shelter immediately when they start, and follow the tornado with a maintenance vehicle to quickly fix any damage to fences and power infrastructure as it moves through your park.
The highest appeal boosted dino available is the Kronosaurus, which I don't recommend chasing. They're very expensive and not worth the cost, until the game is nearly over.
I finished this challenge with over an hour to spare, not too difficult at all.
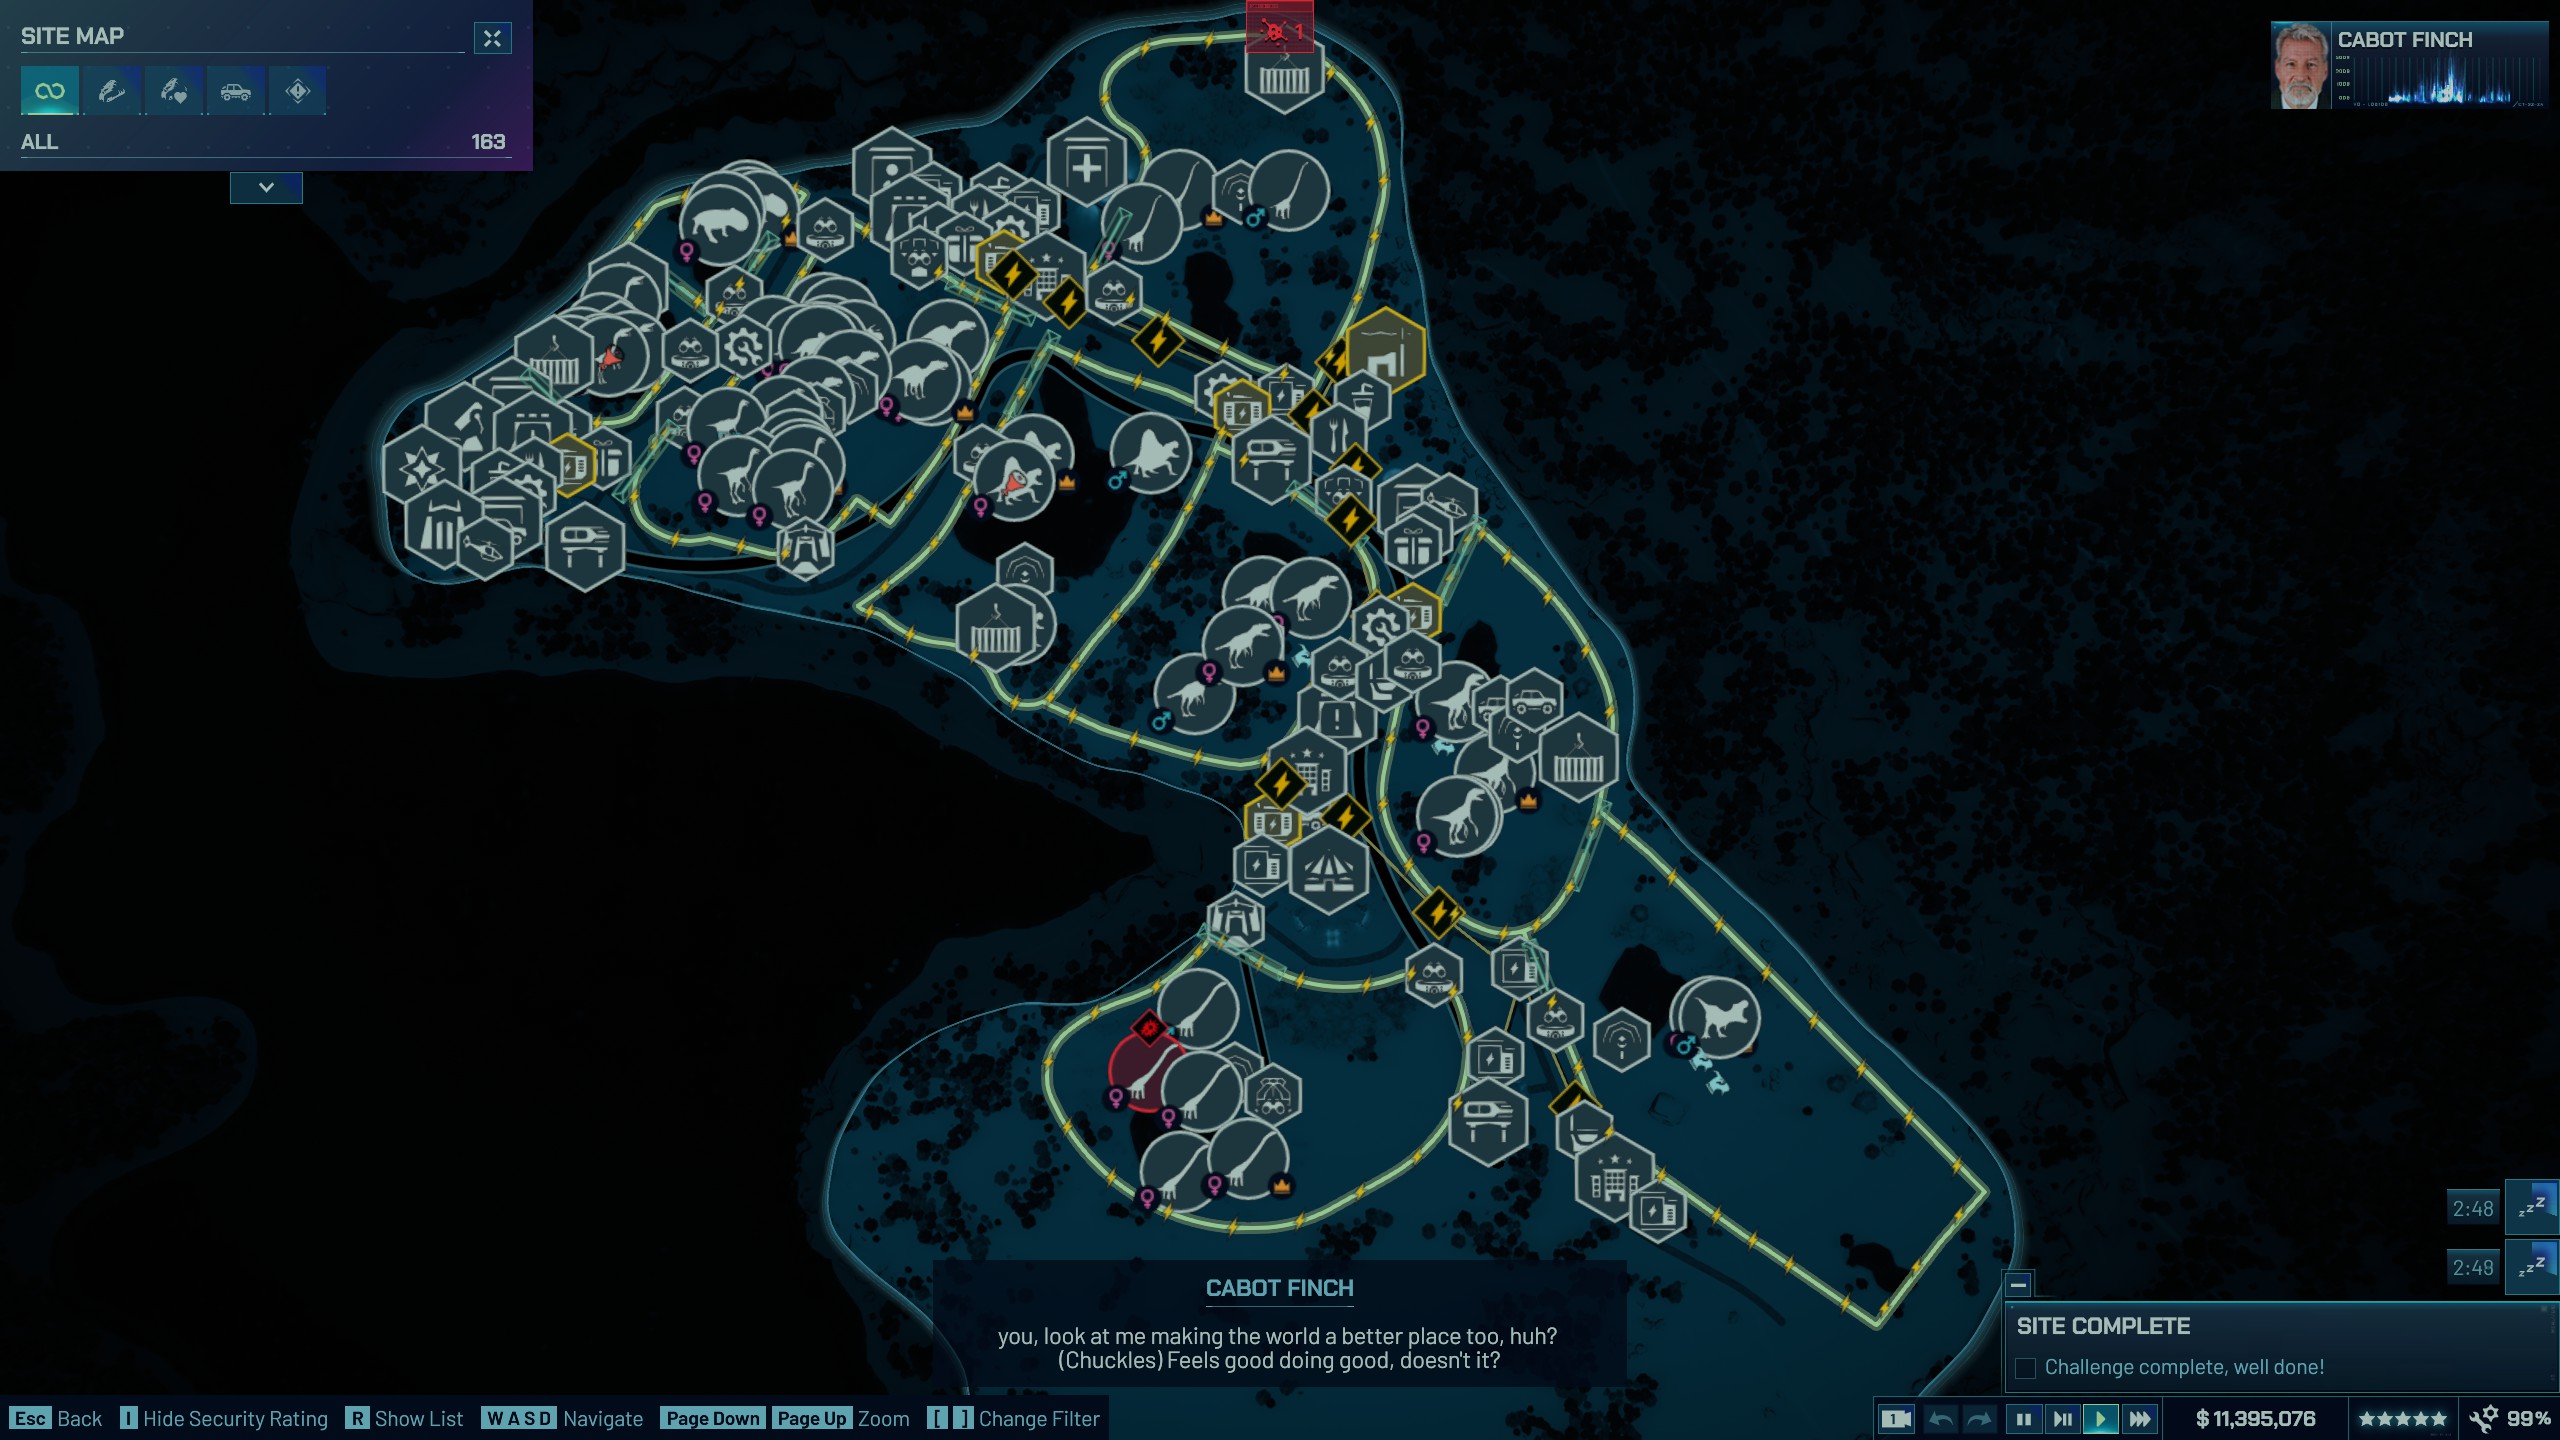
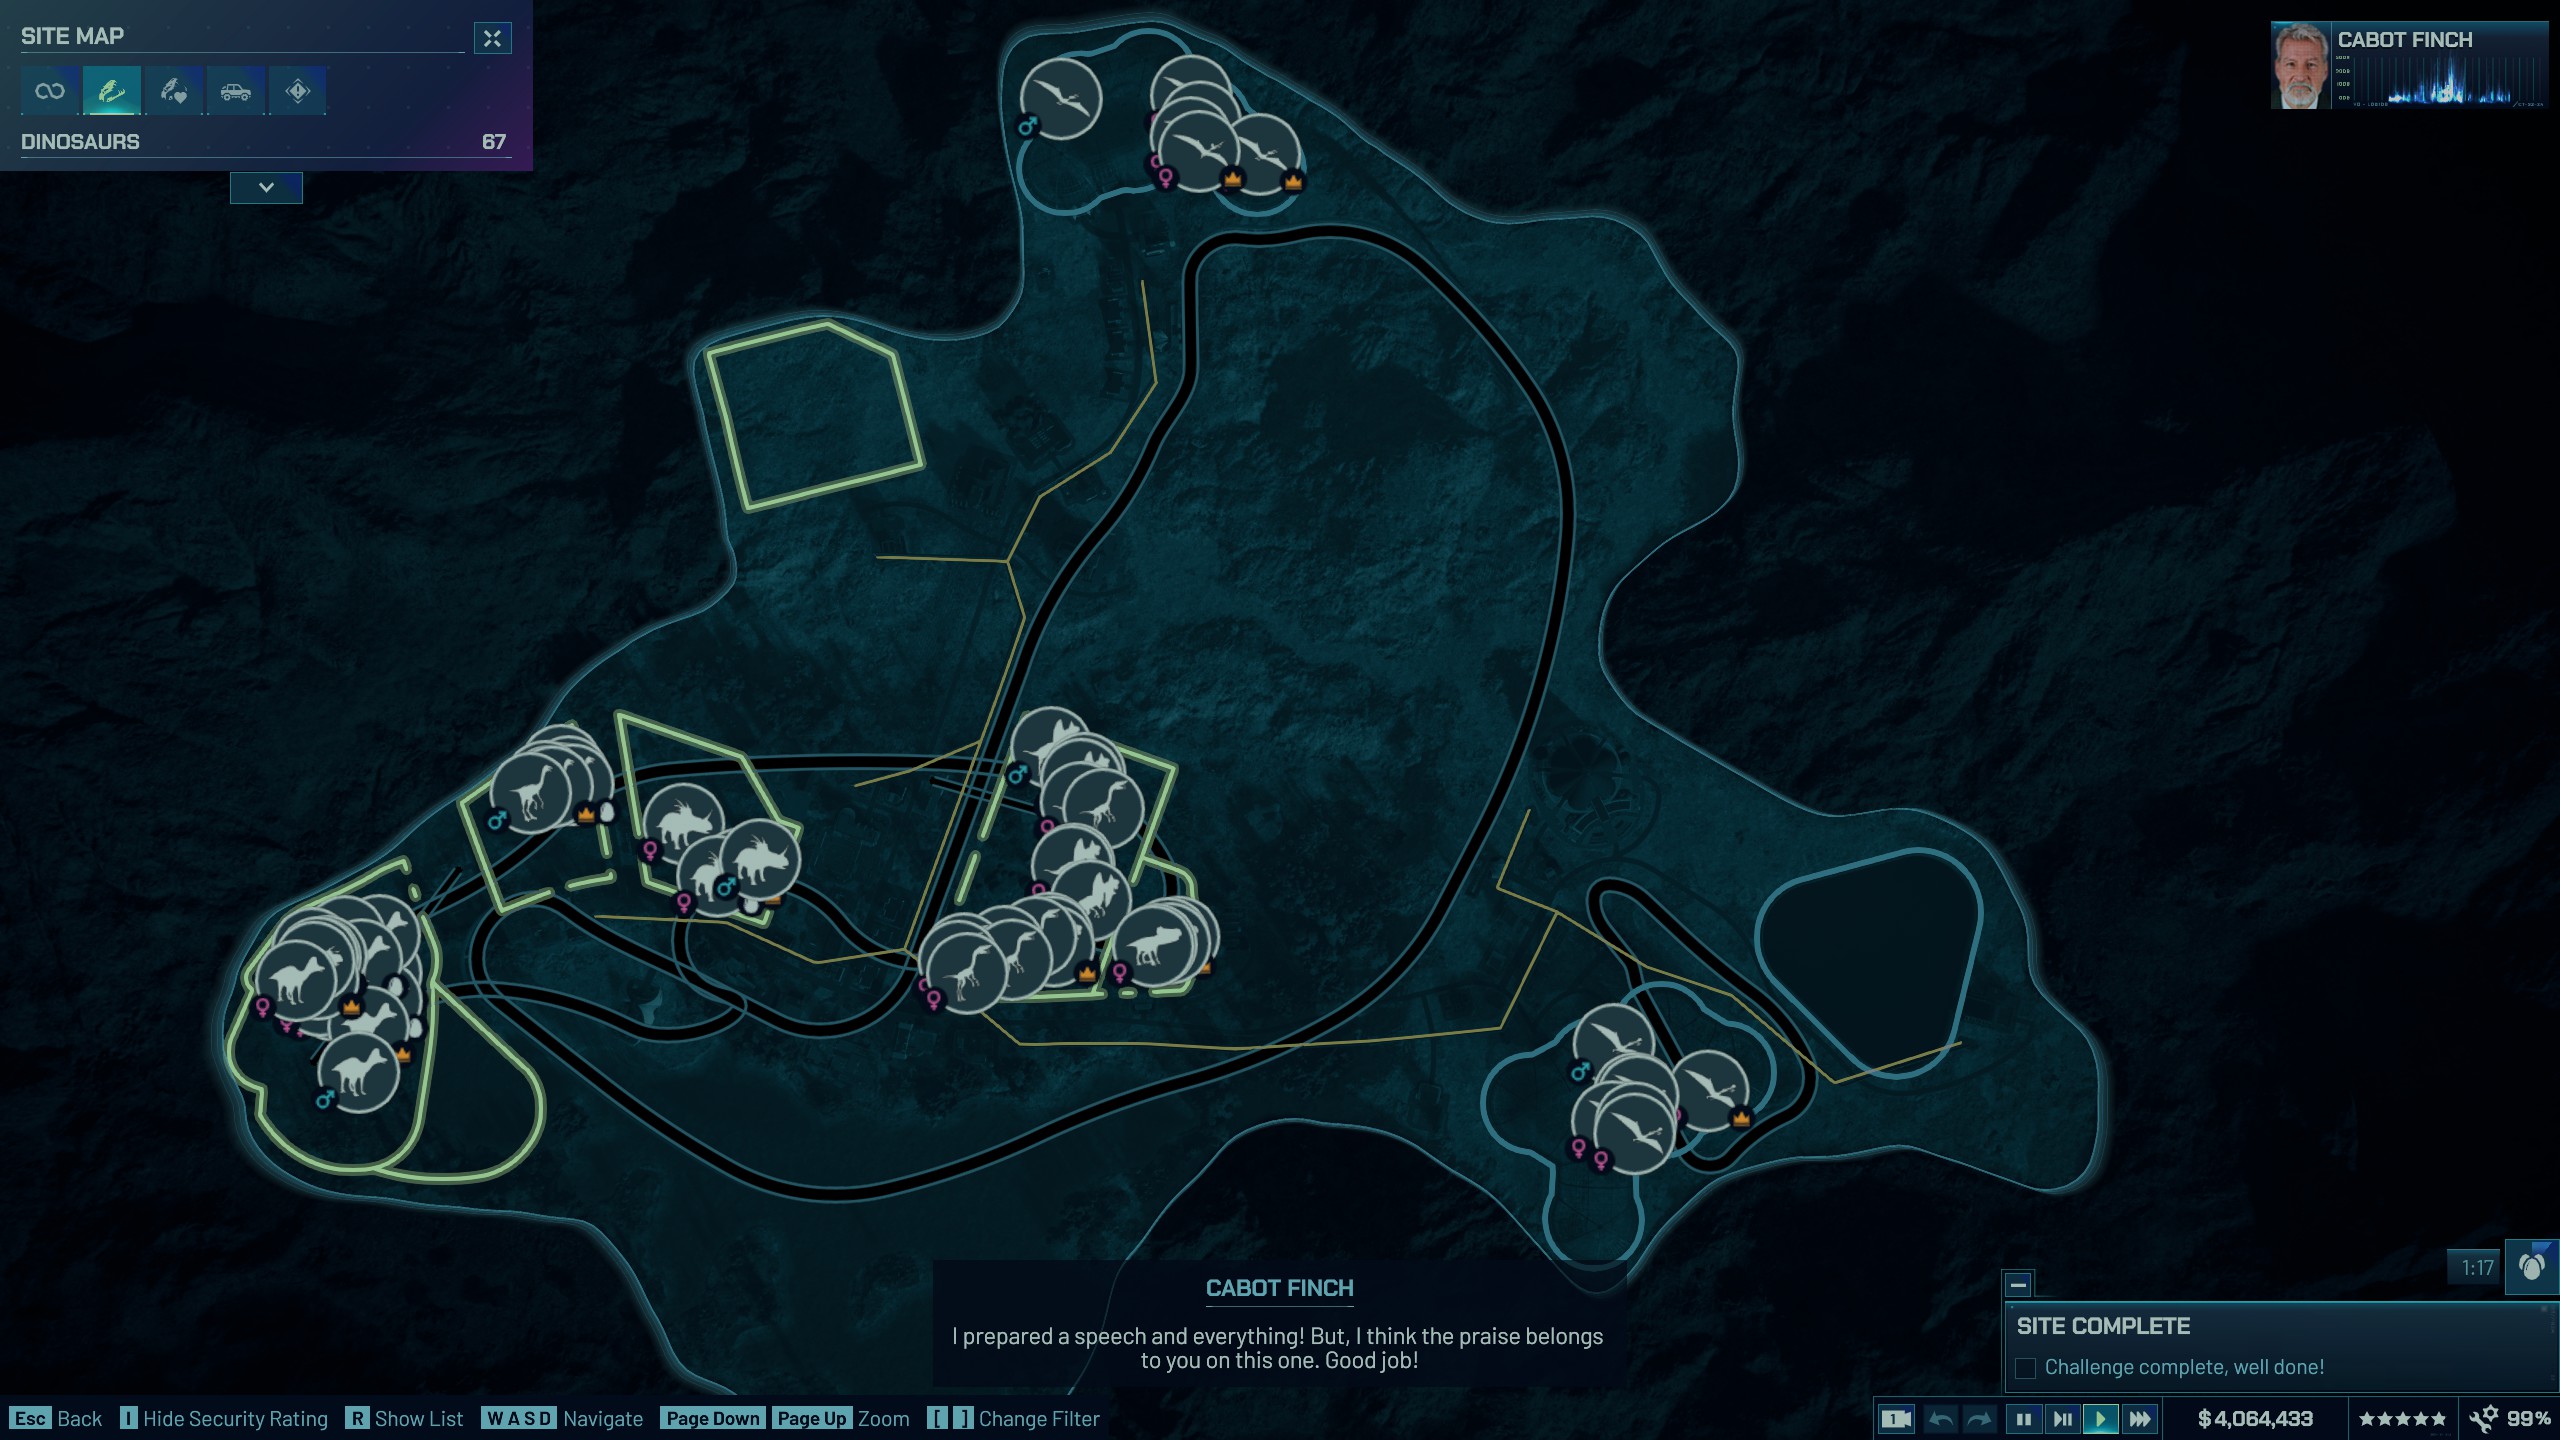
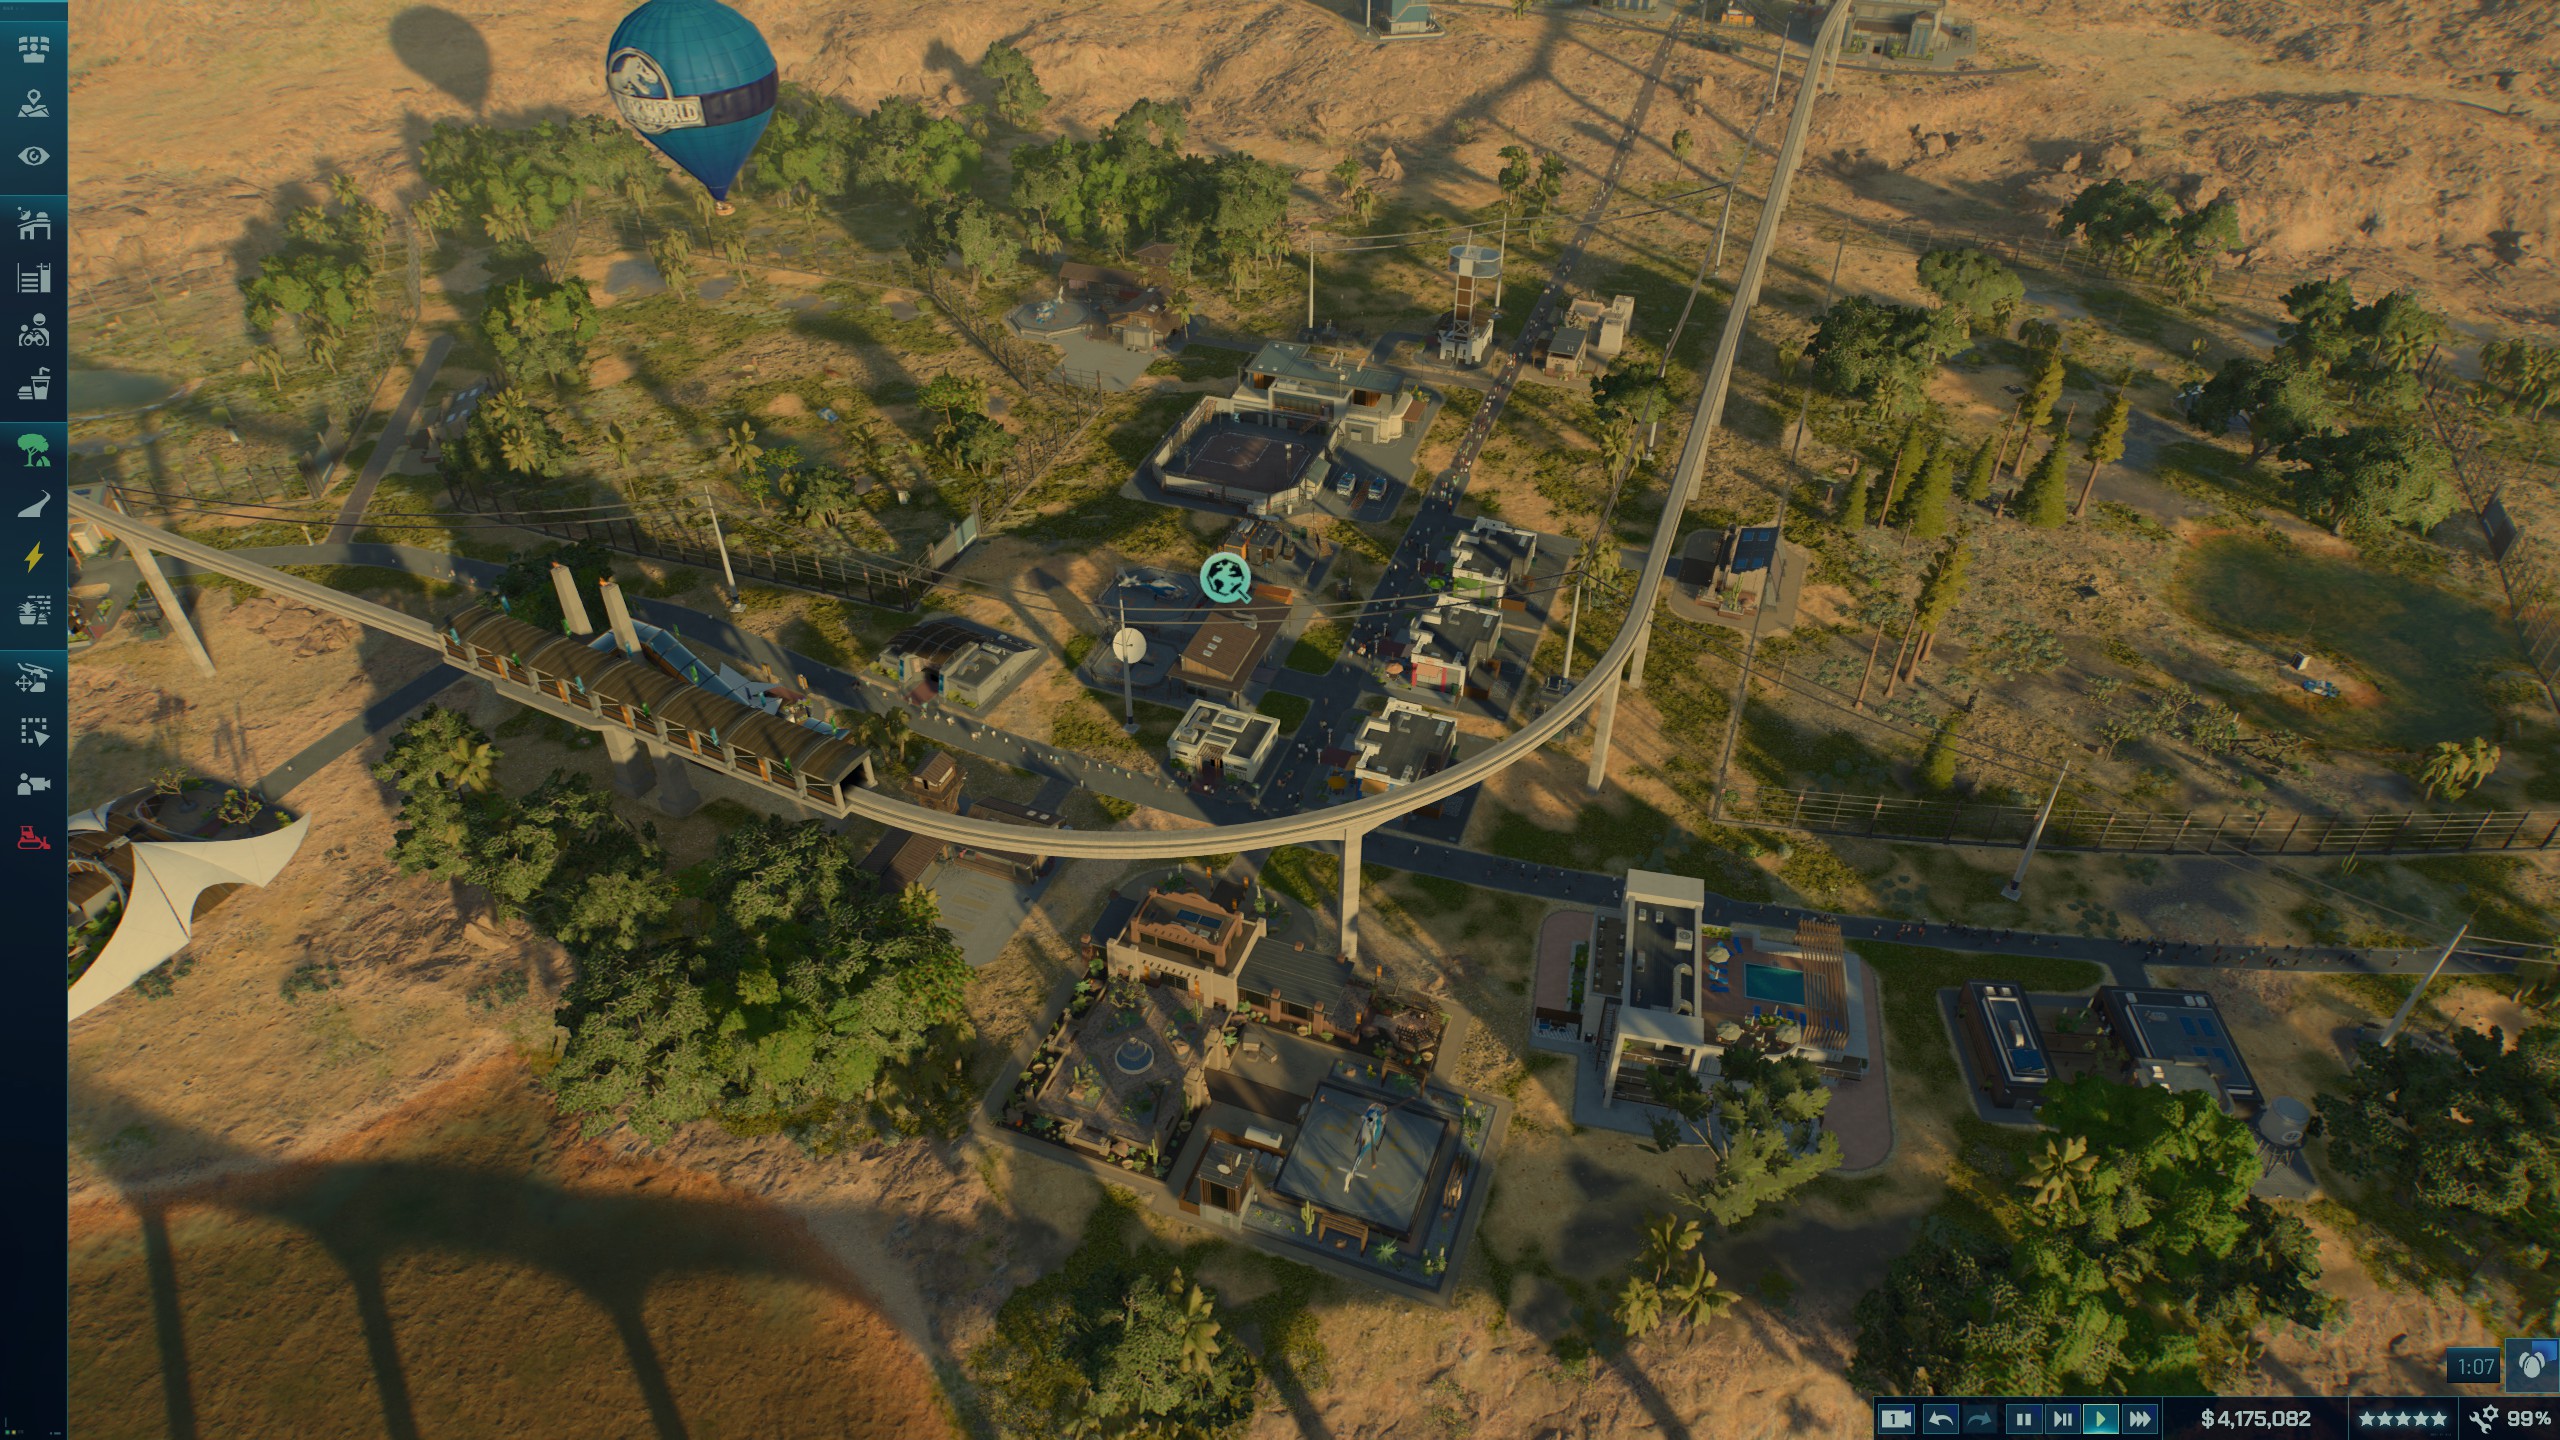
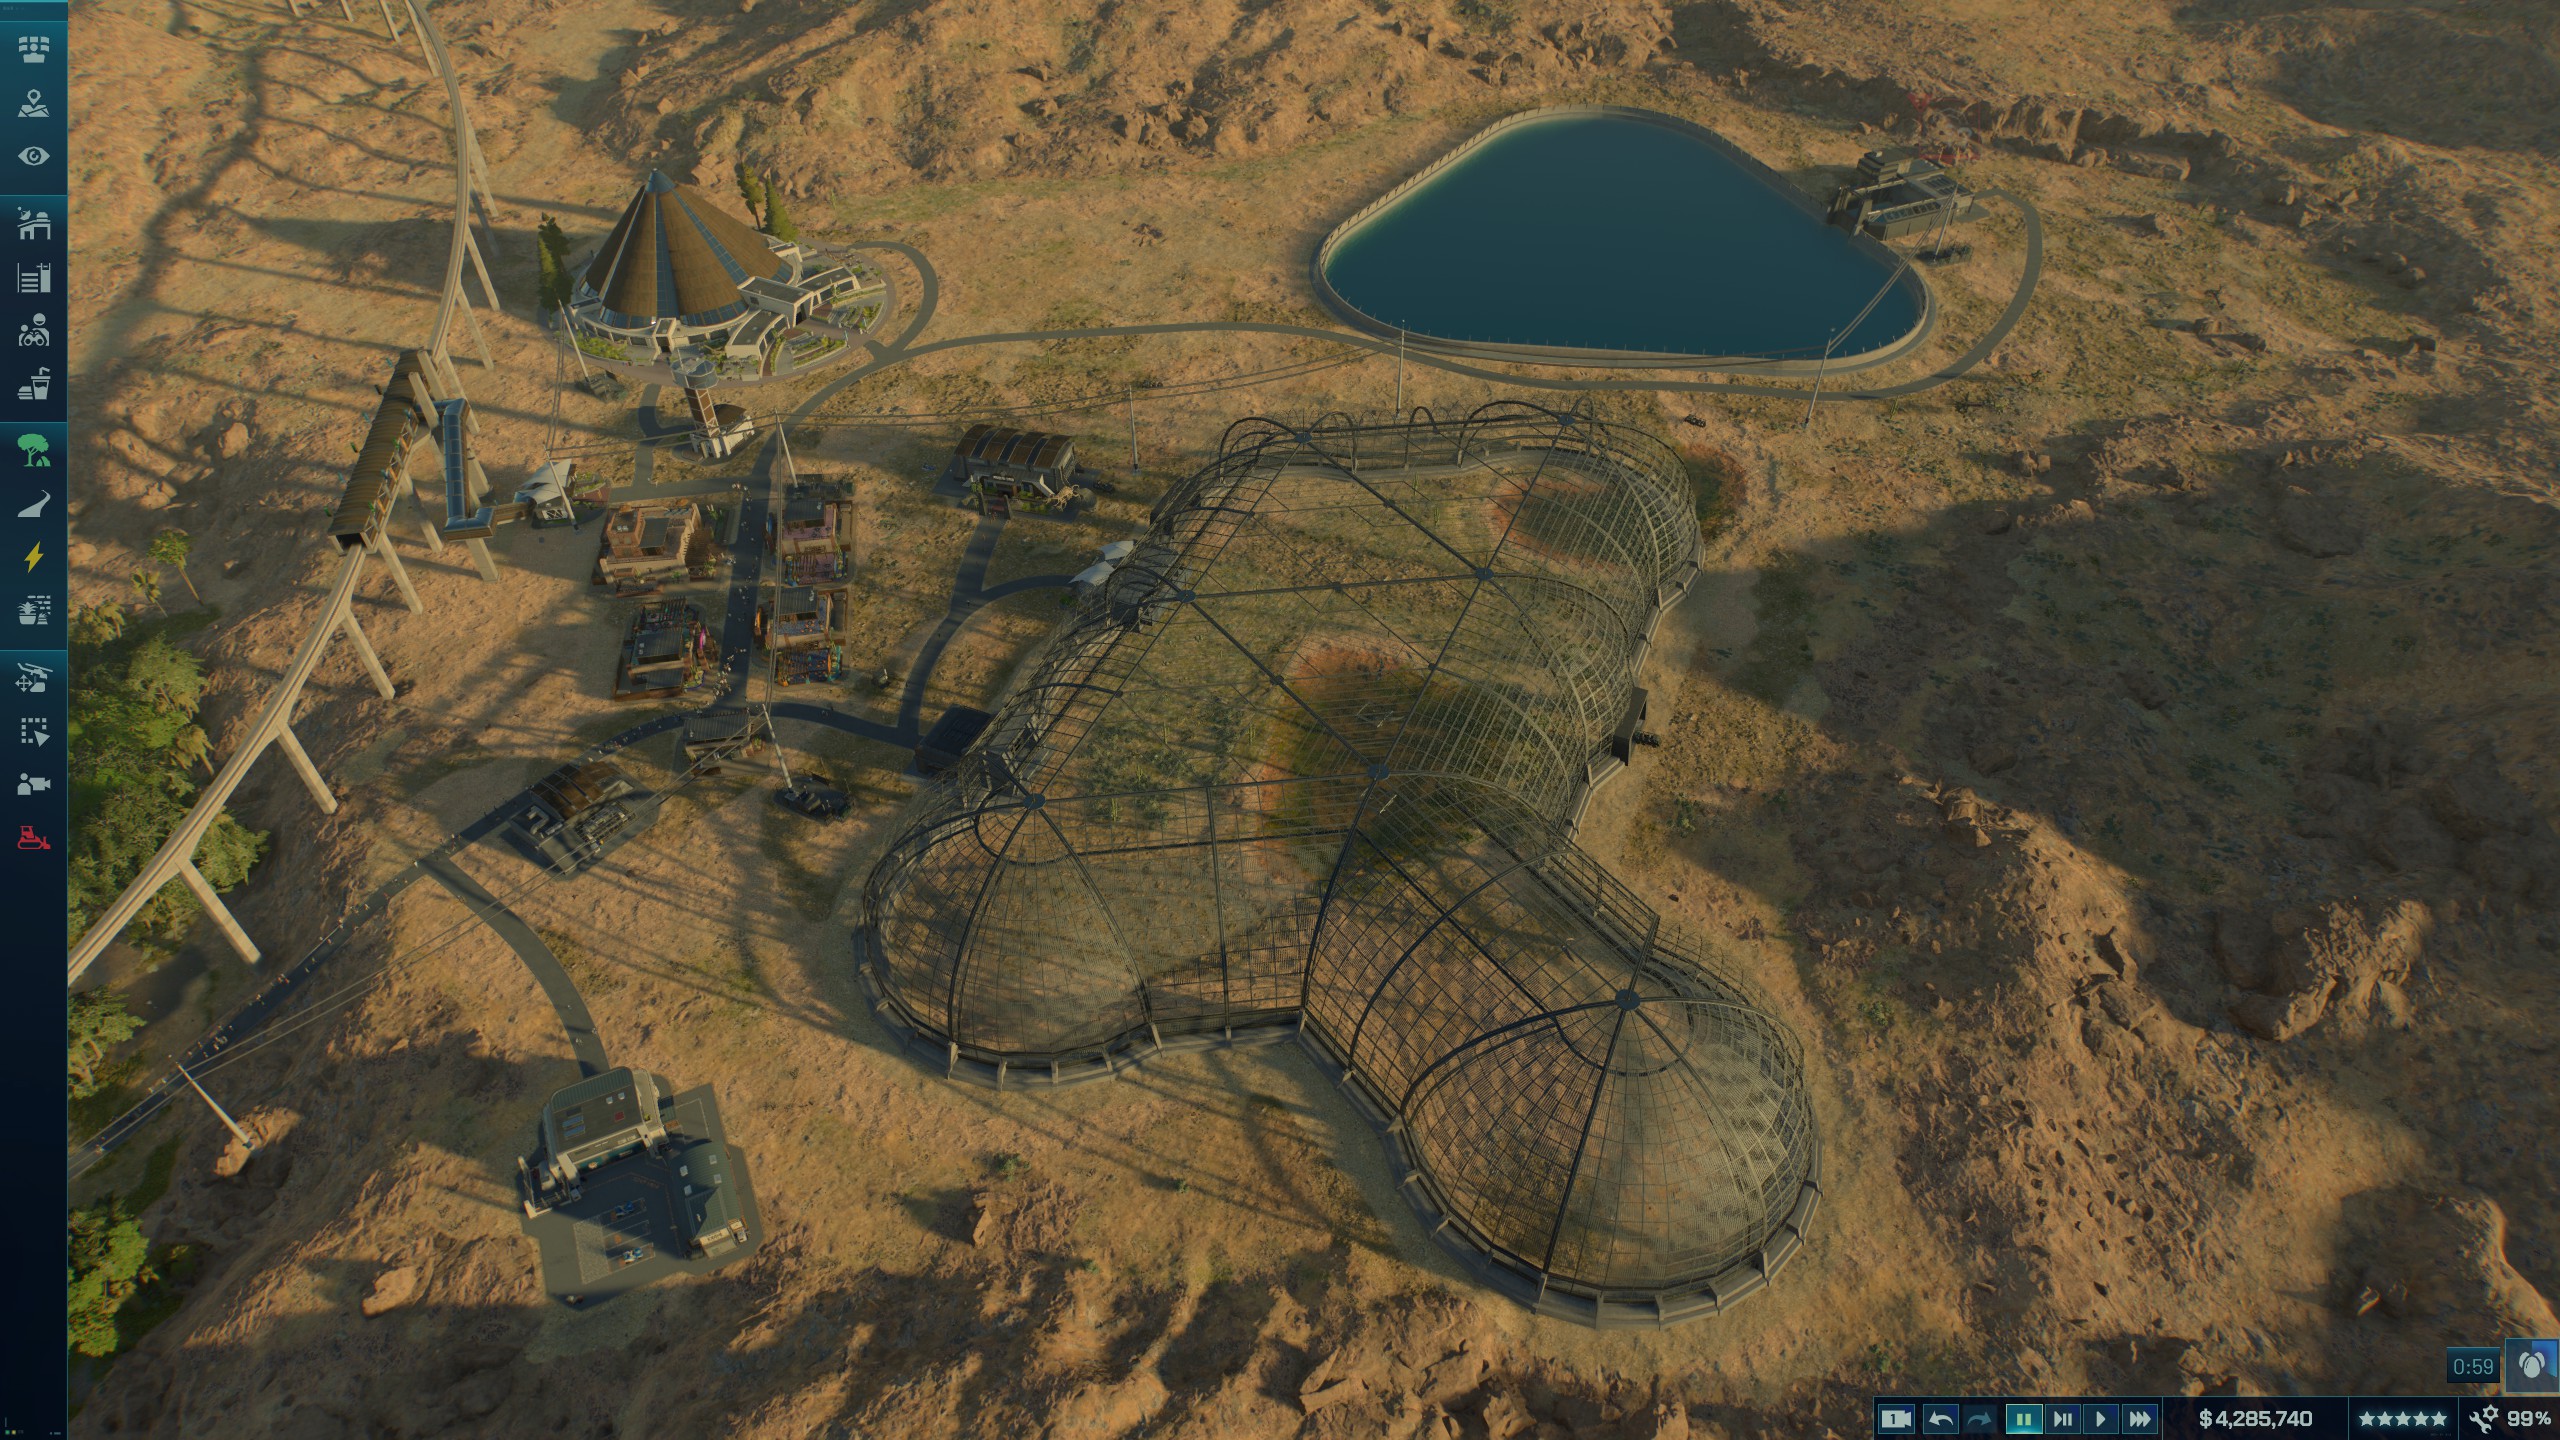
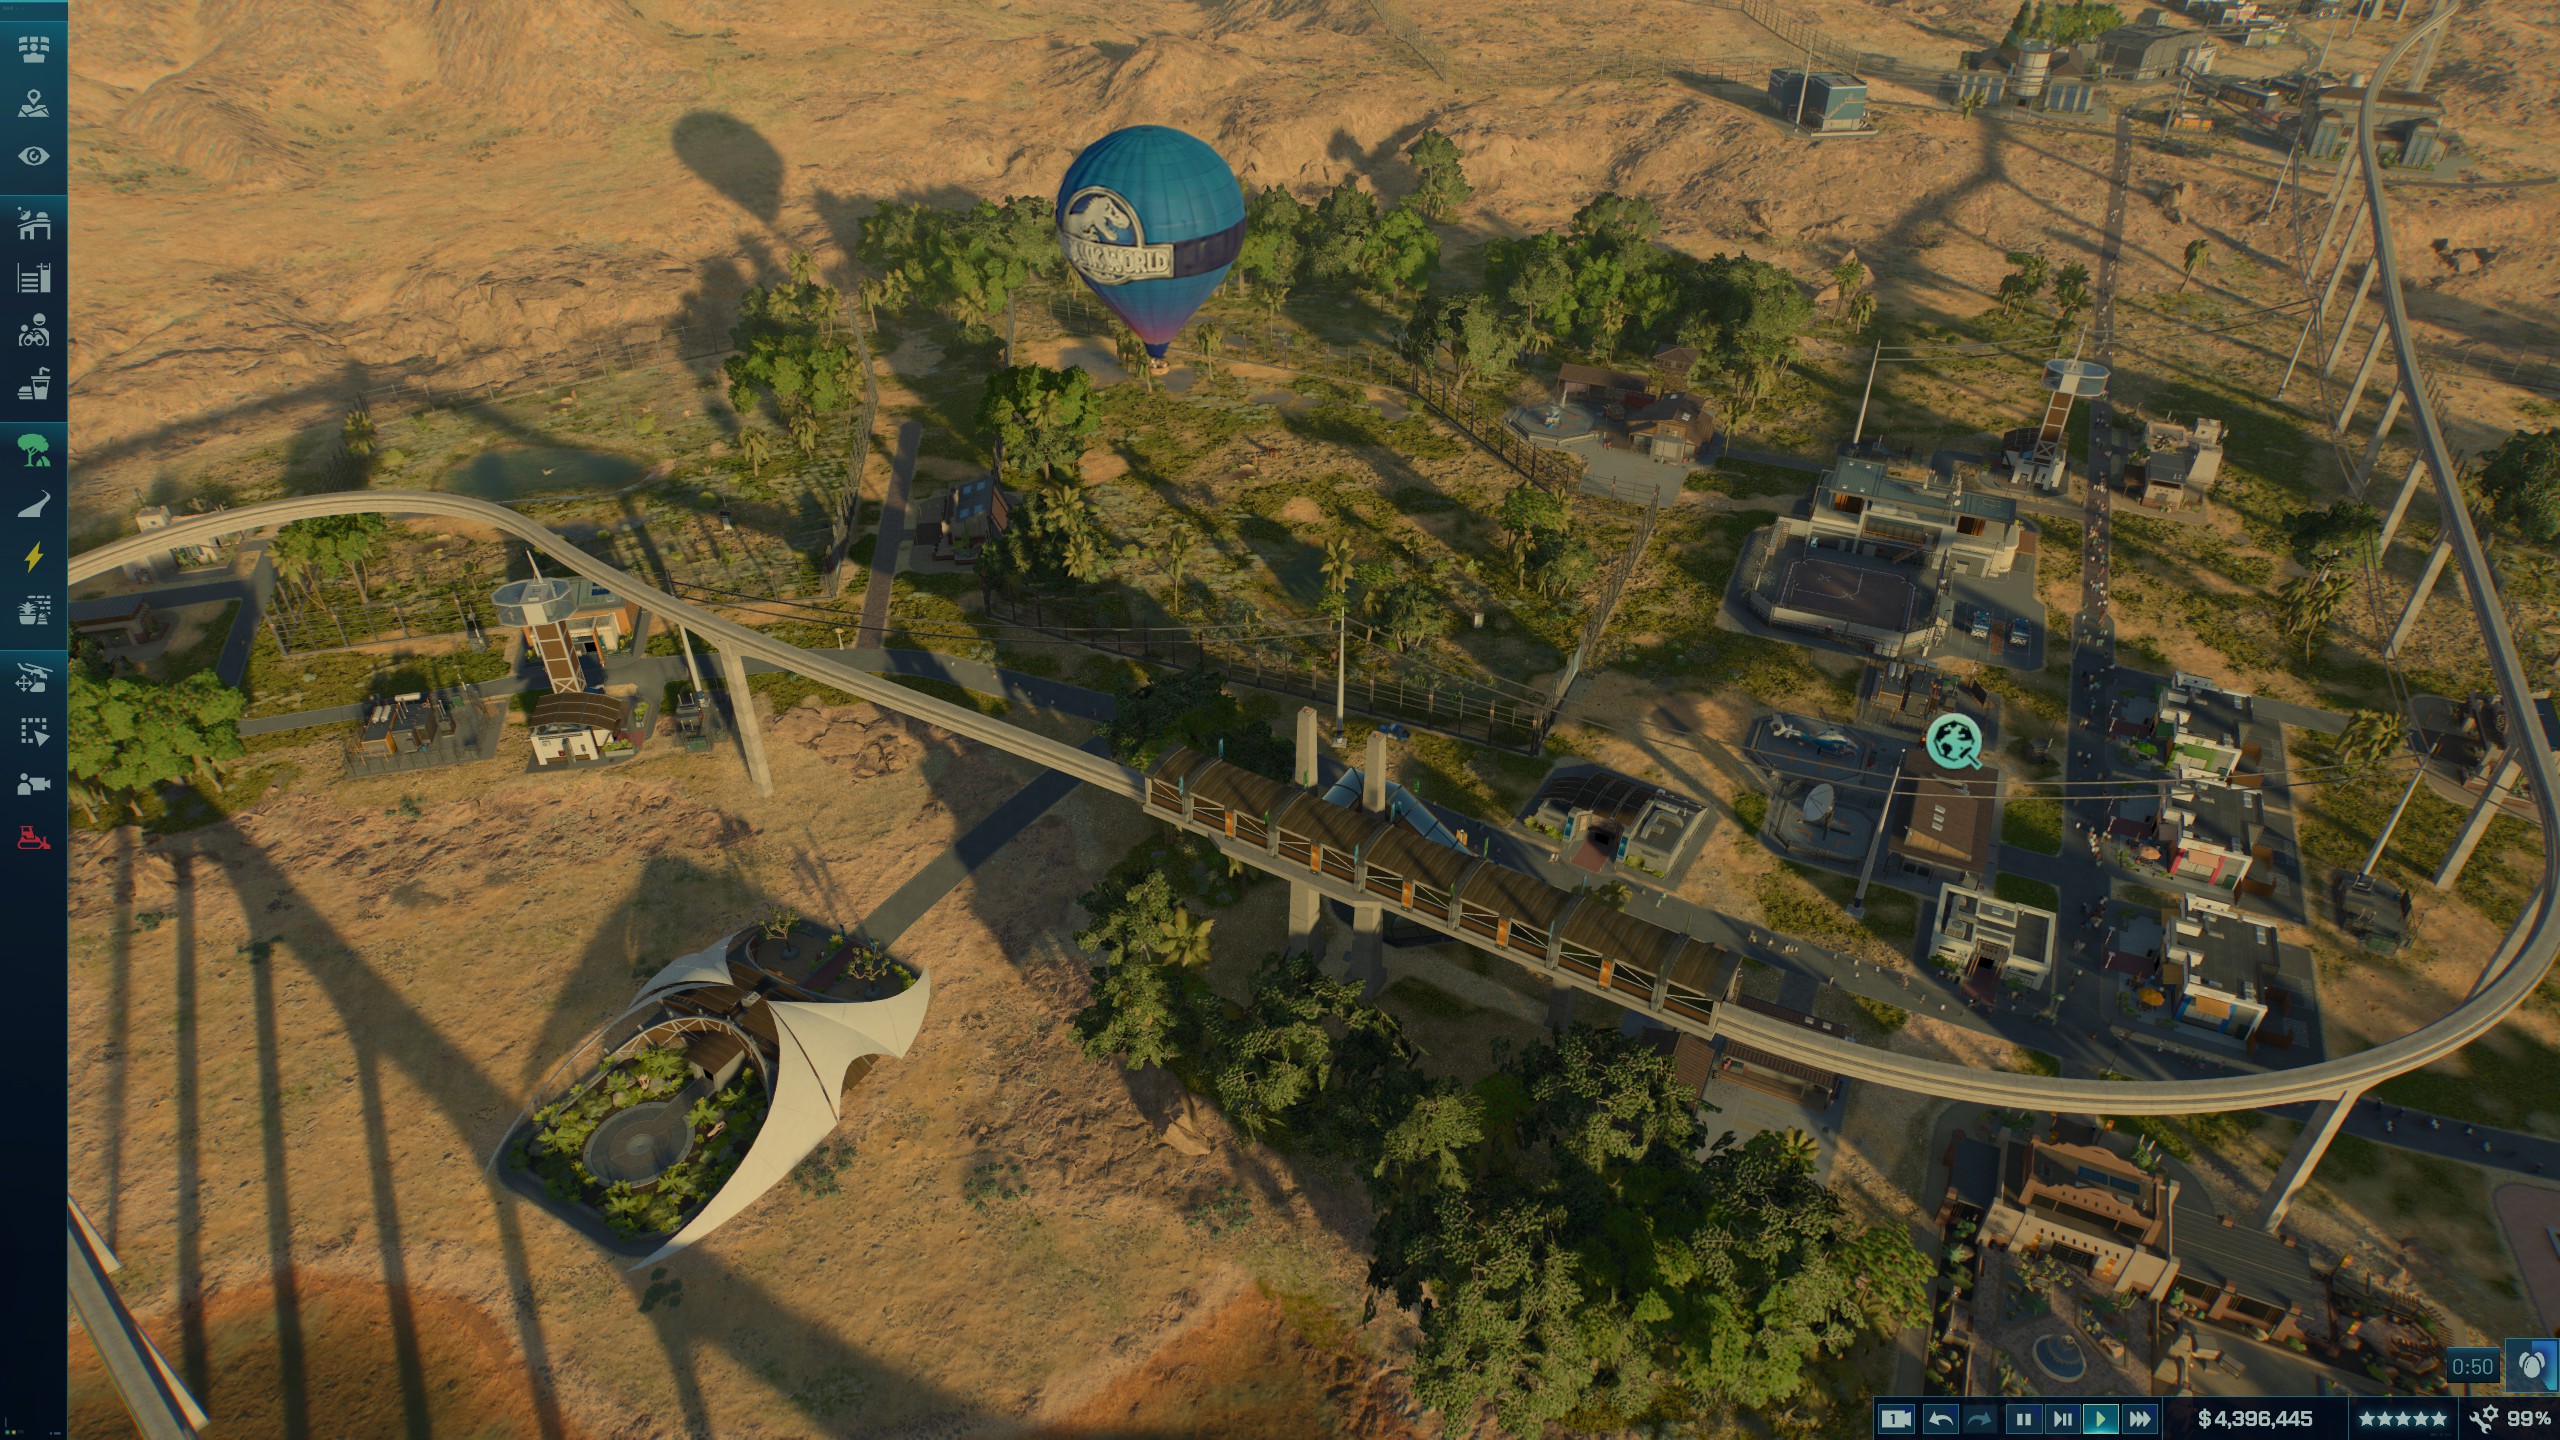
My end-game site map.
You can easily build guest areas focused around the two other aviaries.
Sichuan Safari
As previously mentioned this challenge is bugged for me and a few others, and doesn't show completed after finishing it. I still got the achievement though!
TL;DR
Variety is the biggest challenge. Flex your skills at mixing different dinosaurs into different safari zones.
Mixed Dino Zones:
1)
Microceratus
Parasaurolophus
Sinoceratops
Psittacosaurus
Archaeornithomimus
2)
Chungkingosaurus
Gallimimus
Stygimoloch
Tsintaosaurus
Diplodocus
3)
Kentrosaurus
Homalocephale
Mamenchiasaurus
4)
Nasutoceratops
Muttaburrasaurus
Overview:
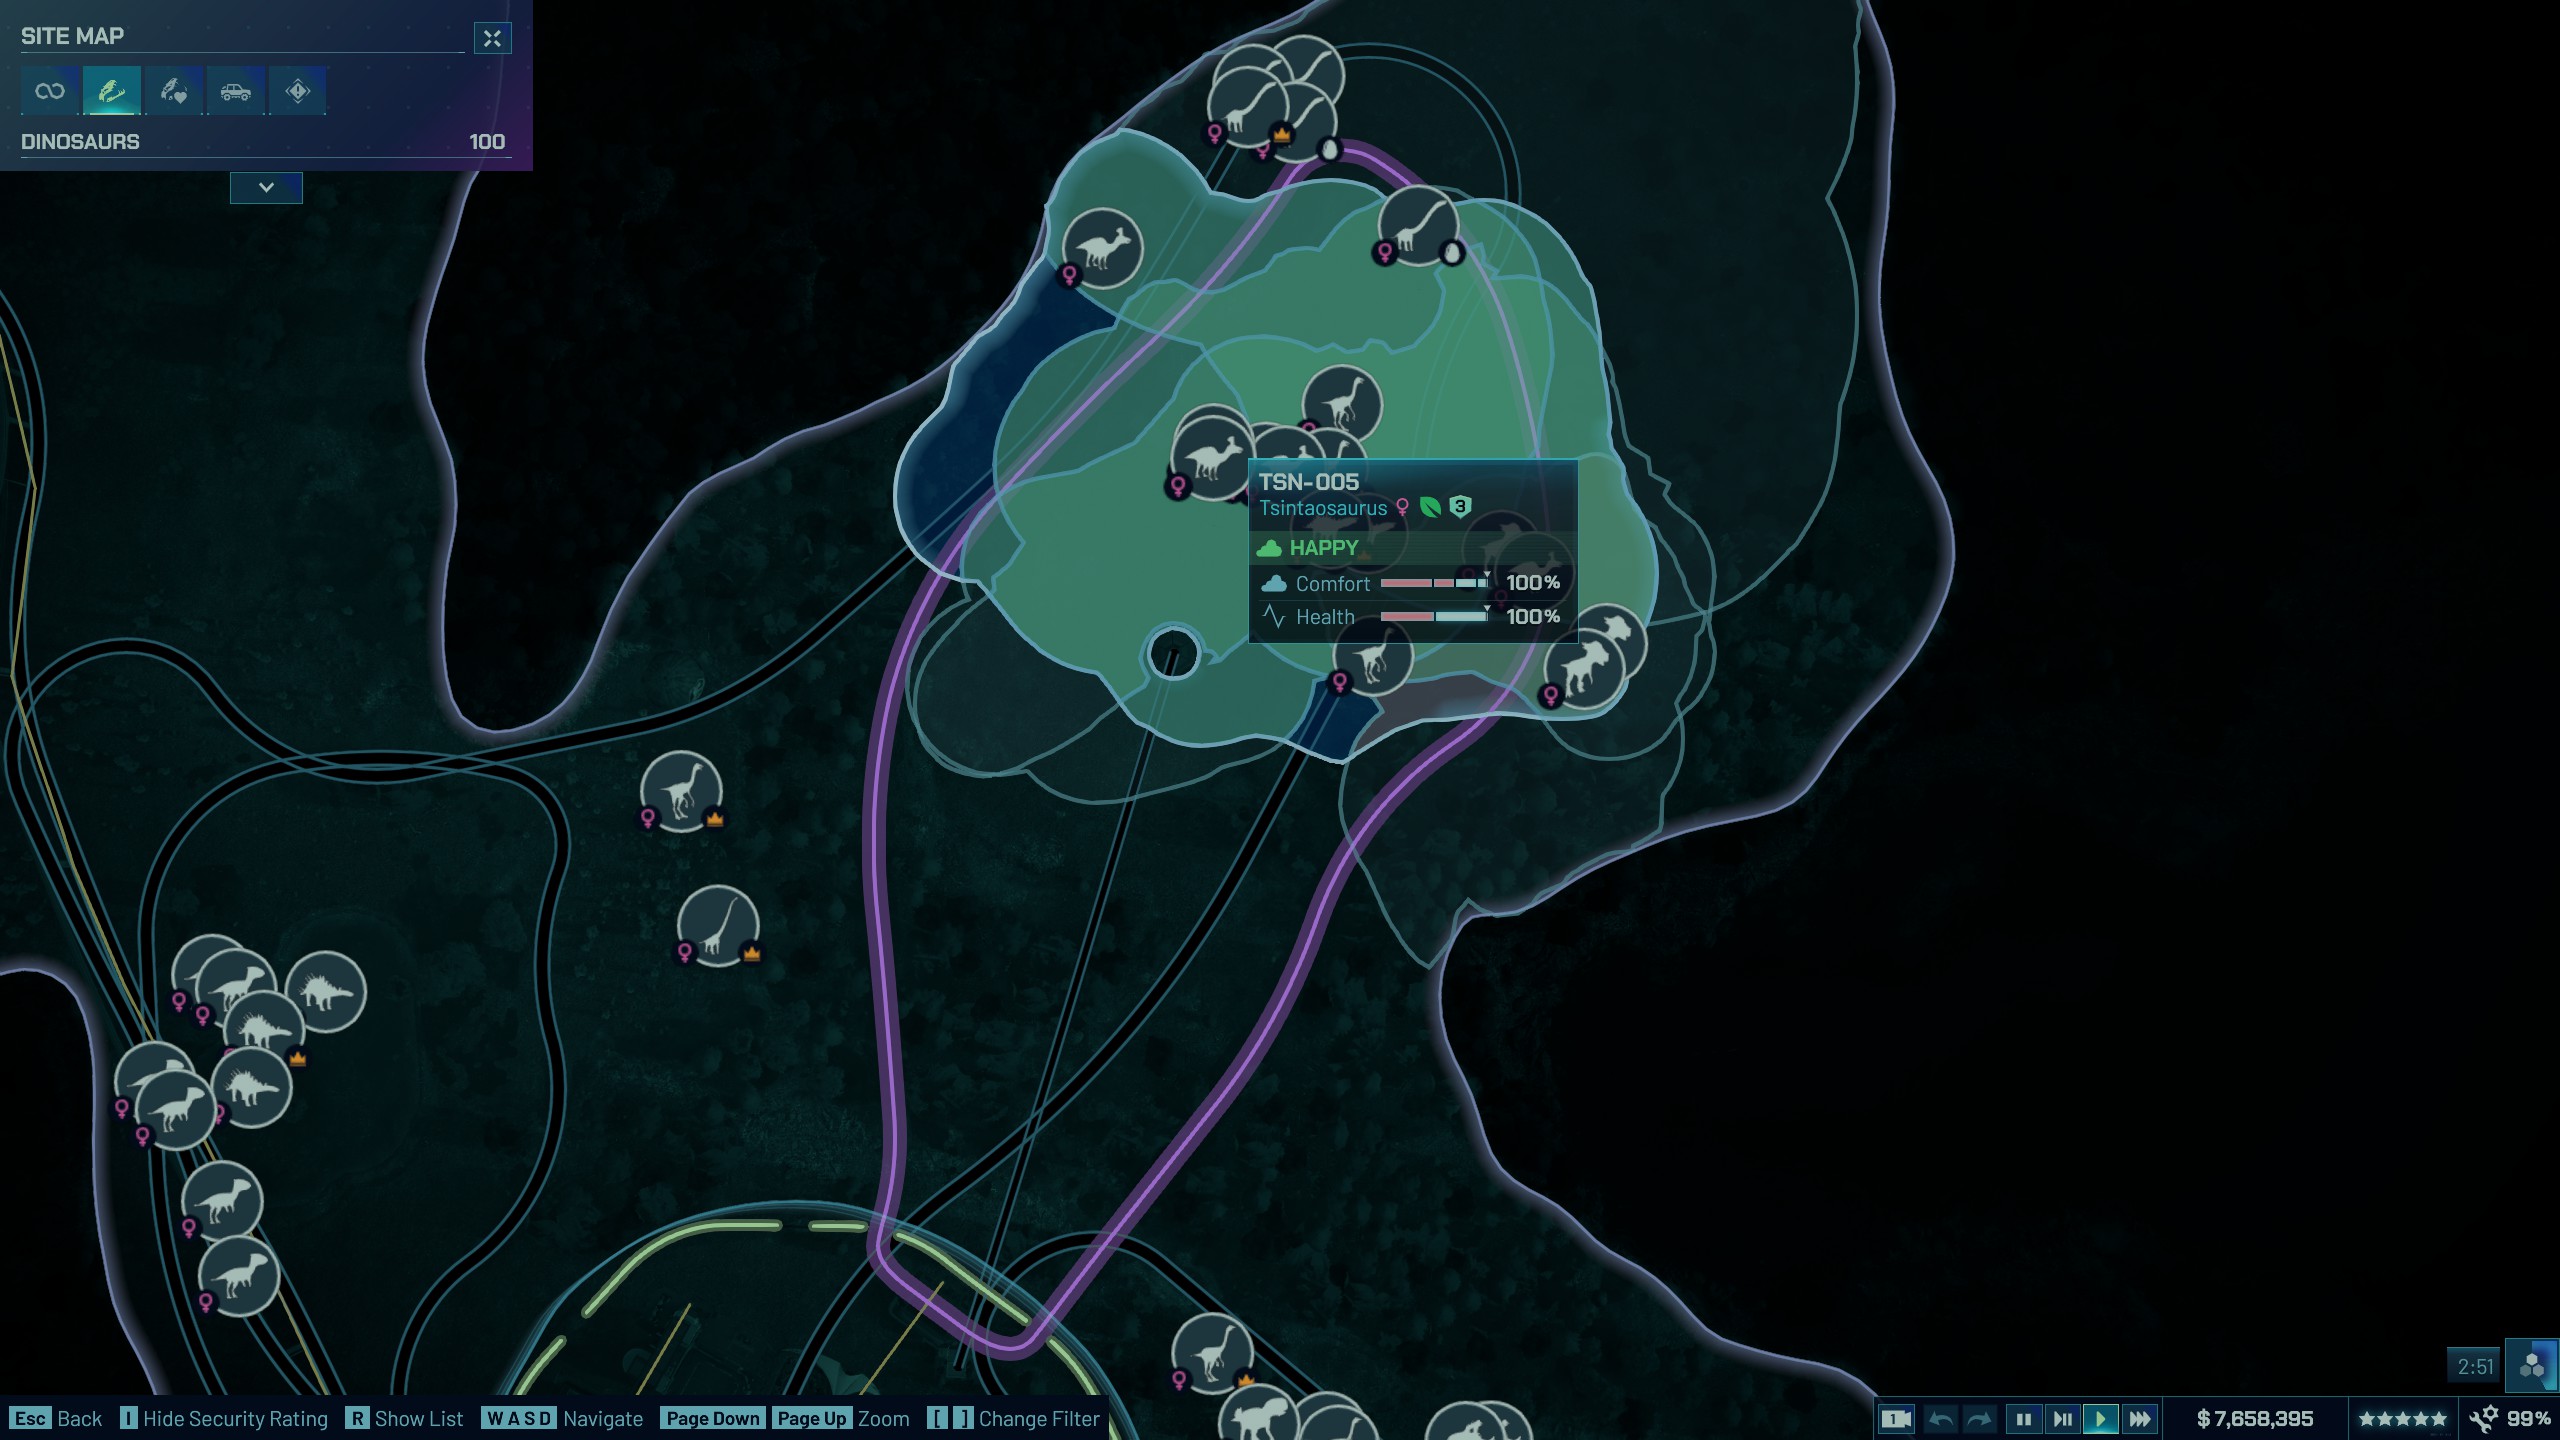
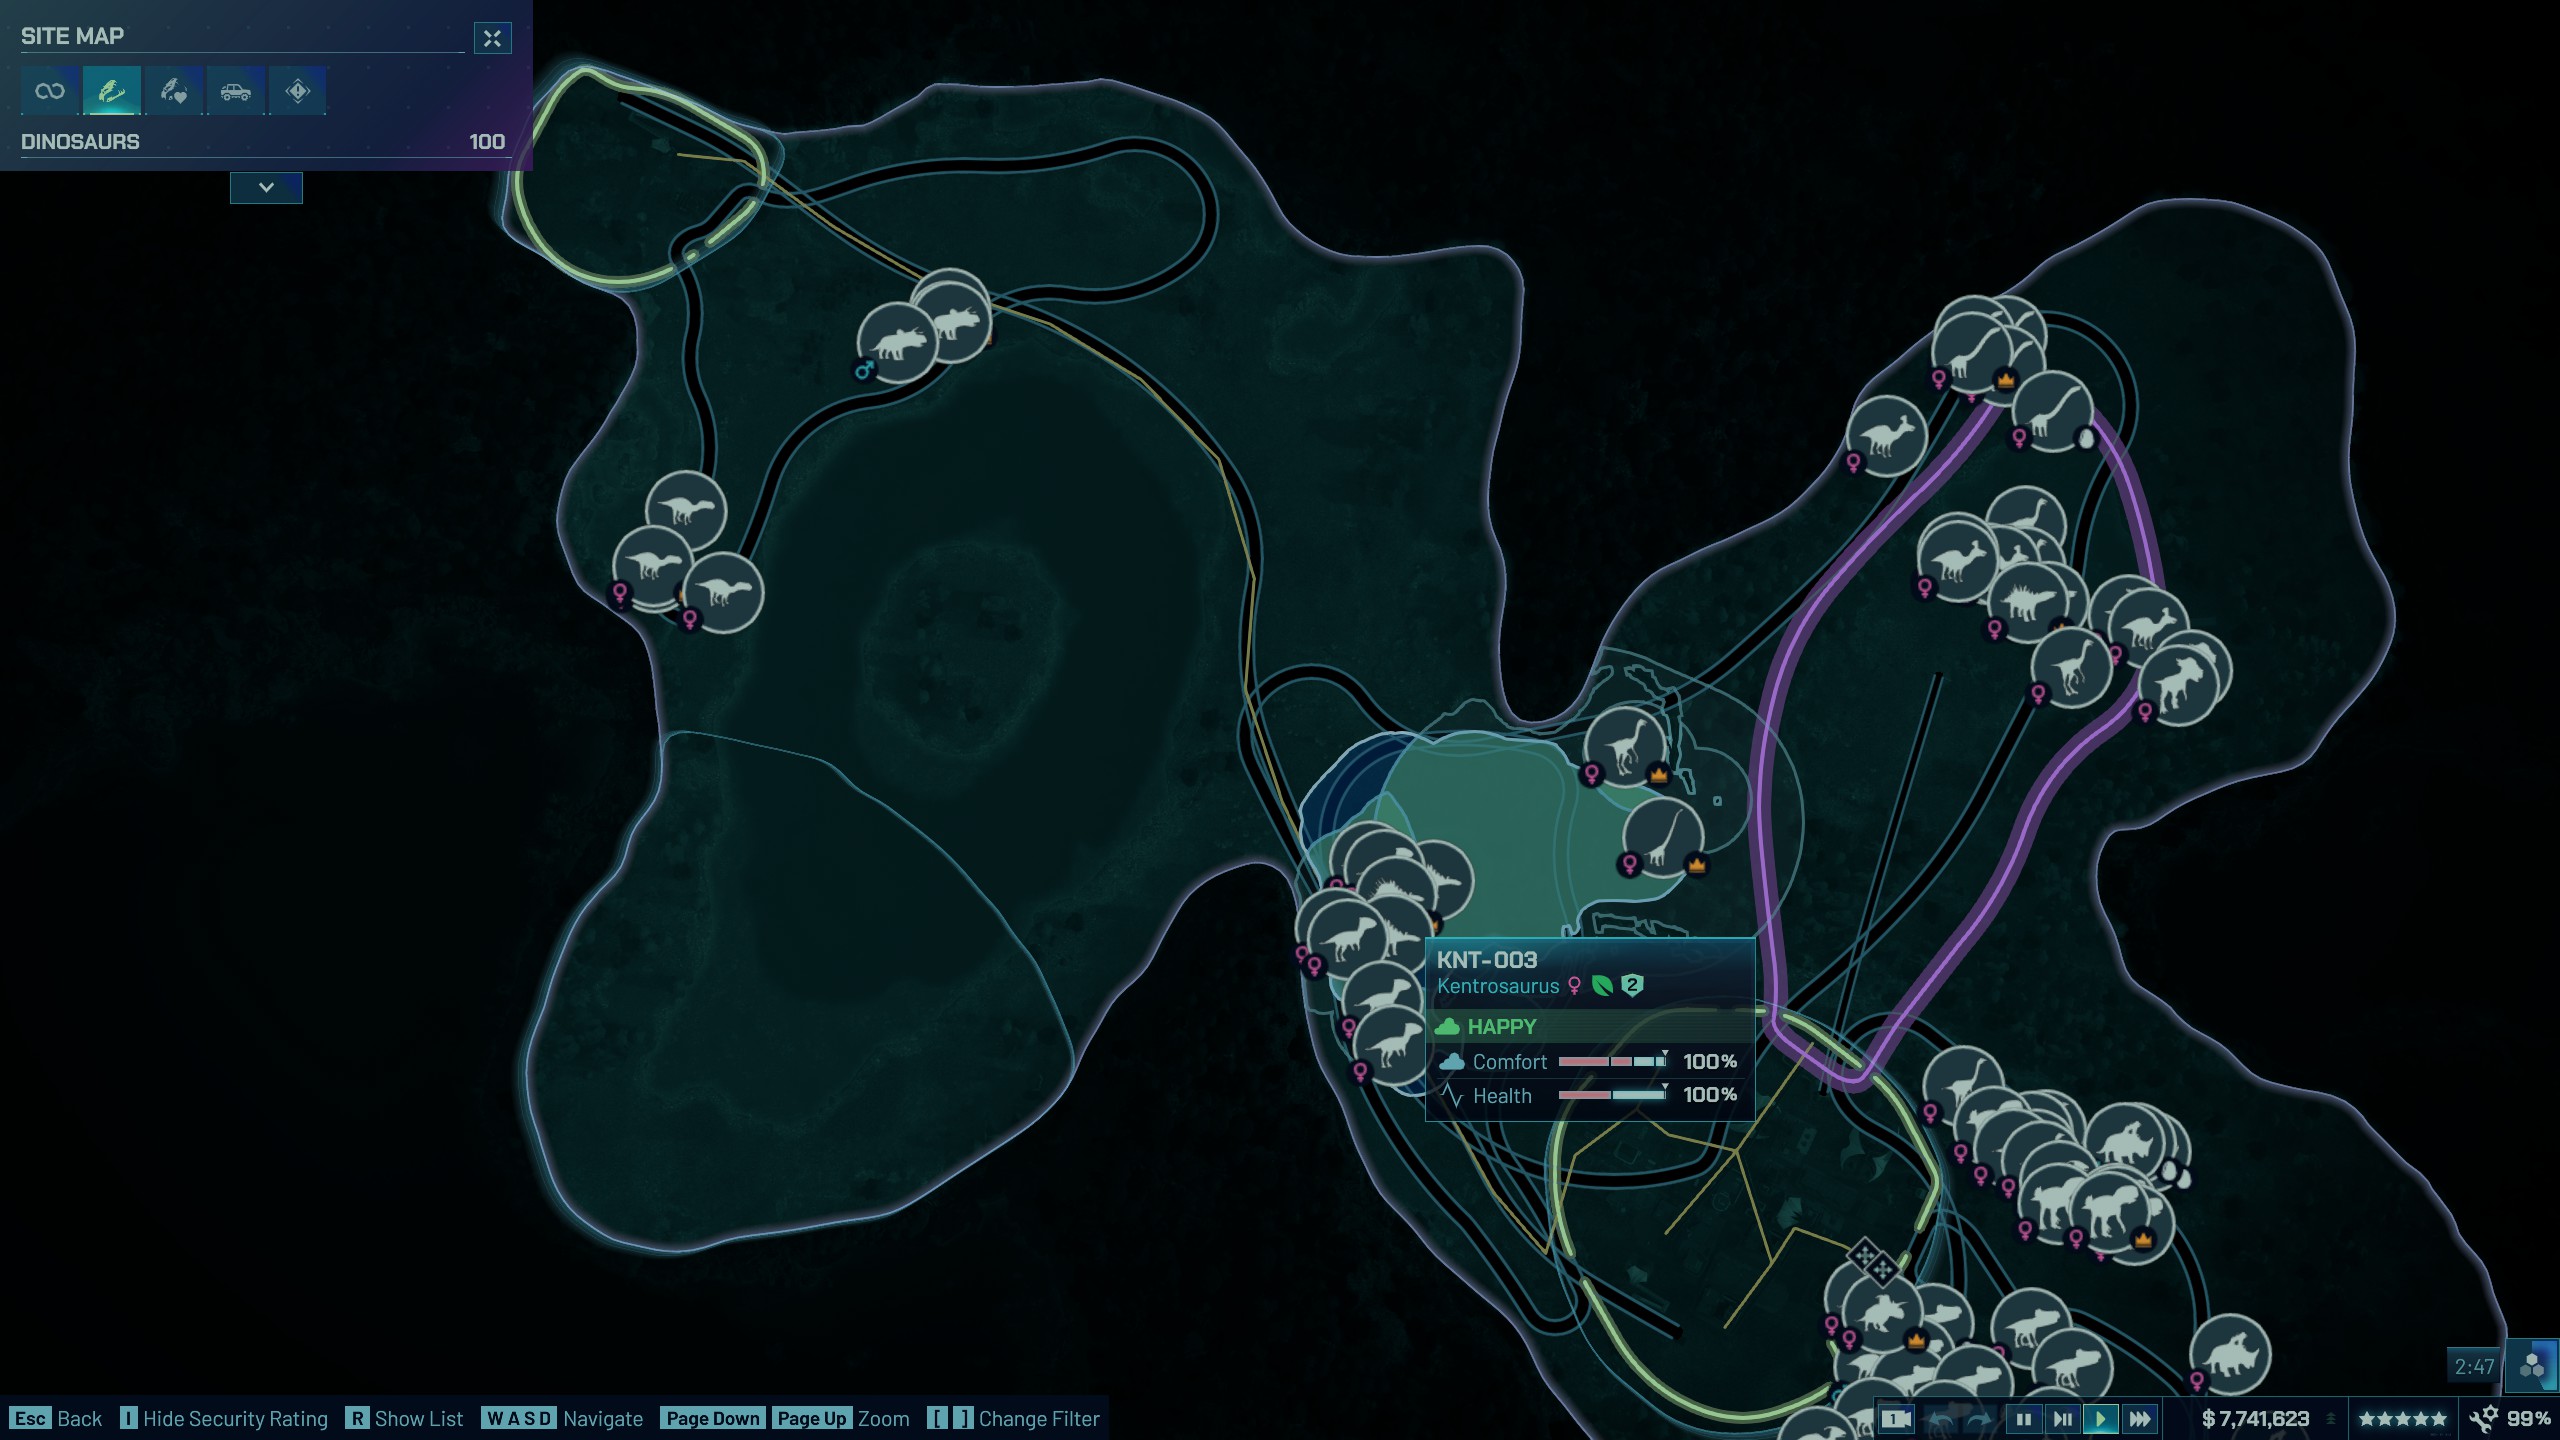
Completed site map
This is a fun challenge. Your infrastructure / guest area is limited and surrounded by a huge open area intended for a free range safari. You'll need to use mostly tours, mixed with some remote galleries and viewing towers to keep visibility and guest count up.
The biggest challenge here is hitting the variety target. Sixteen dinosaurs all living free range can be a bit tough if you're not good at pairing dinos, so hopefully this guide will help.
You can roughly divide the starting area around your fences into three zones. You also start with two remote areas that will only be accessible for guests once you research transportation.
You have a decent amount of time to finish this, and the natural disasters are not too bad here.
As of writing this, this challenge was bugged for me and after completing it, it no longer marked as completed. A few other people have reported this bug.
To save space, build close together. Scenery collision is disabled, which helps a lot. I recommend the european alpine building set to keep things neat and tiny.
Again staff rest is instant, so don't be afraid to assign multiple staff members to every project to speed up the times.
Occasionally some of the quicker dinosaurs will get lost or migrate away from their pack, simply tranq them and fly them back home.
Beautiful European town in the middle of China is probably too IRL.
Strategy:
The first zone
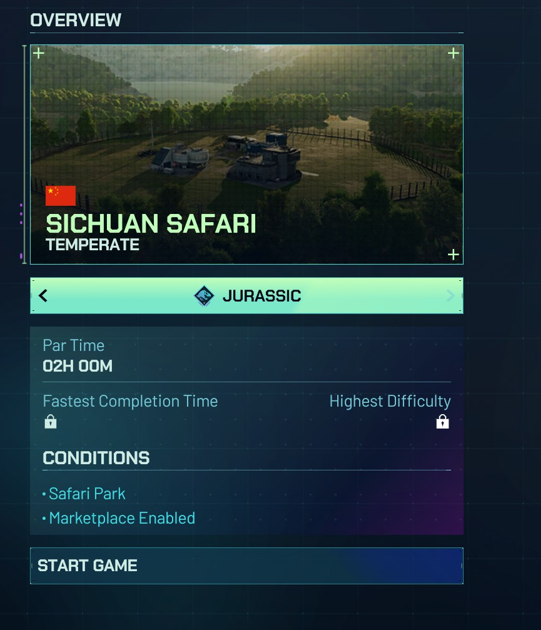
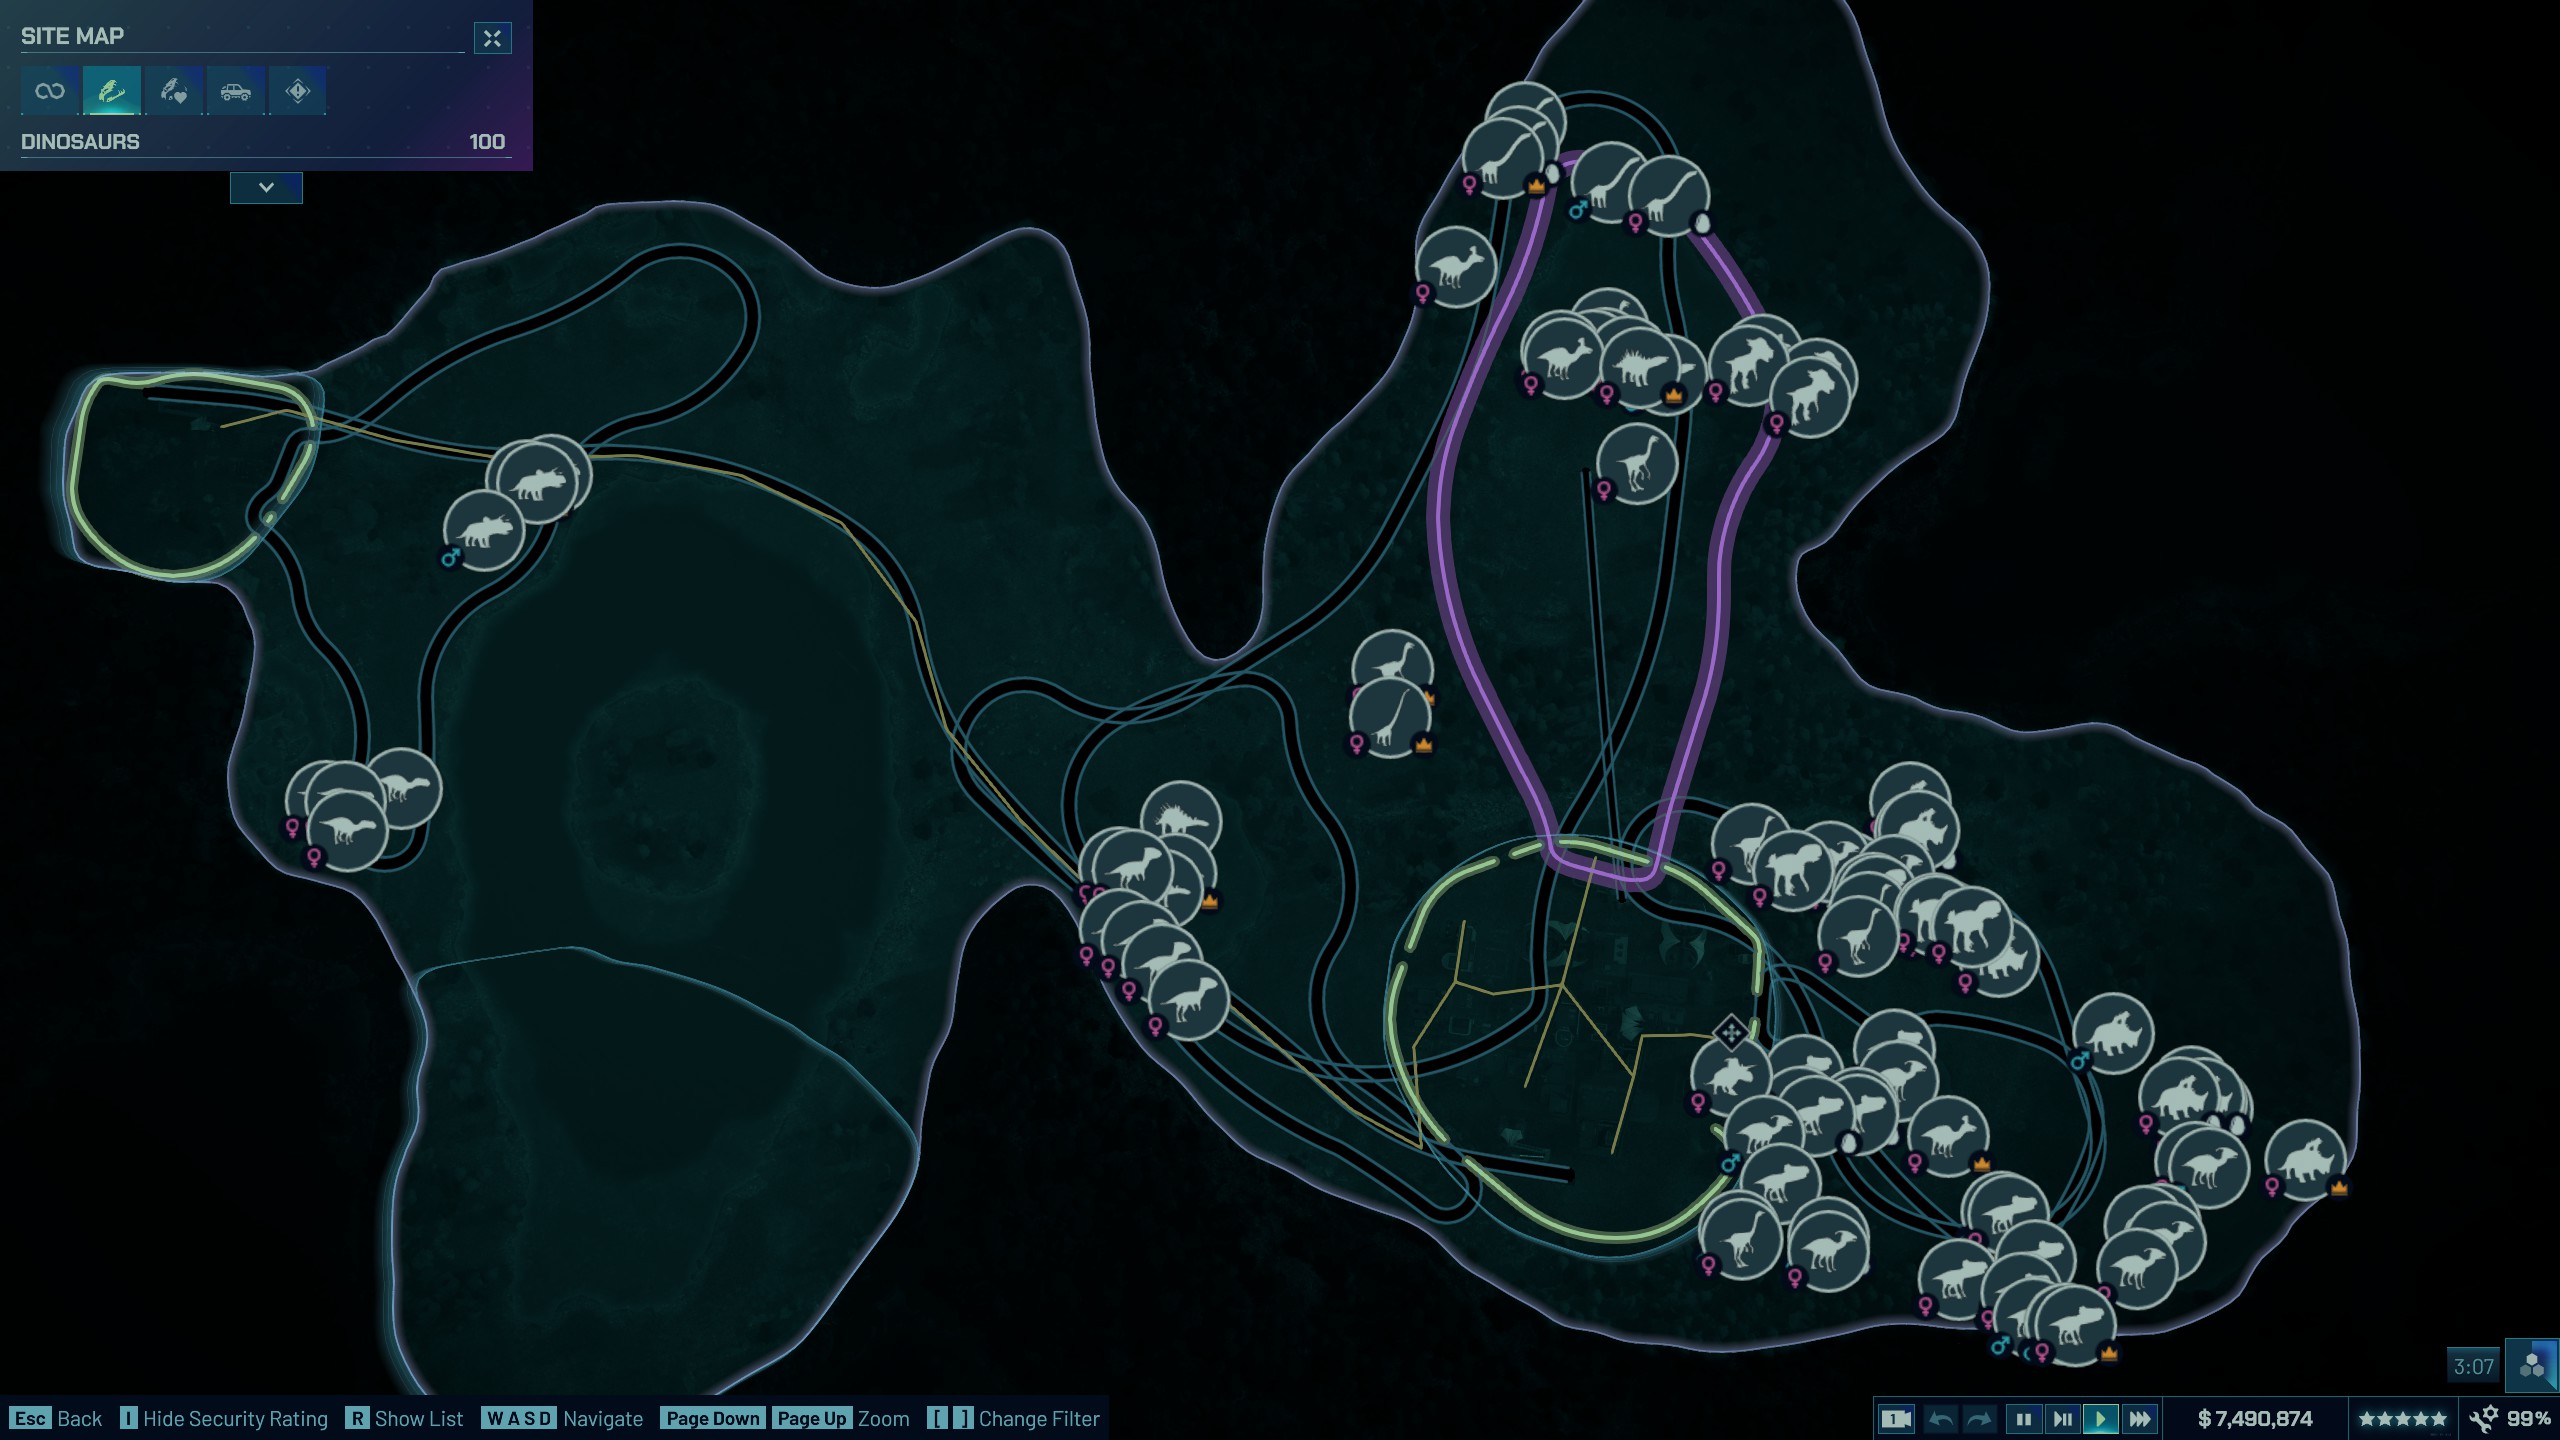
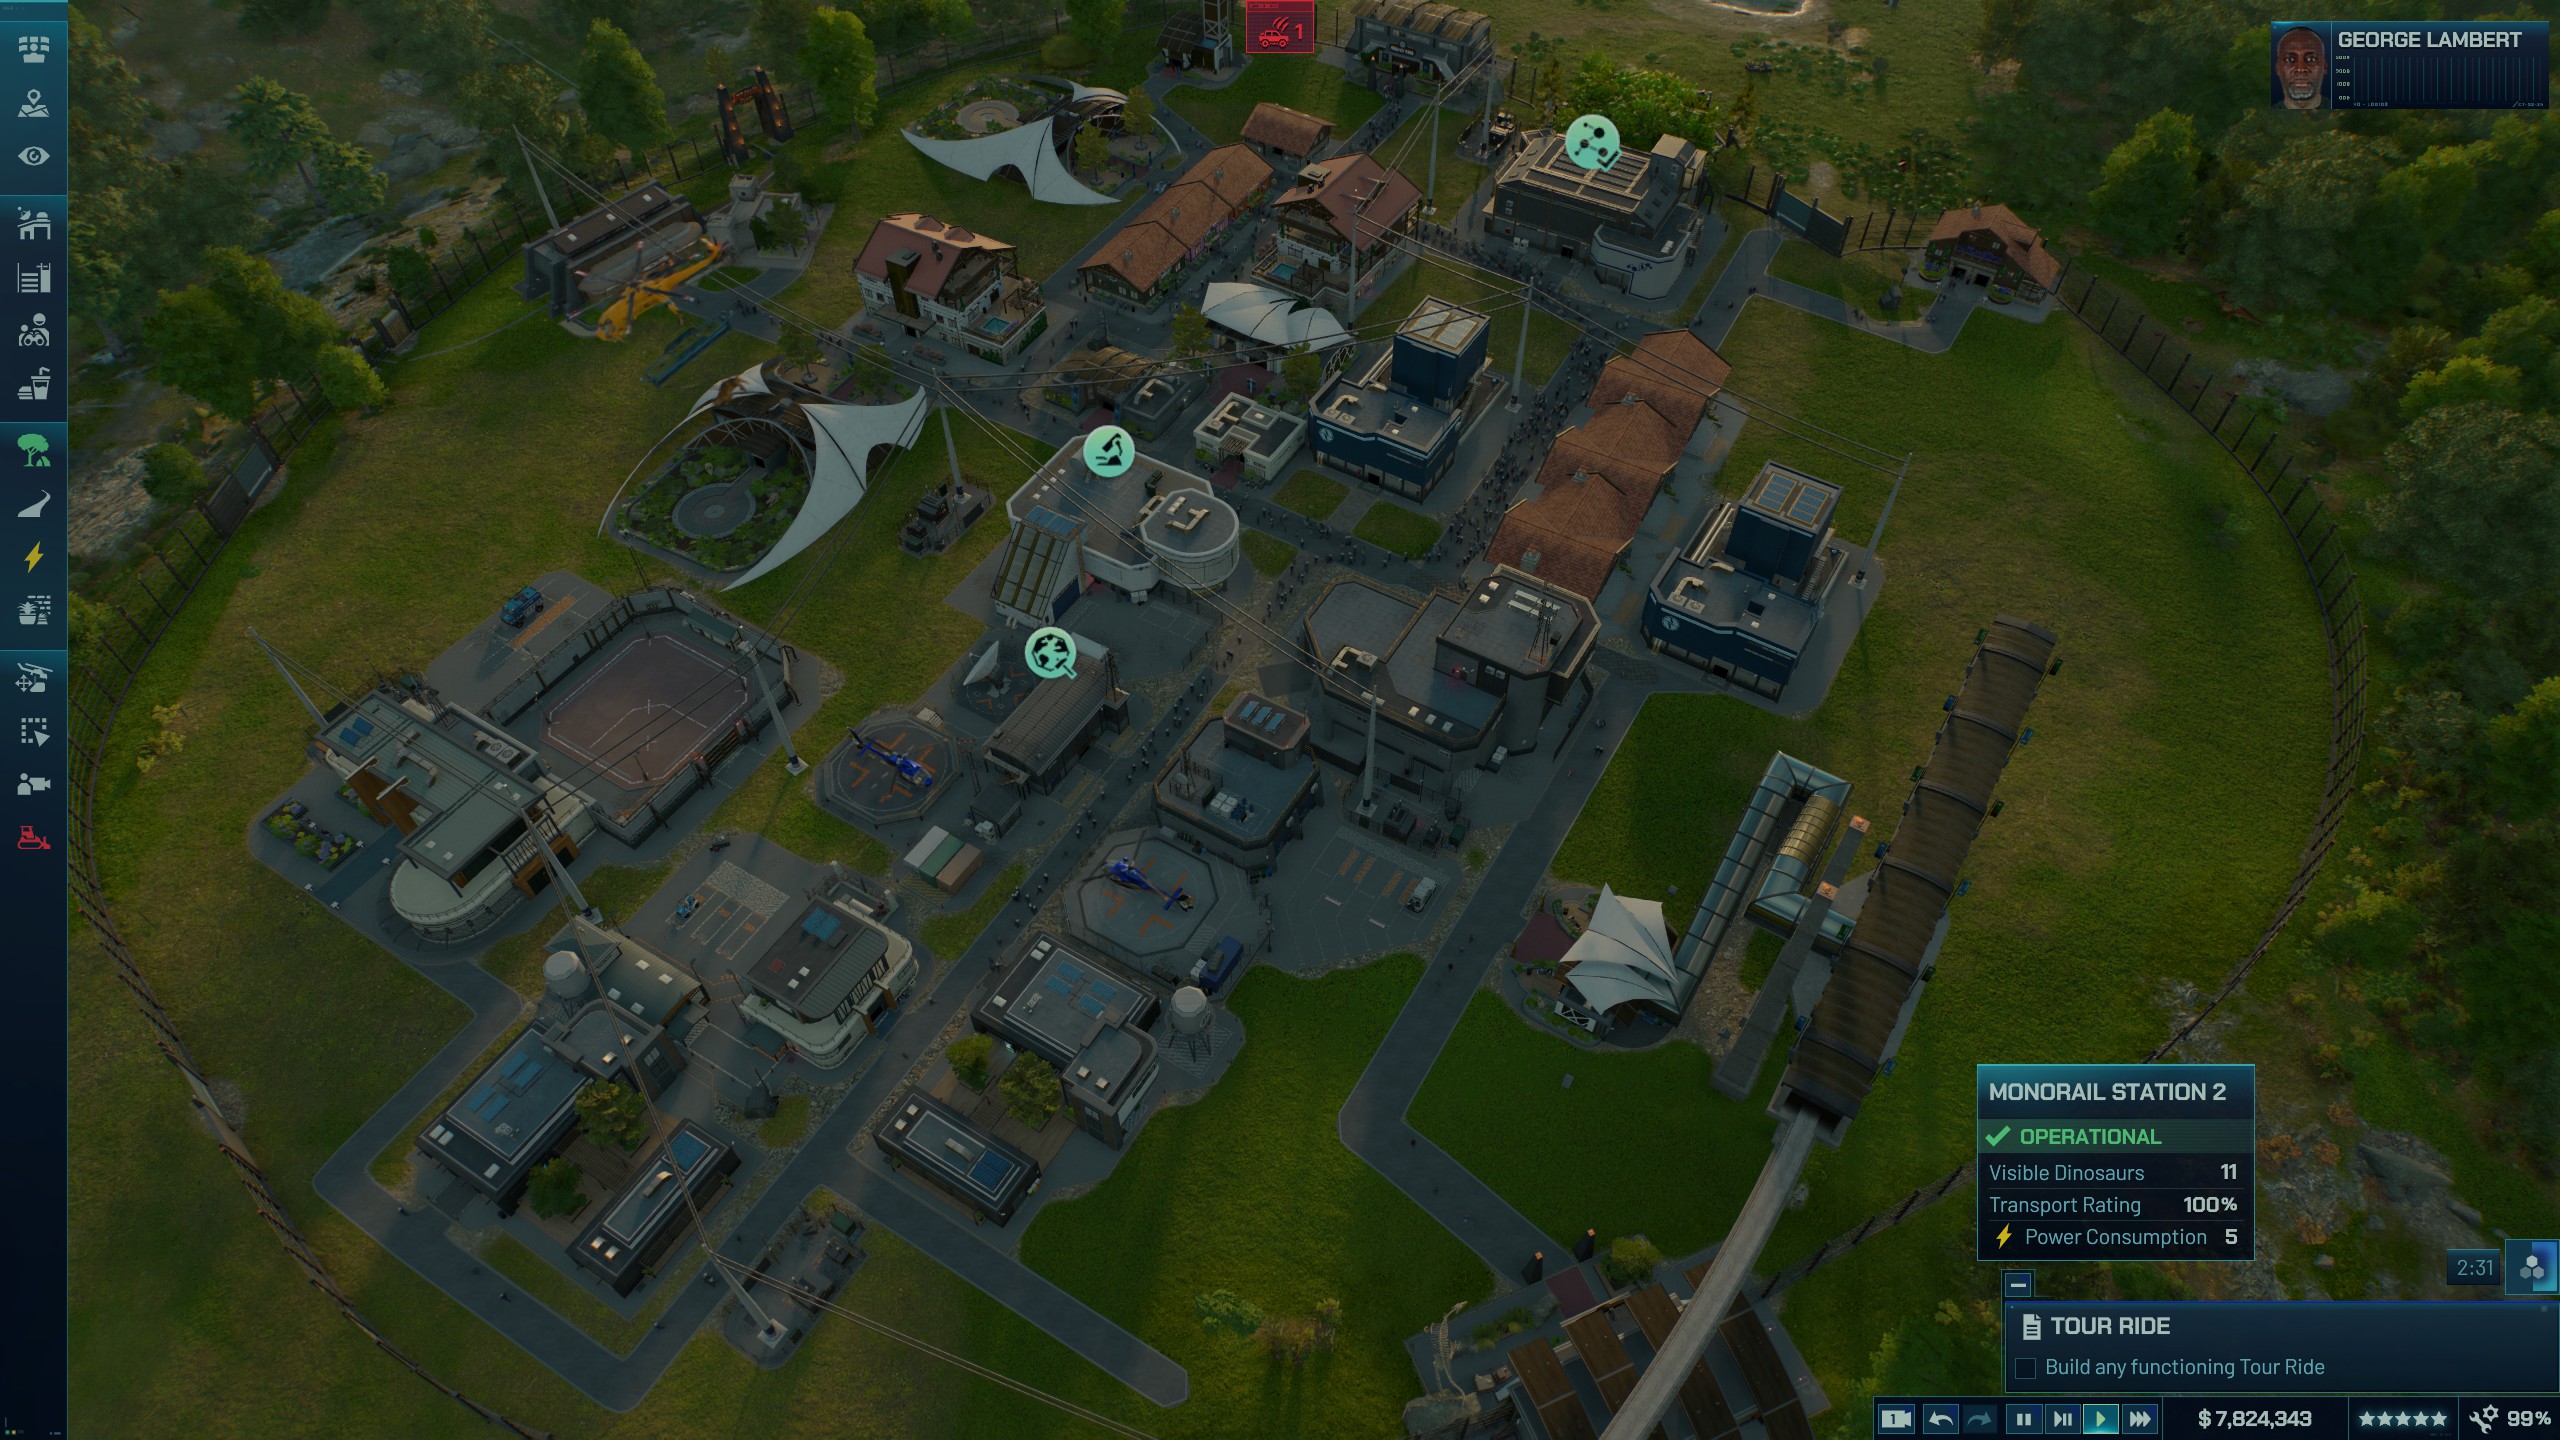
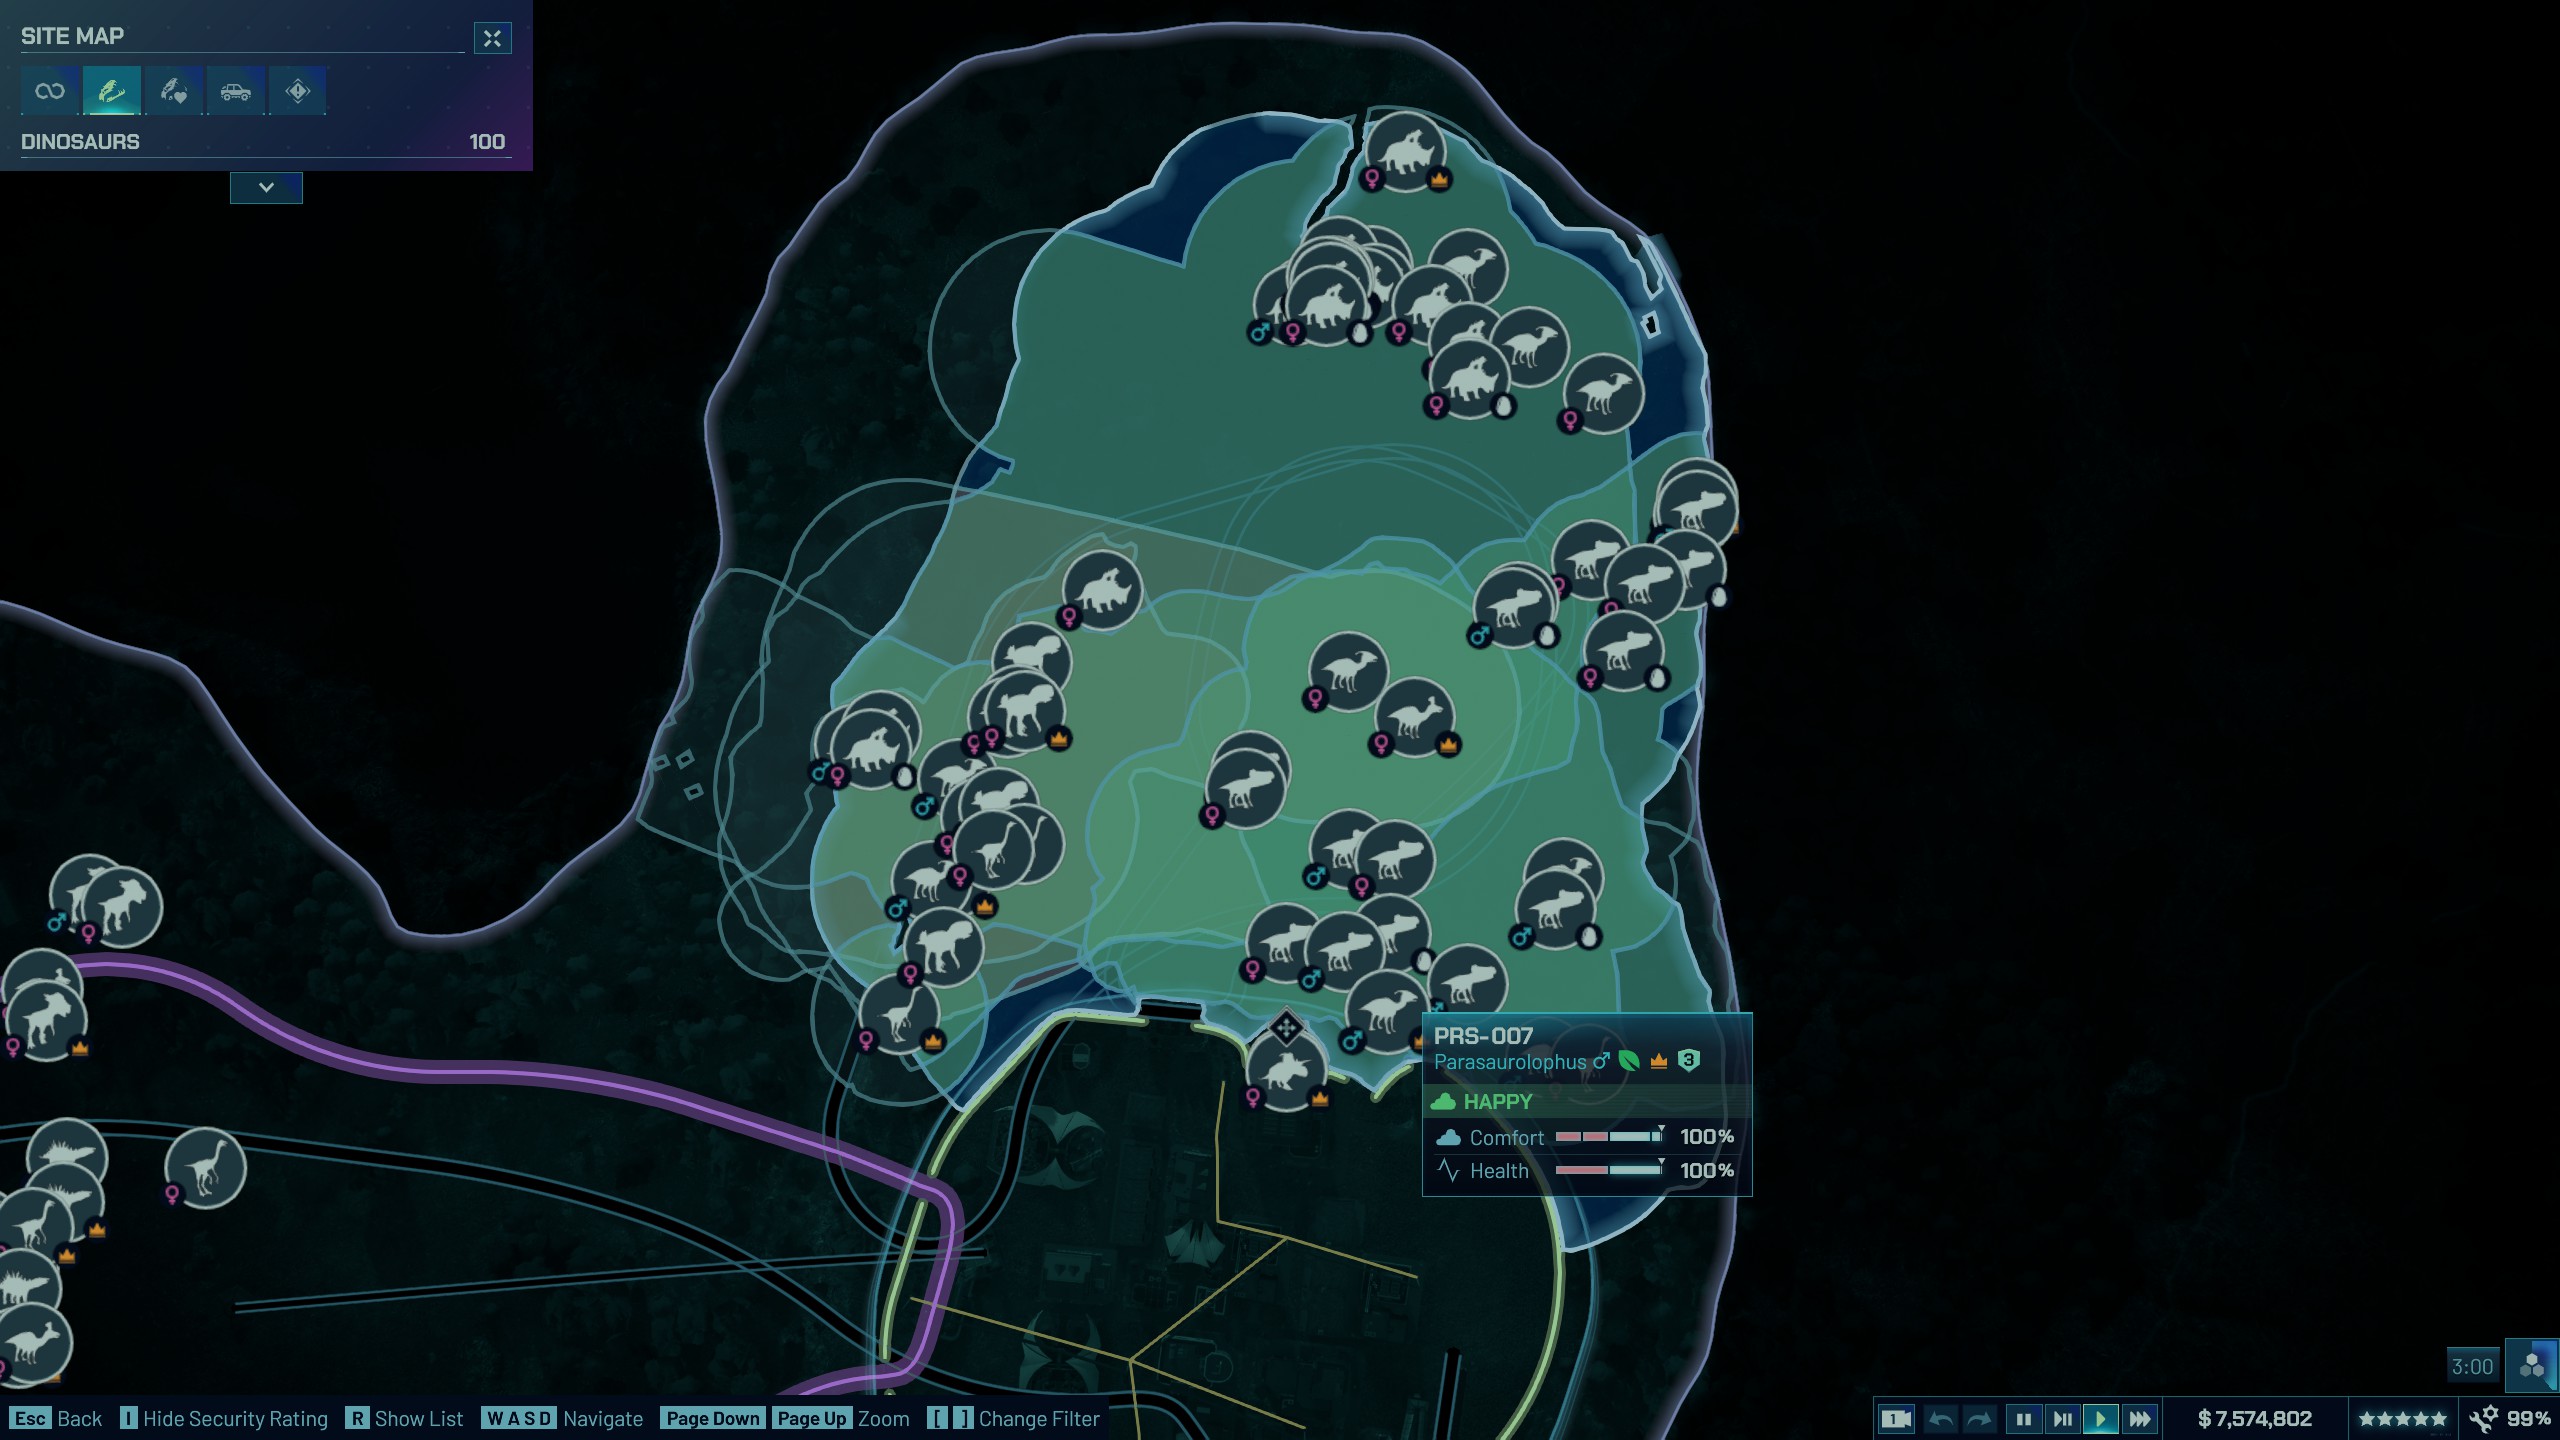
- I moved the starting infrastructure closer together in anticipation of needing the space. I also built the fences out further to the edge of the zone, but that's probably not needed.
- You start only with Microceratus genome, so start putting those out. Eventually you can let these breed and they'll reproduce like rabbits.
- Next I added Parasaurolophus a bit further from the fences, then Sinoceratops.
- Eventually finished this zone with Psittacosaurus and Archaeronithomimus.
The second zone (top) and third zone (left) - The second zone I mixed in Chungkingosaurus, Diplodocus, Tsintaosaurus, Stygimoloch, and Gallimimus.
- The third zone I mixed in Kentrosaurus, Homalocephale, and Mamenchiasaurus.
By this point you should have transport unlocked and can use the two other remote zones if you wish. I set up some infrastructure in the smaller area and finished the challenge with a few more dinos here.
I added Nasutoceratops and Muttaburrasaurus here.
Remote area
I never even used the large buildable zone nor did I ever add any carnivores, but it's definitely doable if you want to go that route.
Nusu Tengarra Outbreak
TL;DR:
Managing intelligent dinos is tough with limited space. Be creative.
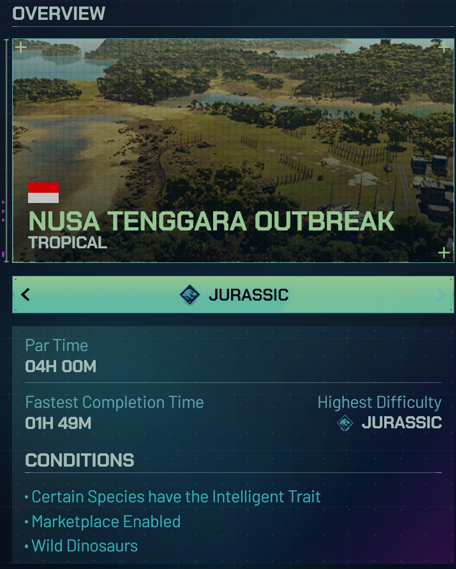
Overview:
This one is a bit more challenging but thankfully you get an excessive amount of time for it. 4 hours is overkill, I finished this in under 2 hours.
The biggest challenge here is that you're stuck only with carnivores, and almost all of them can have the intelligent trait. Intelligent adds a red shroud outside of their traditional territory that needs to be kept clear of guests and other dinos, otherwise the dinosaur will attempt to break out. Seeing as how you start with only level 2 fences, this is a big problem.
Other challenges include expensive expeditions and synthesis, and the odd limited space layout of this map. As with the last map, the last objective I had to complete was getting a large variety of dinosaurs. Make sure you make use of all scavenger types and focus on dinos with less area requirement.
Occasional tropical storms here, nothing too crazy. Moderate disease outbreak.
There is also a weird 3000 unit limit on the first small electric fence. This isn't announced anywhere so I didn't realize until I couldn't build anymore. I assumed all fences were limited so I started building enclosures with rocks, but it turns out that the 2nd option of electric fence wasn't limited, so I could have just used that instead. Unsure if this is a glitch or it will get patched in the future. Good practice for the next challenge though ;)
Completed site map
Strategy:
It seems like there is probably a dozen different ways to do this challenge, but this is what worked for me.
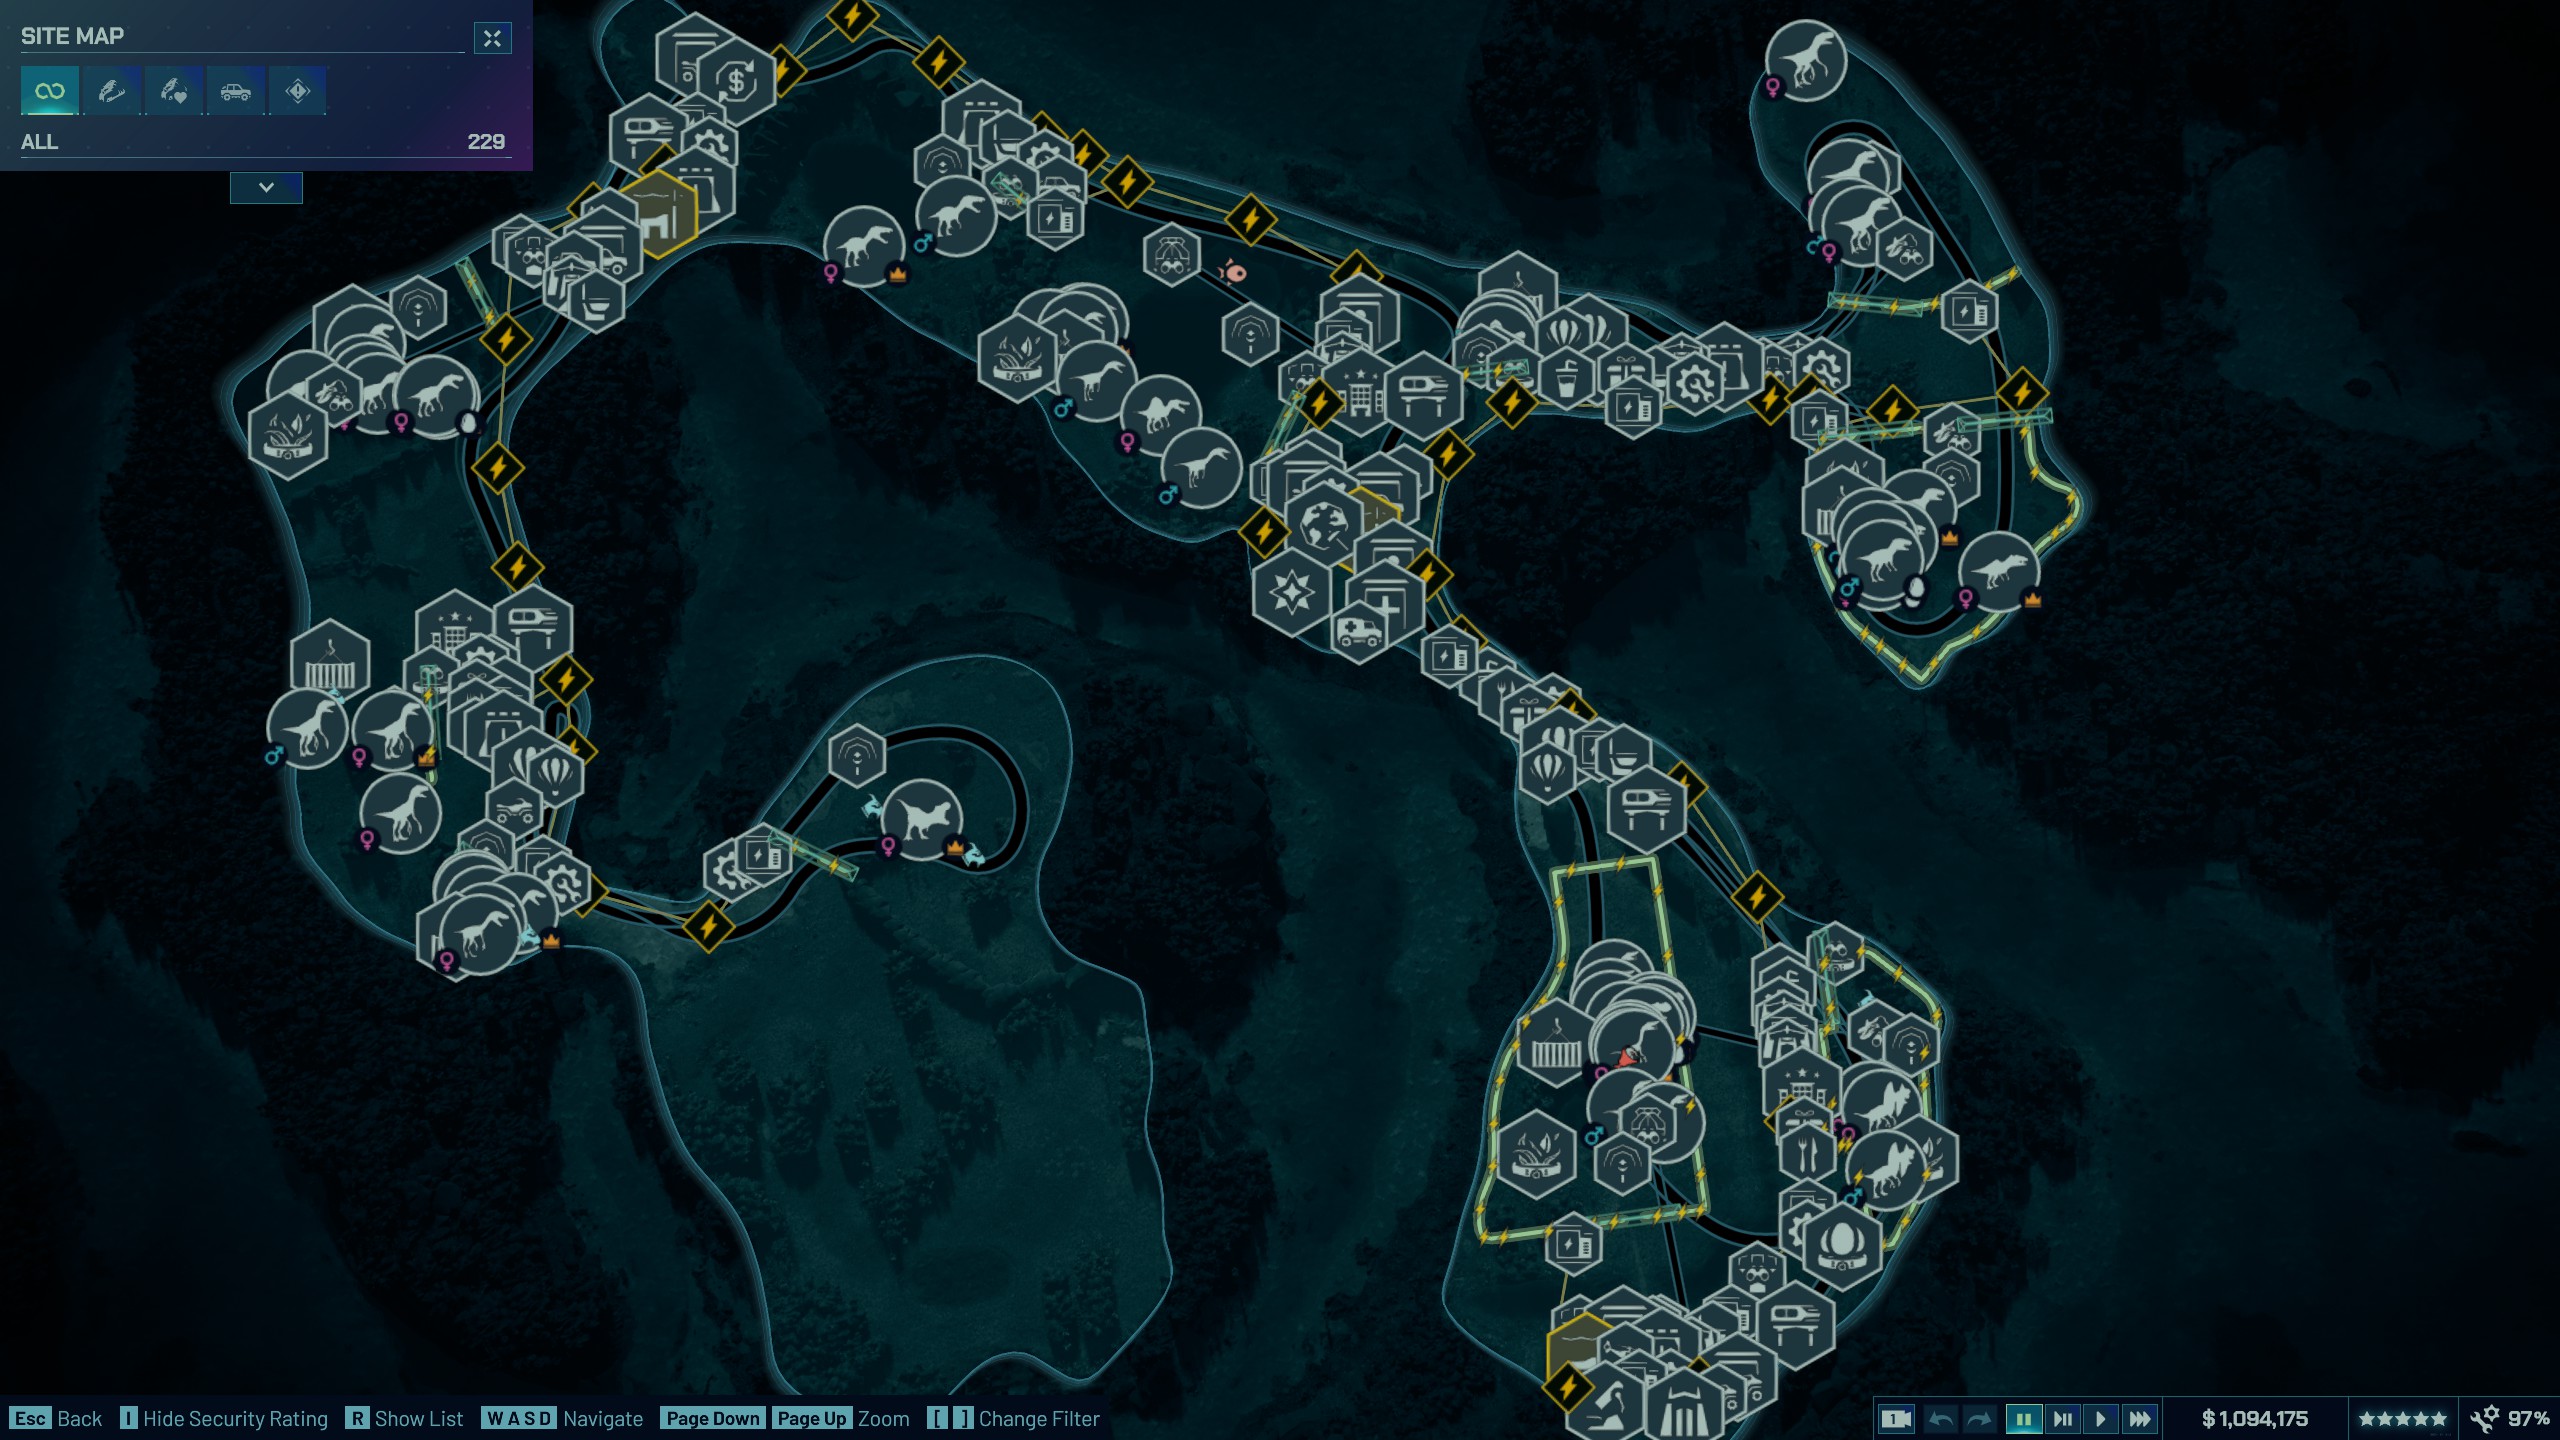
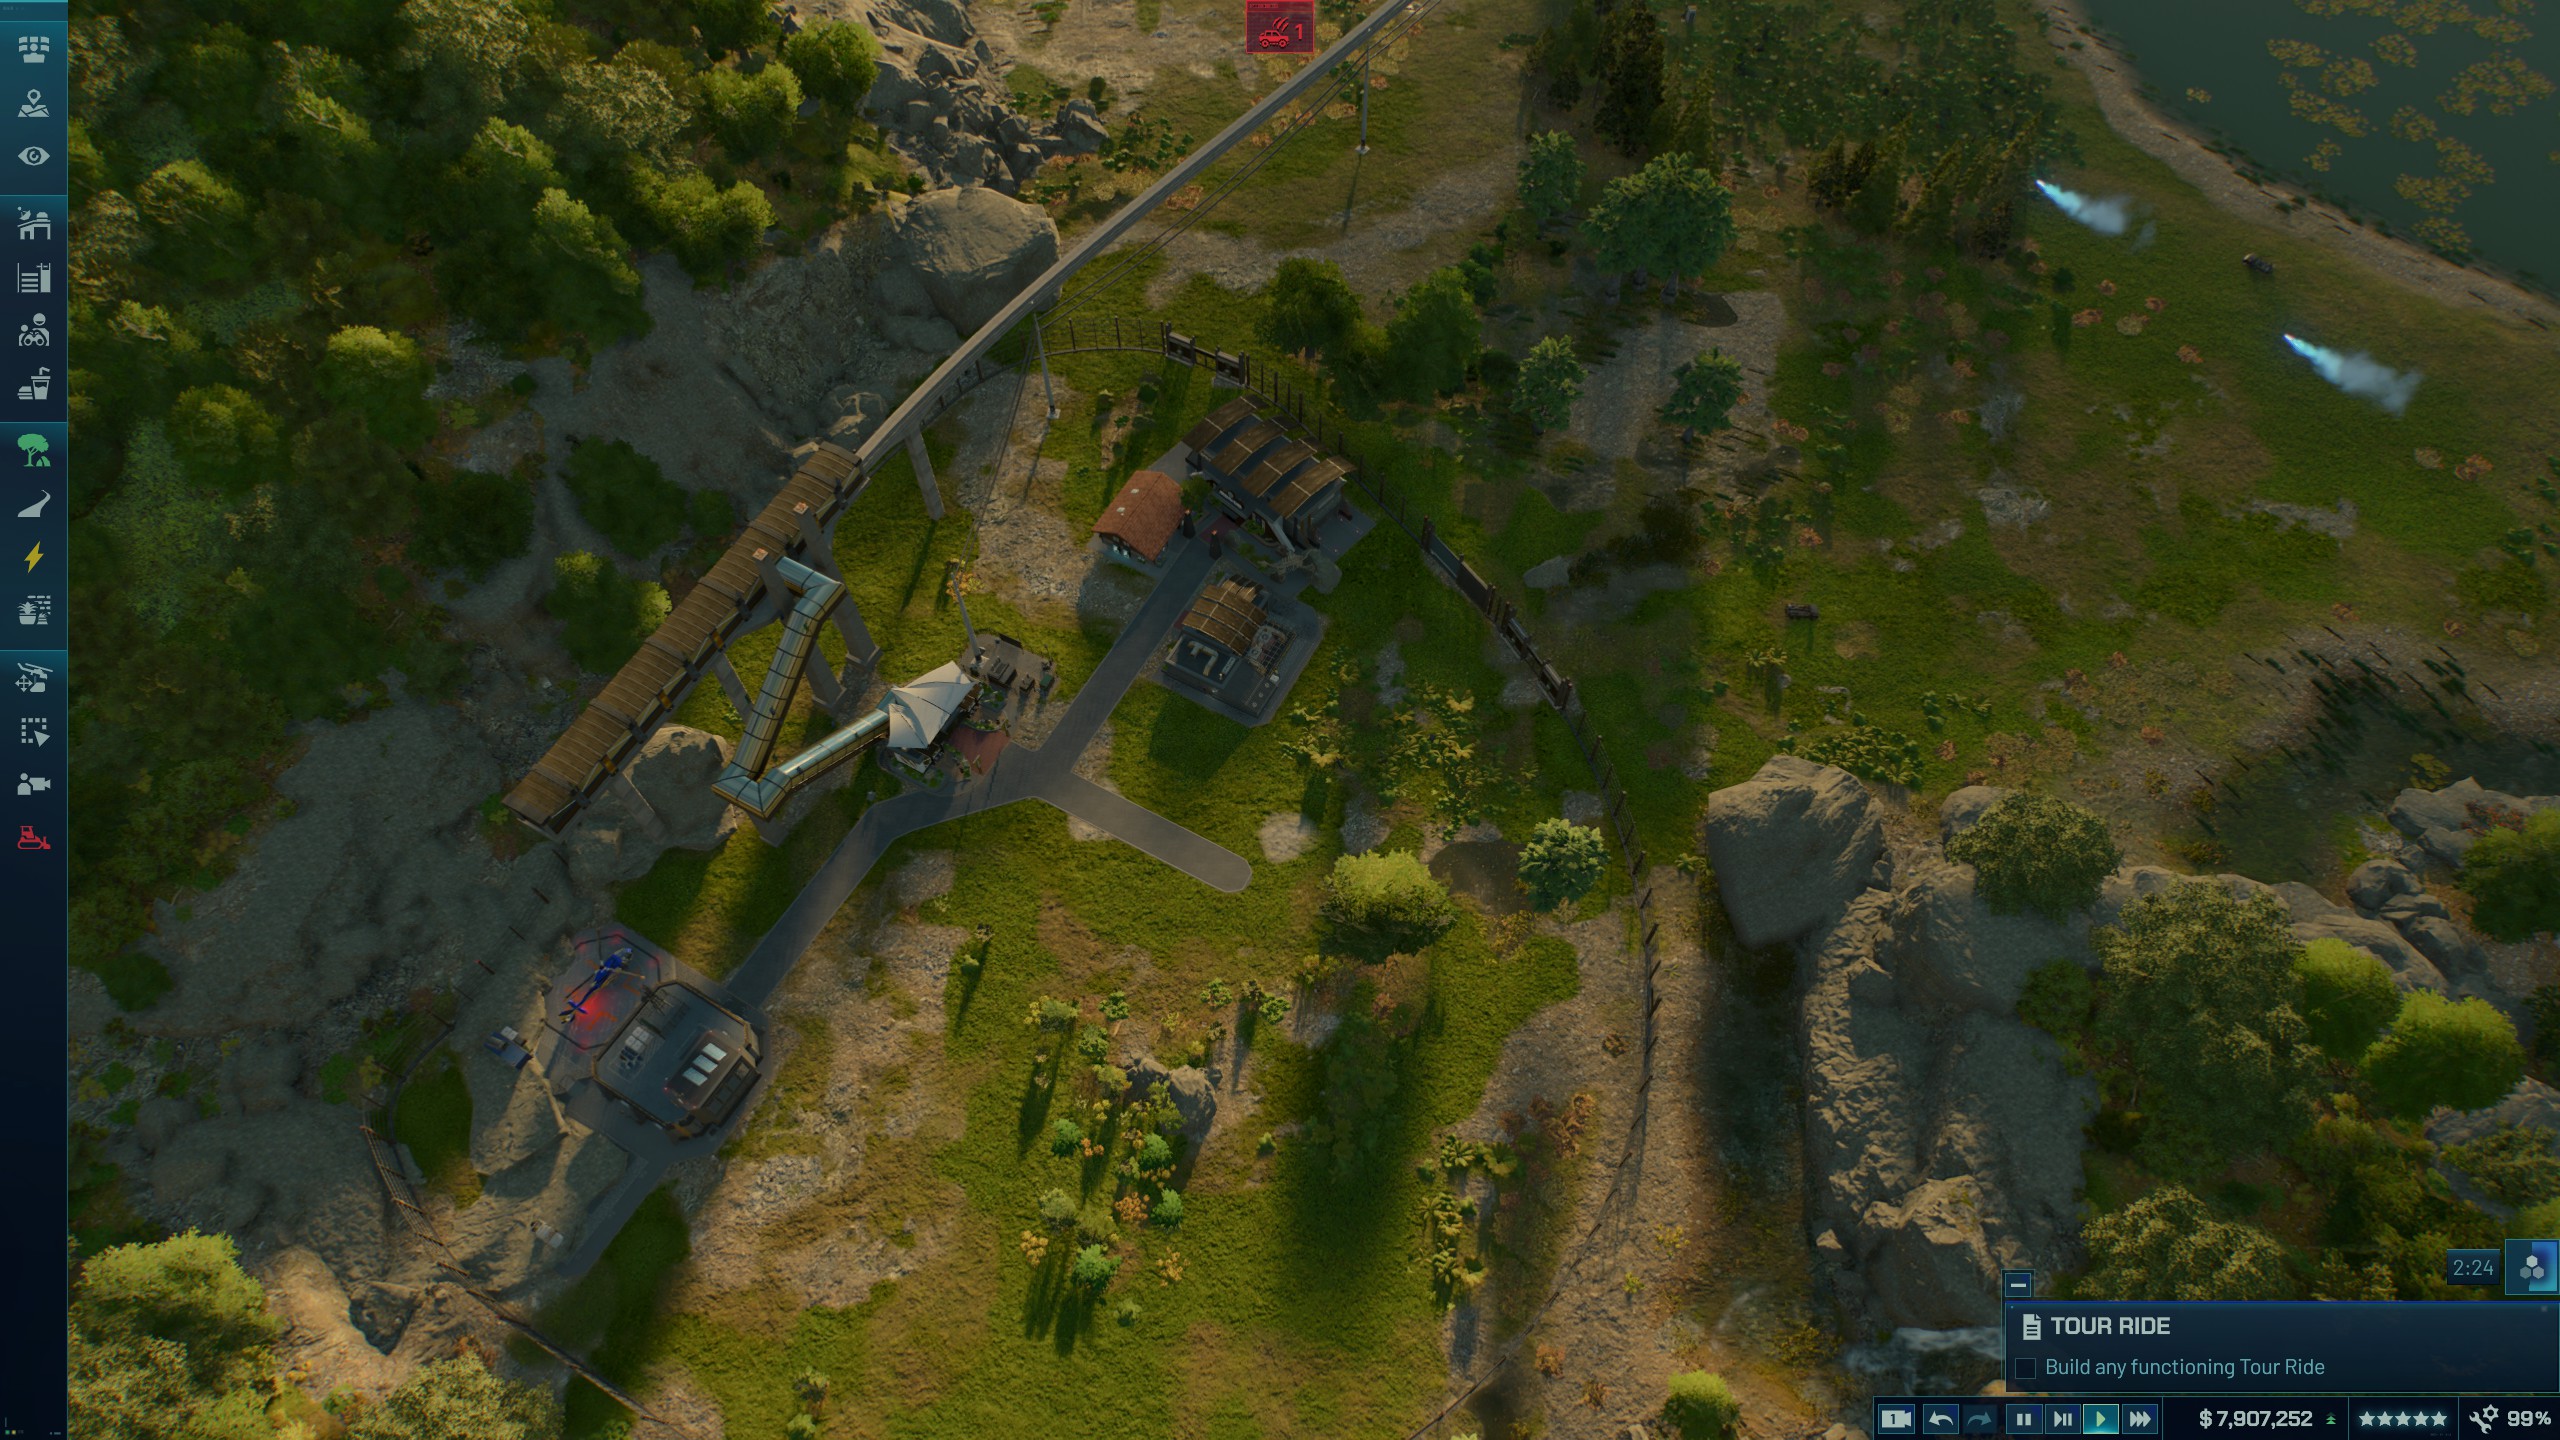
- I moved all of the starting buildings back further to create more space. You'll need it.
- I built a response facility, tranq'd the 2x Ceratosaurus and later 1x Allosaurus. If you're not sure which wild dino is which, you can take a photo of them with the copter first before shooting them.
- The cerato enclosure needs a lot of space around it. I added them to the pen and built around their intelligence range so they didn't attempt breakouts. I built a moat that doesn't actually do anything, just for my own reference to not build there. A cheaper solution would be to just paint the ground.
- Start hiring when you can afford it. You start with only Dilophosaurus and Compie sites available, and they're cheap so go get fossils. Youll make some extra money from sales too.
- I added the compies to the Cerato pen, and made the Dilophosaurus their own small pen, and just kept synthesizing until I had 3 without the intel trait.
- Use remote viewing areas, viewing towers, and aerial tours to add visibility of intelligent dinos.
My initial starting area with extra space and moat. - After this I expanded further up to the next peninsula, and capture the 2x Gigantosaurus and 4x Atrociraptors, and put them in their own enclosures. They all have the intelligent trait so I kept them far apart. I eventually researched tiny carnivore digsites and added the Moros Intrepidus to the Gigantosaurus enclosure as scavengers.
Giganto / Atrociraptor area - Finally I captured the last remaining wild Dino, the Spinosaurus which thankfully doesn't have the Intelligent trait. Because of that, I built up infrastructure and guest ammenities near it's enclosure.
Spinosaurus and Baryonyx enclosures with natural (and free!) rock walls. - At this point your park should be stable and these high appeal dinos should be making you good money. How you want to finish the challenge is up to you. Here's what I did to meet the variety target:
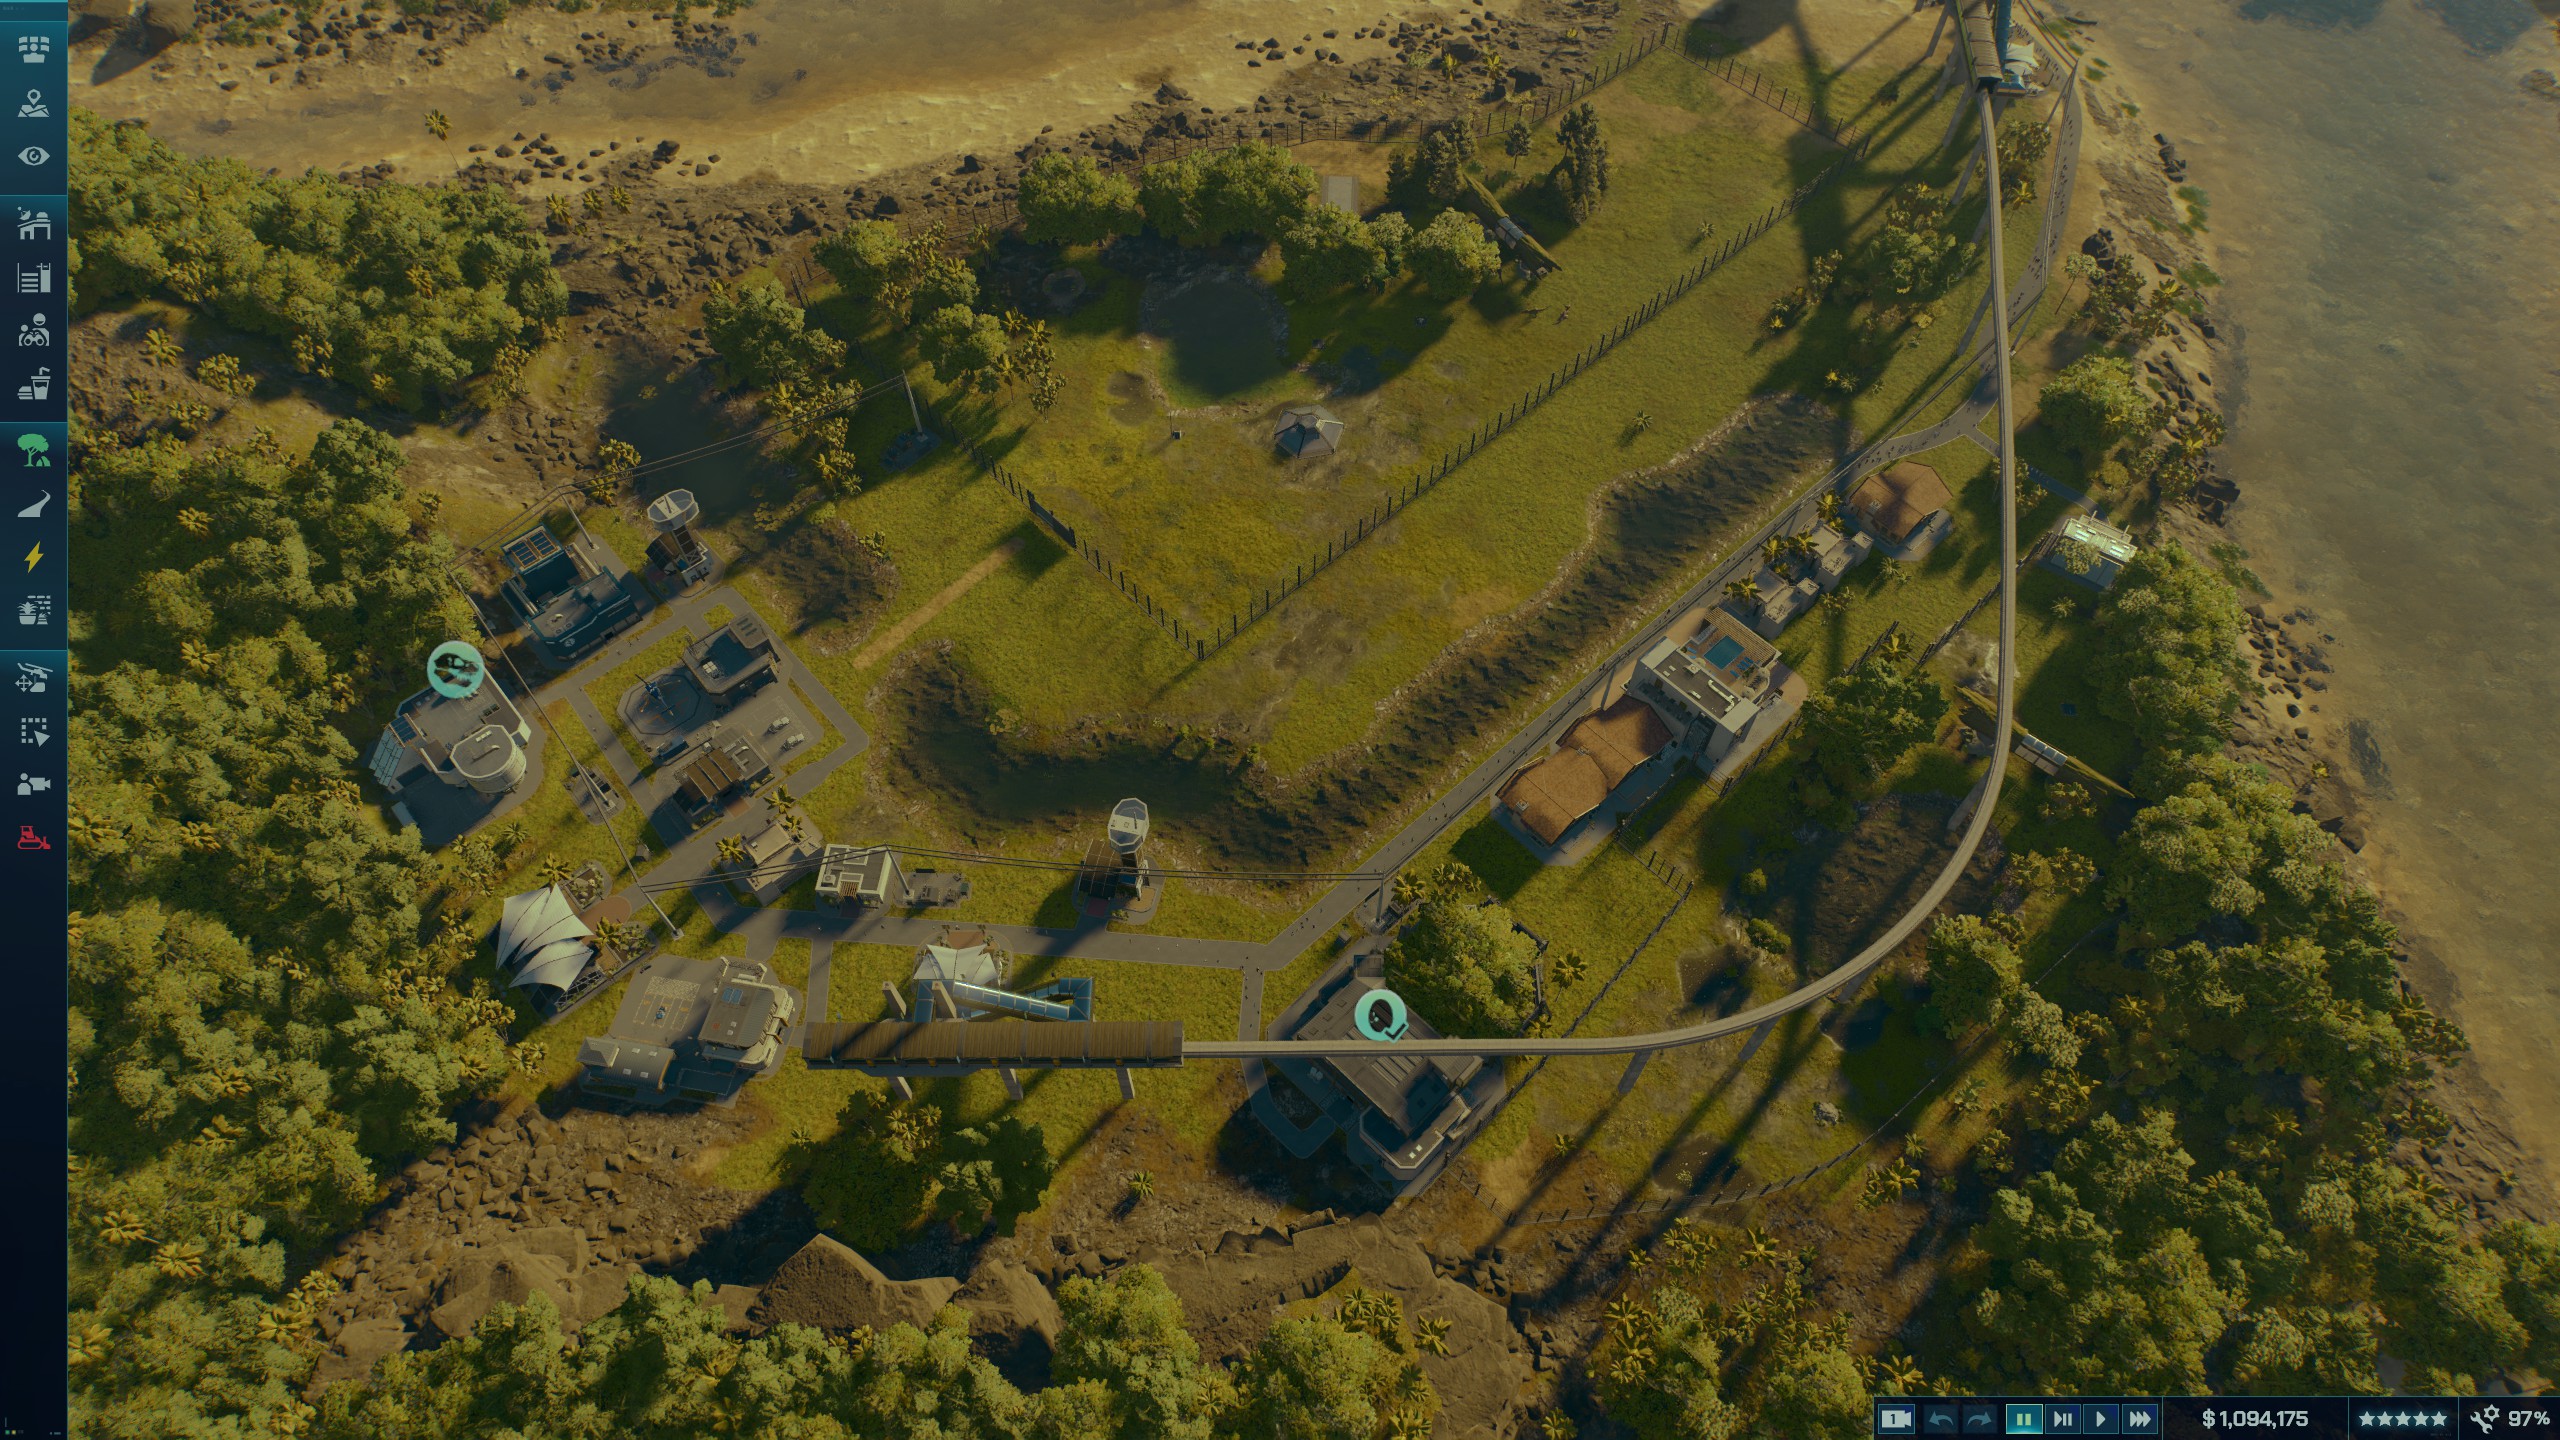
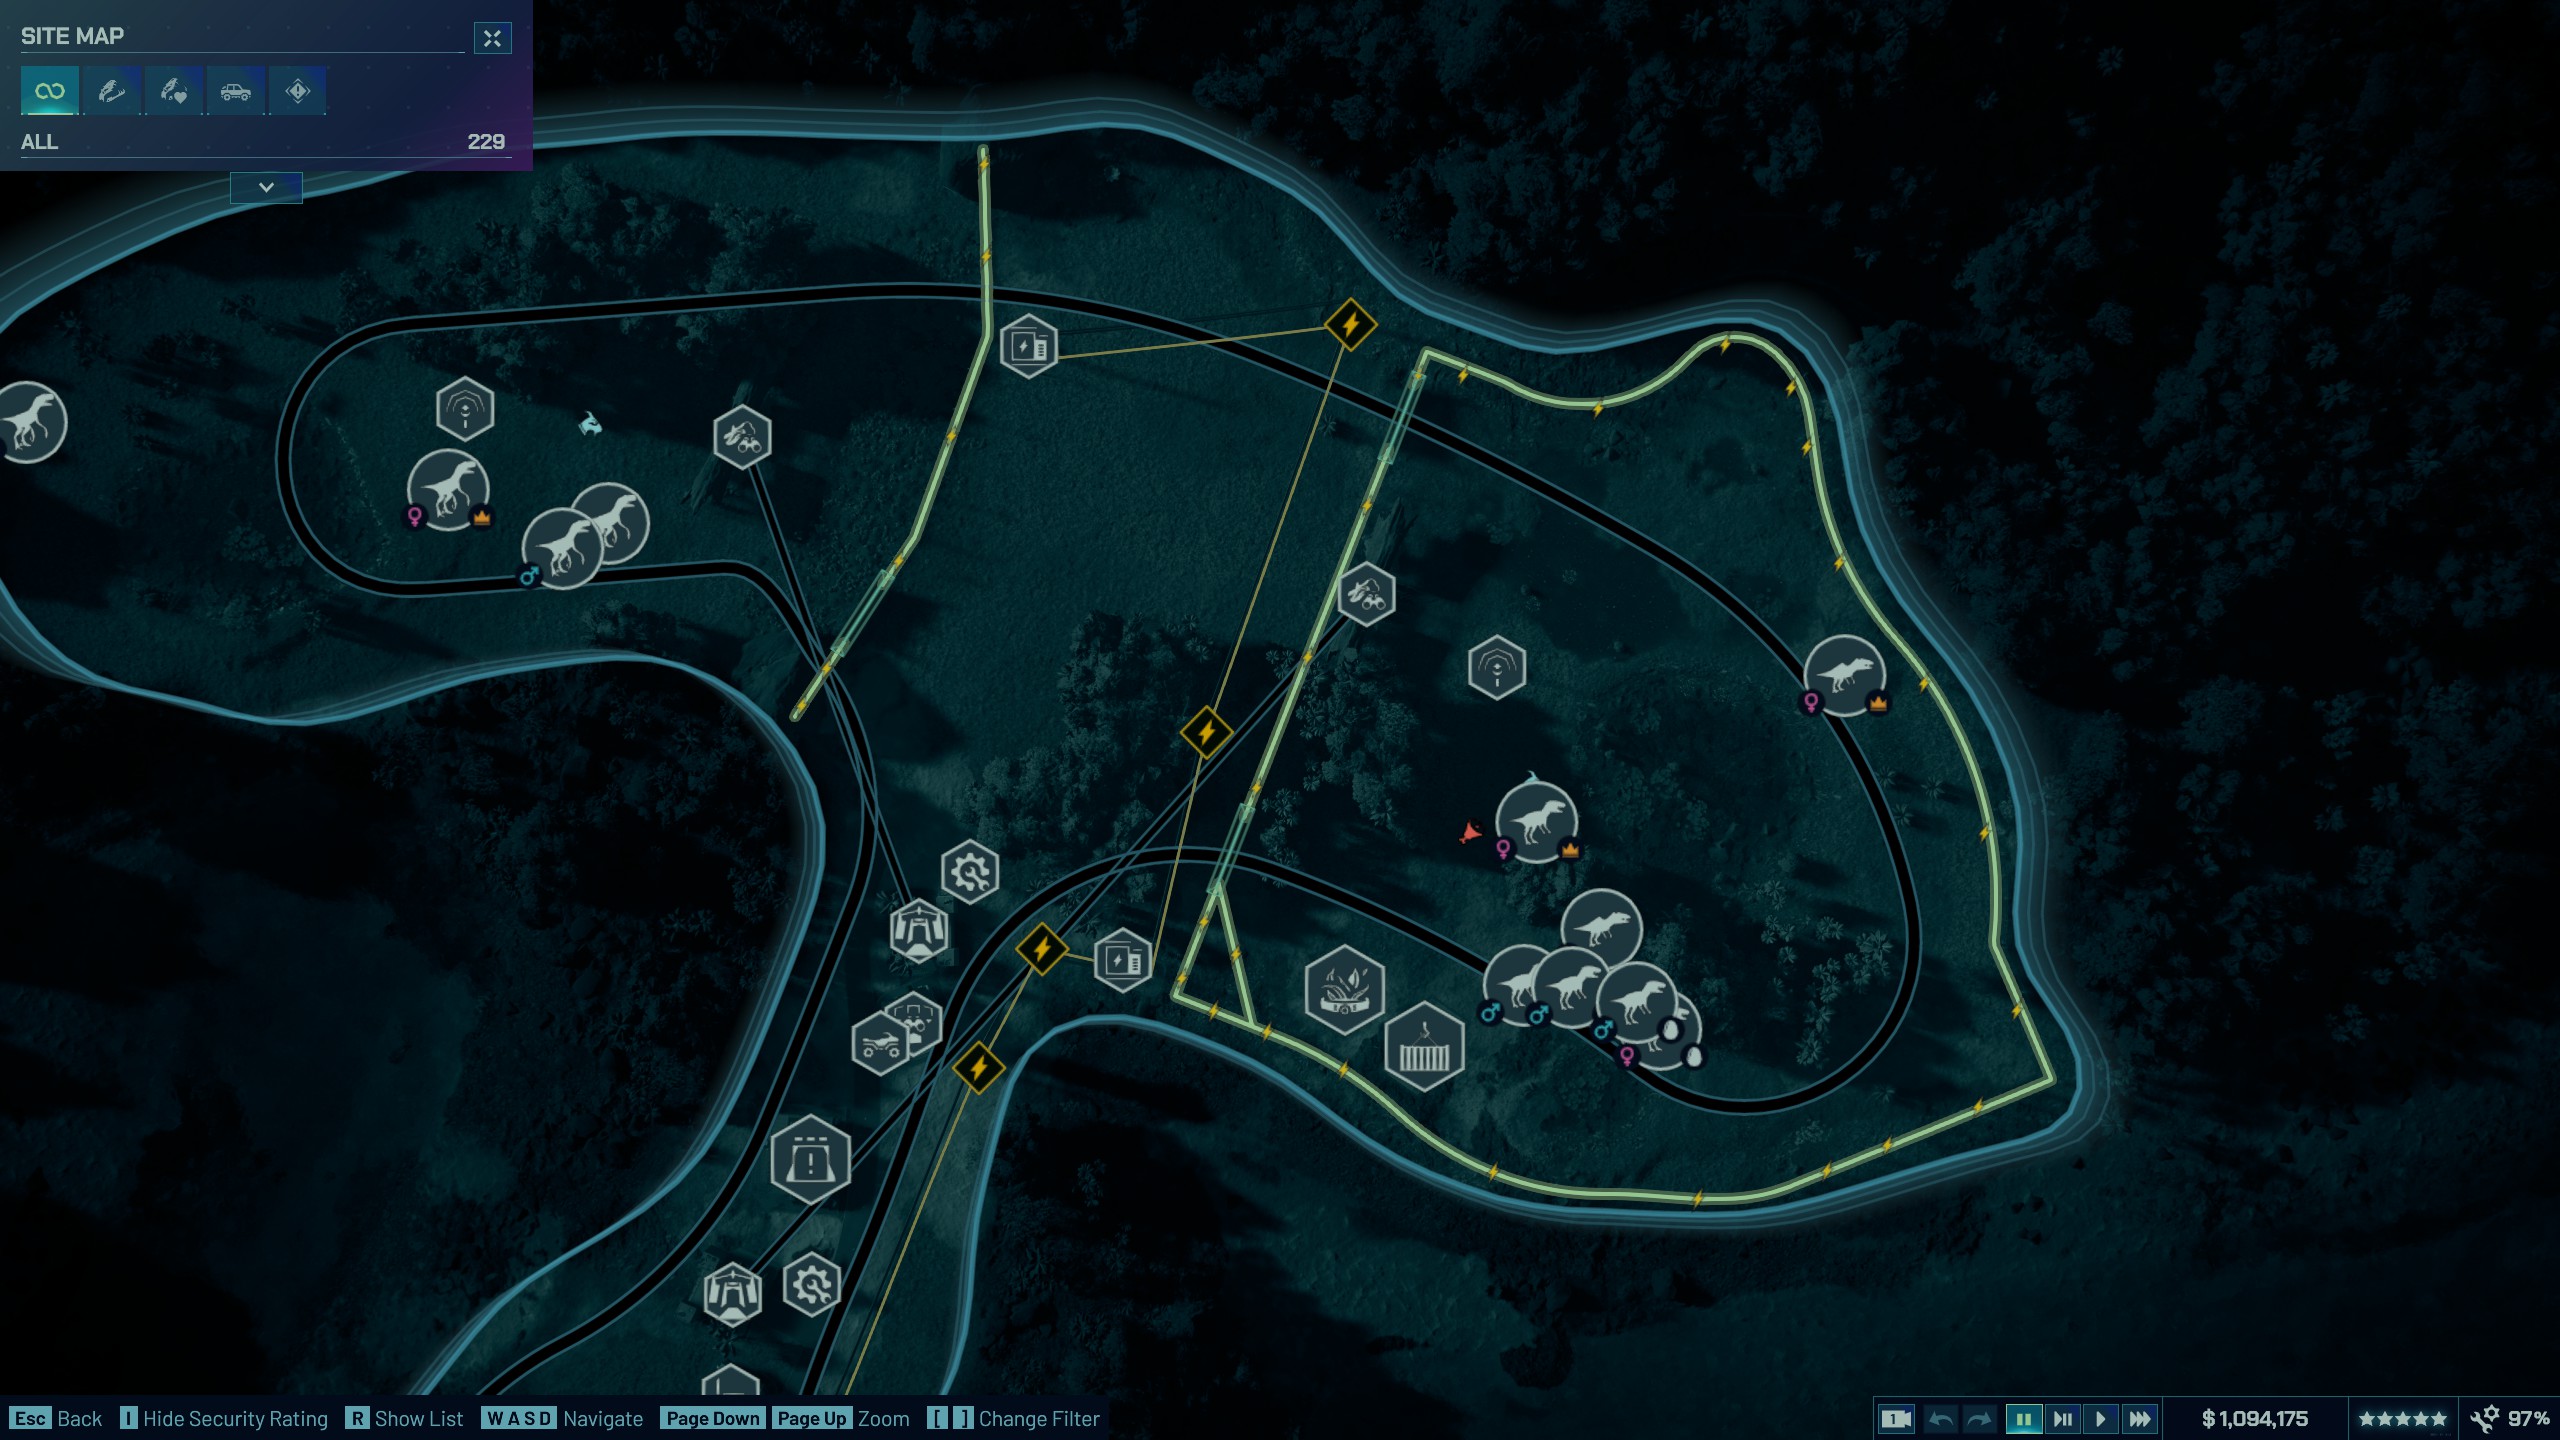
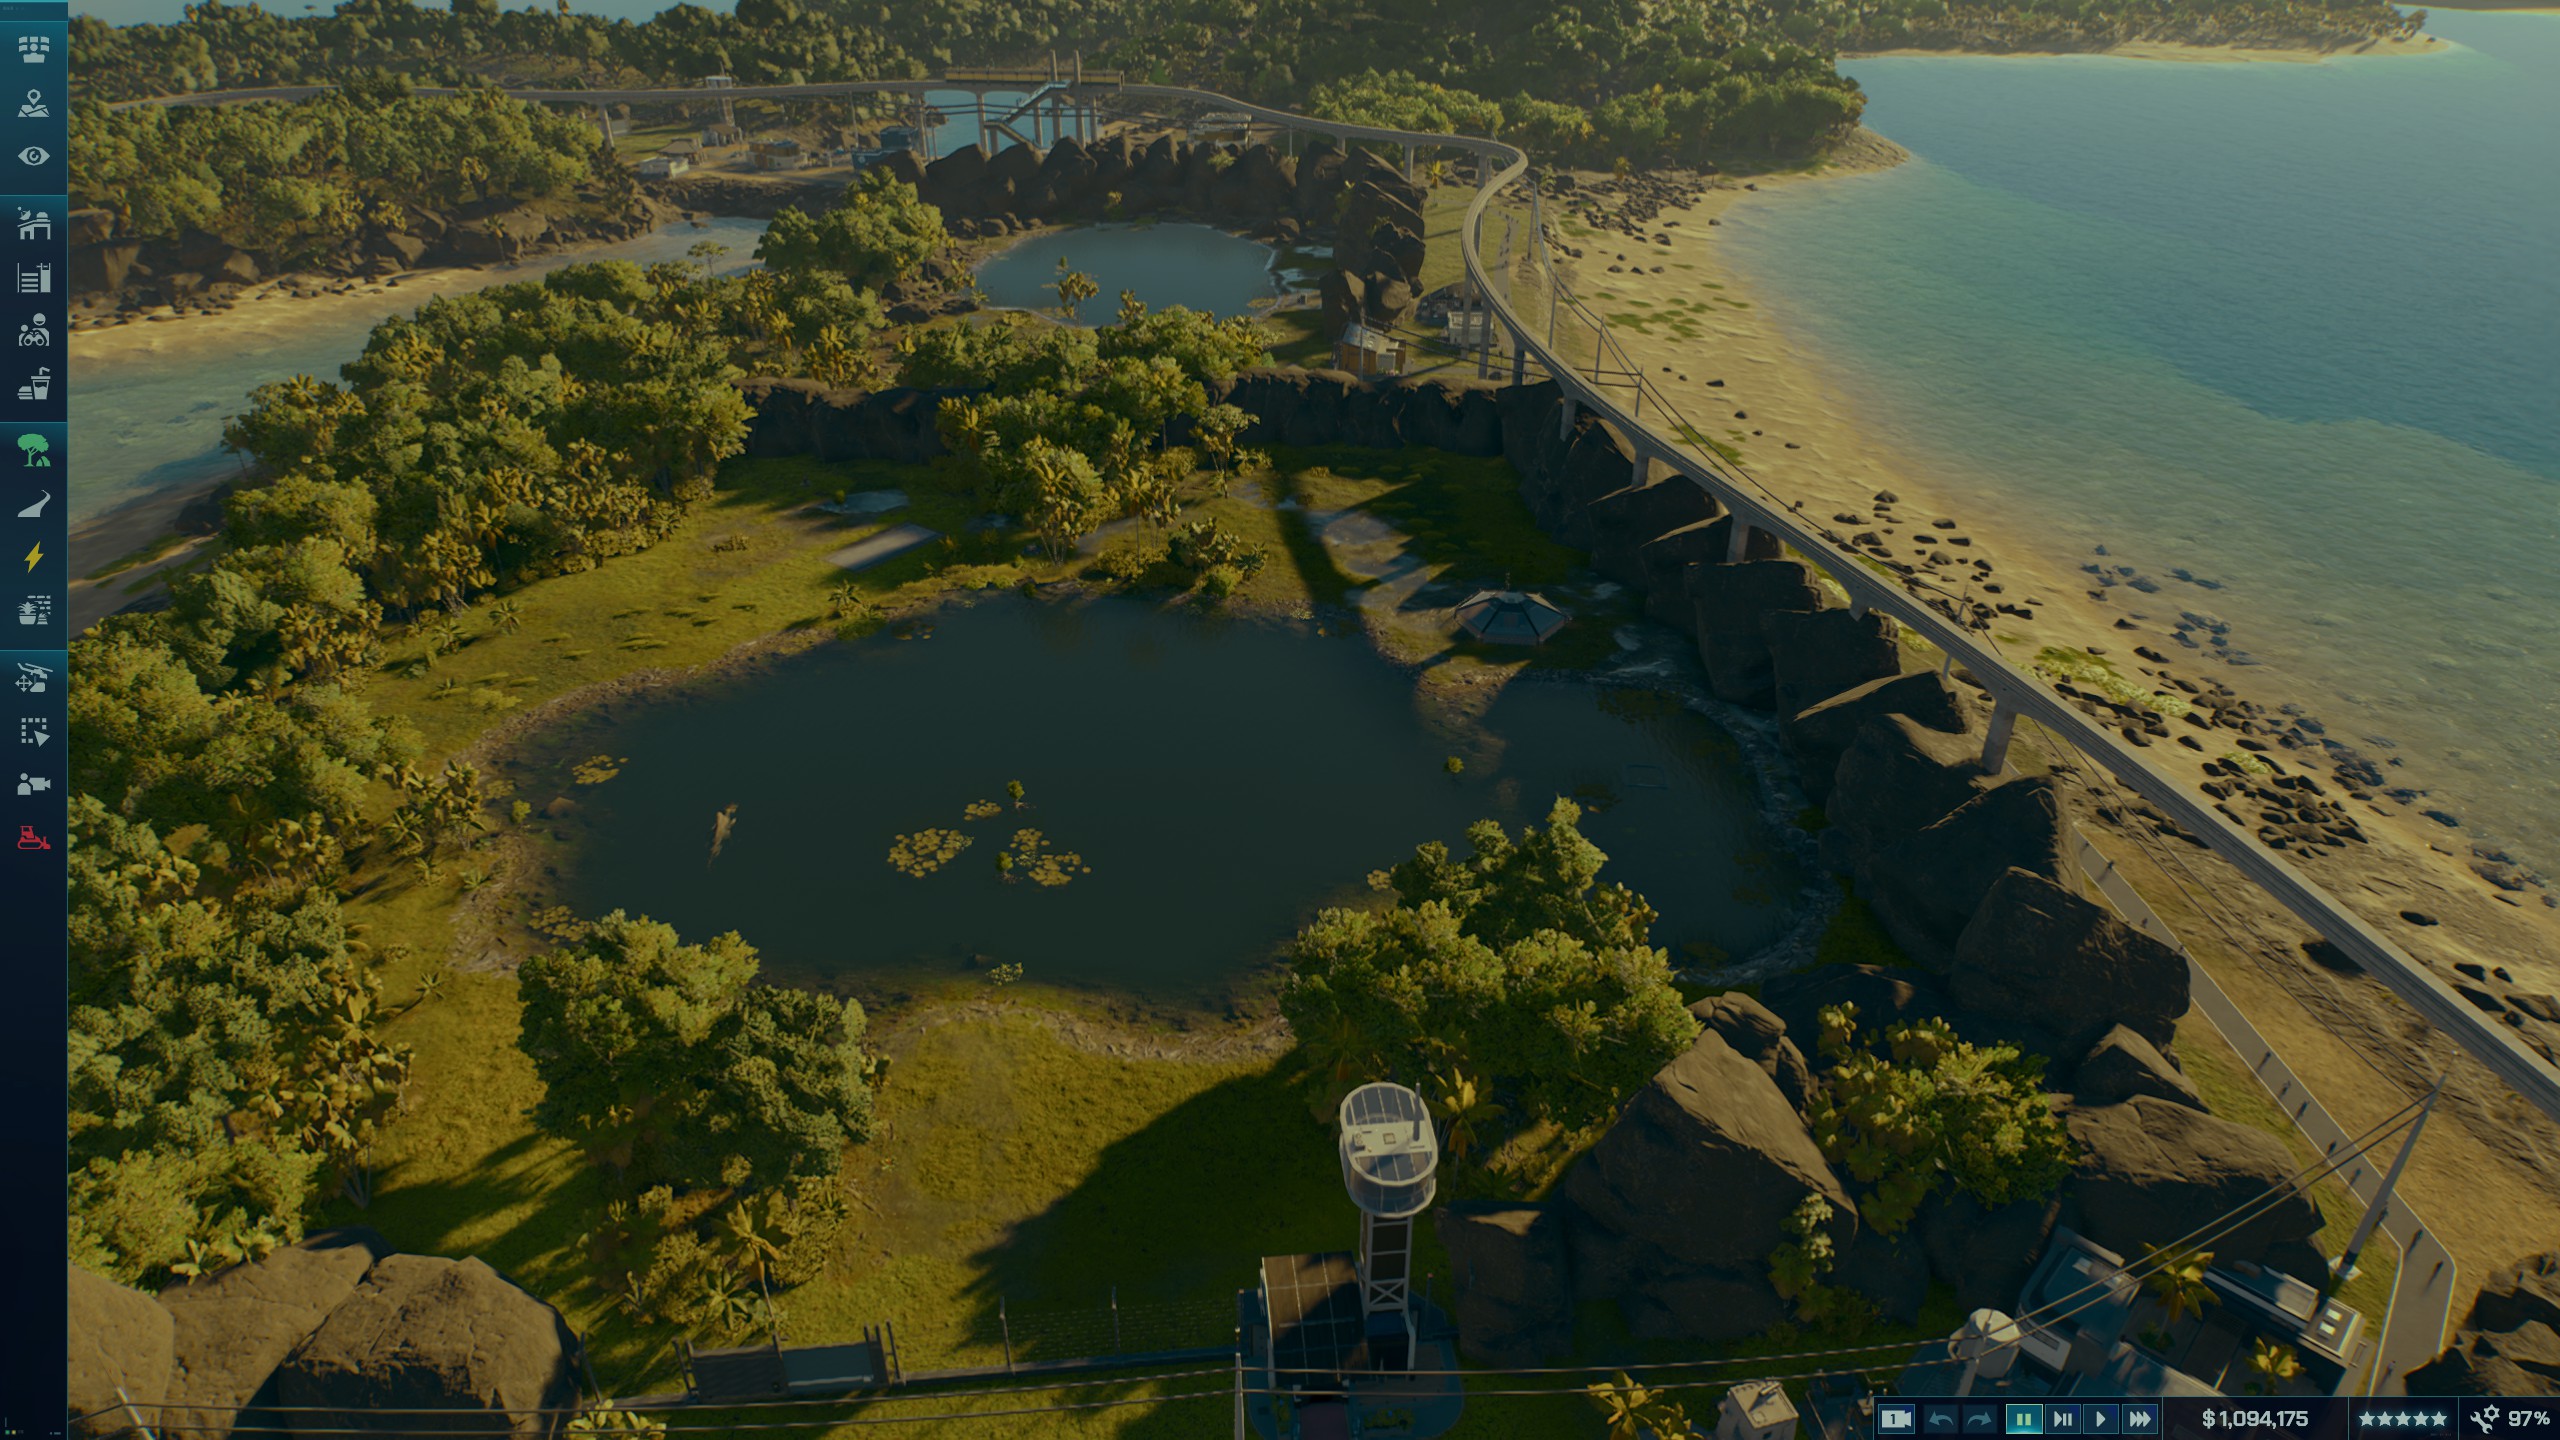
- Added 2x Baryonyx near the Spinosaurus. You might have to play trait gacha with synthesis to not get Intel trait. I was going to add a Suchiomimus too but it proved too expensive so I moved on.
- 3x Dimetrodon in their own small enclosure. If you're making good money at this p