 Day One Fixes
SolvedHow-toUpdated
HELLDIVERS 2: Helldiver's Bestiary: Deliver Democracy Effectively
Short answer
With no Beastiary in the game to properly tell you the best way to dispatch your enemies, I thought it pertinent to tell you the best way to take democracy's enemies out. Cause sometimes, its not always about the head. MAJOR UPDATE: A top to bottom editorial pass while still preserving the style…
Steam Community guide by Hijinks.
Terminids: Light Units
Light Terminids
Scavenger
Warrior
Bile Warrior
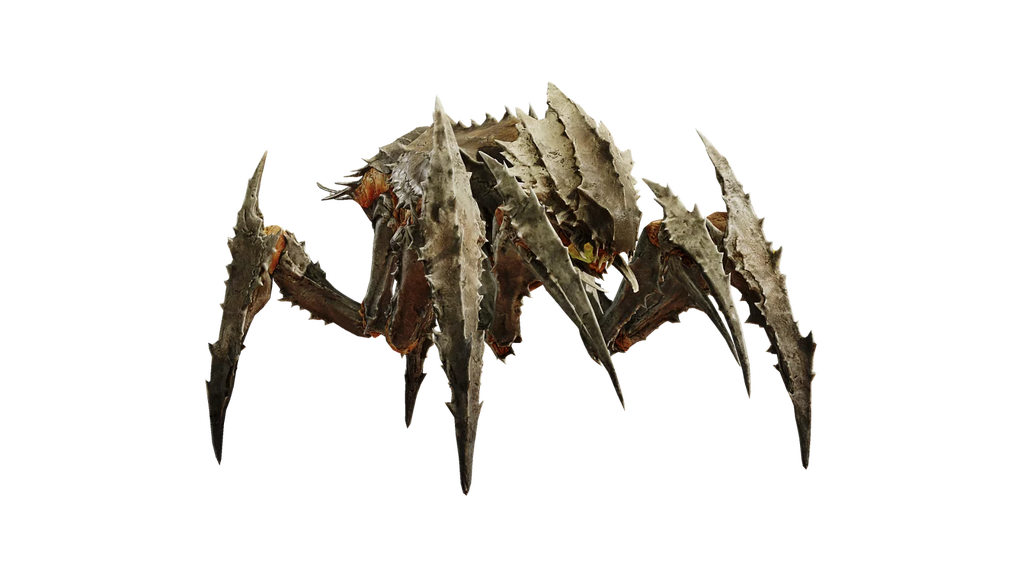
Hunter
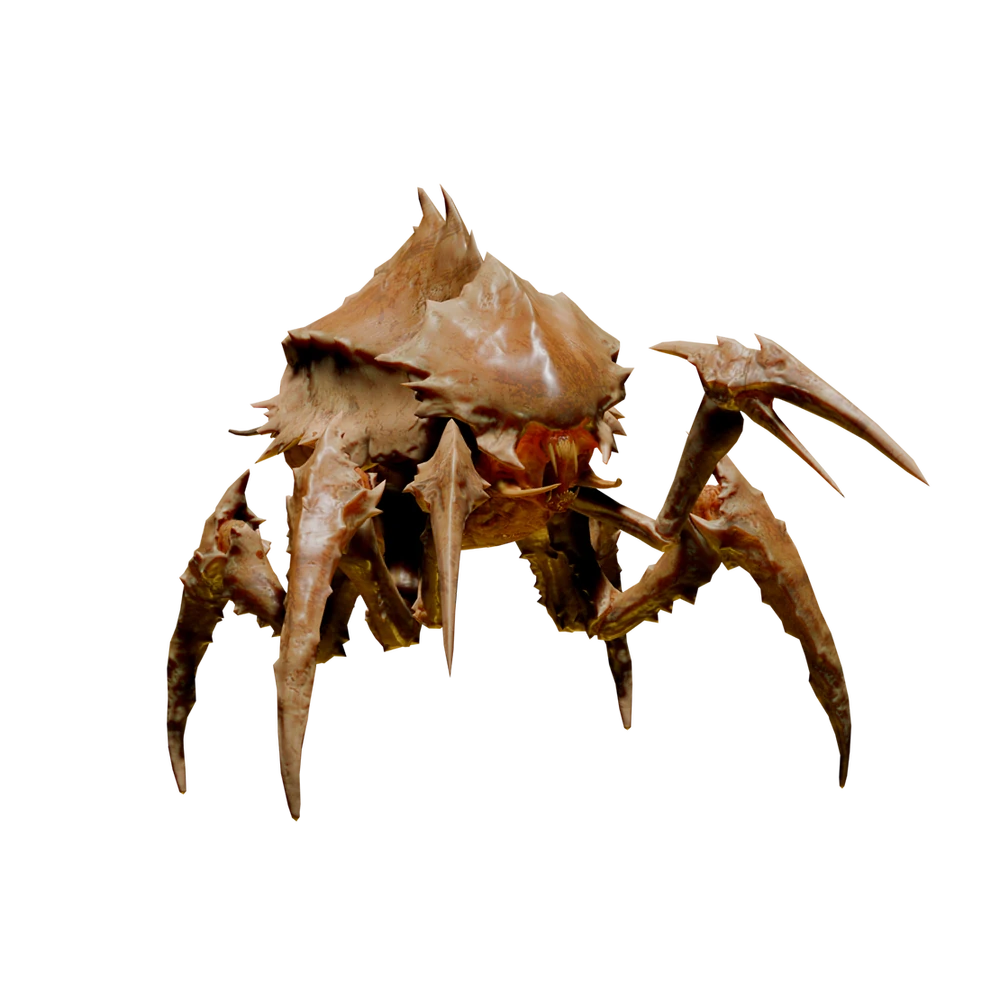
Pouncer
Bile Spitter
Brood Commander
Alpha Commander
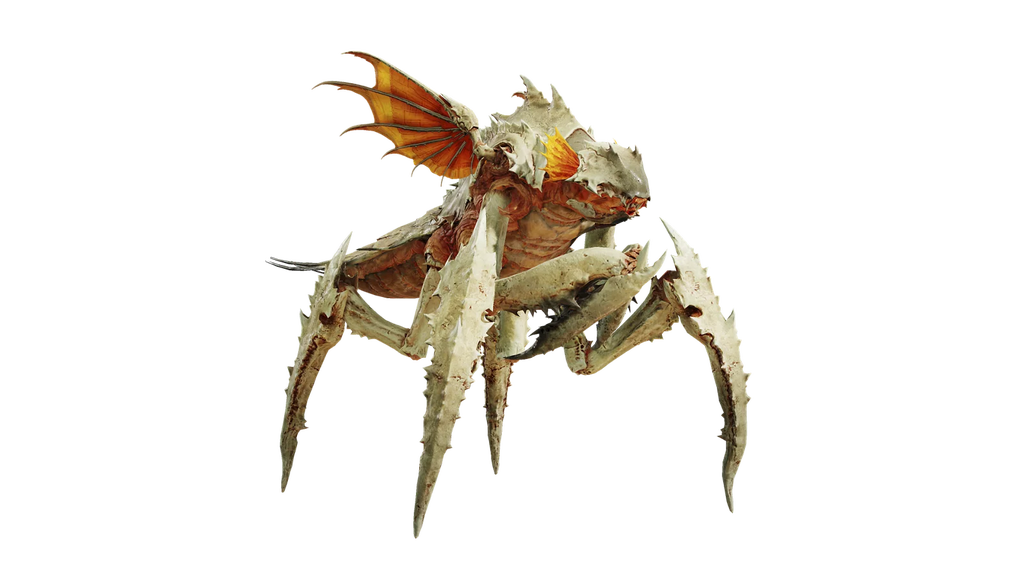
Alpha Warrior
In Depth
Reinforcements: Every Terminid listed below can trigger a bug breach. If one raises its head and starts releasing pheromones, kill it before the call finishes.
- Scavenger: Tiny, weak, and great in numbers. They are feeble and pathetic, but they can still kill you if you let them gang up. No real strategy is needed: shoot them, grenade them, stratagem them, or melee them. Almost any clean hit does the job, and a head strike is the most reliable way to conserve ammunition.
- Warrior: The Terminids' rank and file. They appear everywhere and are relatively weak, so the usual answer applies: shoot them, grenade them, melee them, or stratagem them. Blowing off the head does not always stop one immediately; it can still track you and make a final attack. Double-tap or melee it to be sure.
- Bile Warrior: The Warrior's acidic brother. It behaves much like a normal Warrior, but its attacks inflict acid damage and its death explosion can burn and slow anyone too close. Avoid killing one at melee distance unless you enjoy being dissolved.
- Hunter: Stark white and spring-stepped, these are essentially giant mosquitoes that will chase you to the end of the earth to stab you. They dodge, flank, leap, and often wait for enough friends to turn an annoyance into a death sentence. Treat Hunters as a priority; once one locks onto you, either you or it is probably dying.
- Pouncer: The agile cousin of the Scavenger. It is still fragile, but it can leap at you and will pursue much like a Hunter. Shoot, melee, grenade, or stratagem it, but do not leave it hopping around behind you.
- Bile Spitter: Basically a Scavenger that learned to spit acid. It stays outside melee range and pelts you with bile that slows and damages over time, giving the rest of the swarm time to attack from every side. It is not a huge priority if you can strafe the spit, but do not pop one too close; its death burst can splash acid around the body.
- Brood Commander: The closest thing the bugs have to an officer. These large, dark-red Terminids are considerably tougher and can summon other bugs without relying on a normal breach. Headshots put them down quickly, but they may attempt one final swan-song attack before collapsing. Destroying the limbs slows them, though blowing off the head and strafing away is usually simpler.
- Alpha Commander: A Brood Commander, but bigger, stronger, and faster to call backup. It takes much more punishment, so support weapons are strongly recommended. Starting on difficulty 8, Alpha Commanders replace normal Brood Commanders.
- Alpha Warrior: A red, faster version of the standard Warrior, summoned by Alpha Commanders. Their spawn rate means they may make up a large share of the Warriors you fight. They can take about the same punishment as a normal Warrior, but they move much faster.
Terminids: Specialists & Spewers
Hive Guard
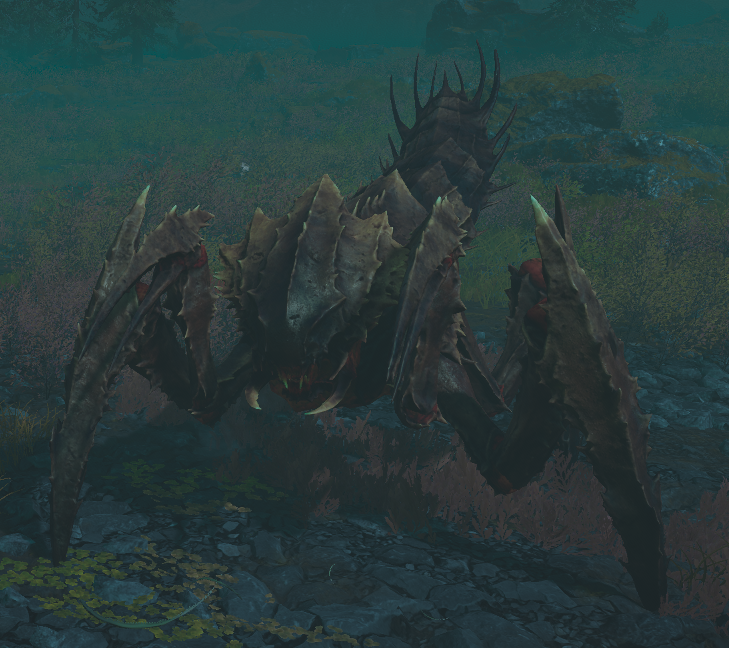
Hive Guards protect bug holes, egg hatcheries, and Terminid points of interest. Their head and front limbs are more heavily armored than most of their kin, and repeated fire makes them hunker down behind that armor.
Armor: The head and front limbs have medium armor, while the underside and less-protected angles remain vulnerable to lighter weapons. Medium penetration is the cleaner answer.
Recommended weapons: The Railgun, AR-23P, JAR-5 Dominator, Slugger, and Diligence Counter Sniper are all strong options against the armored front. Hive Guards can call reinforcements, so do not let the defensive posture convince you they are harmless.
Stalker
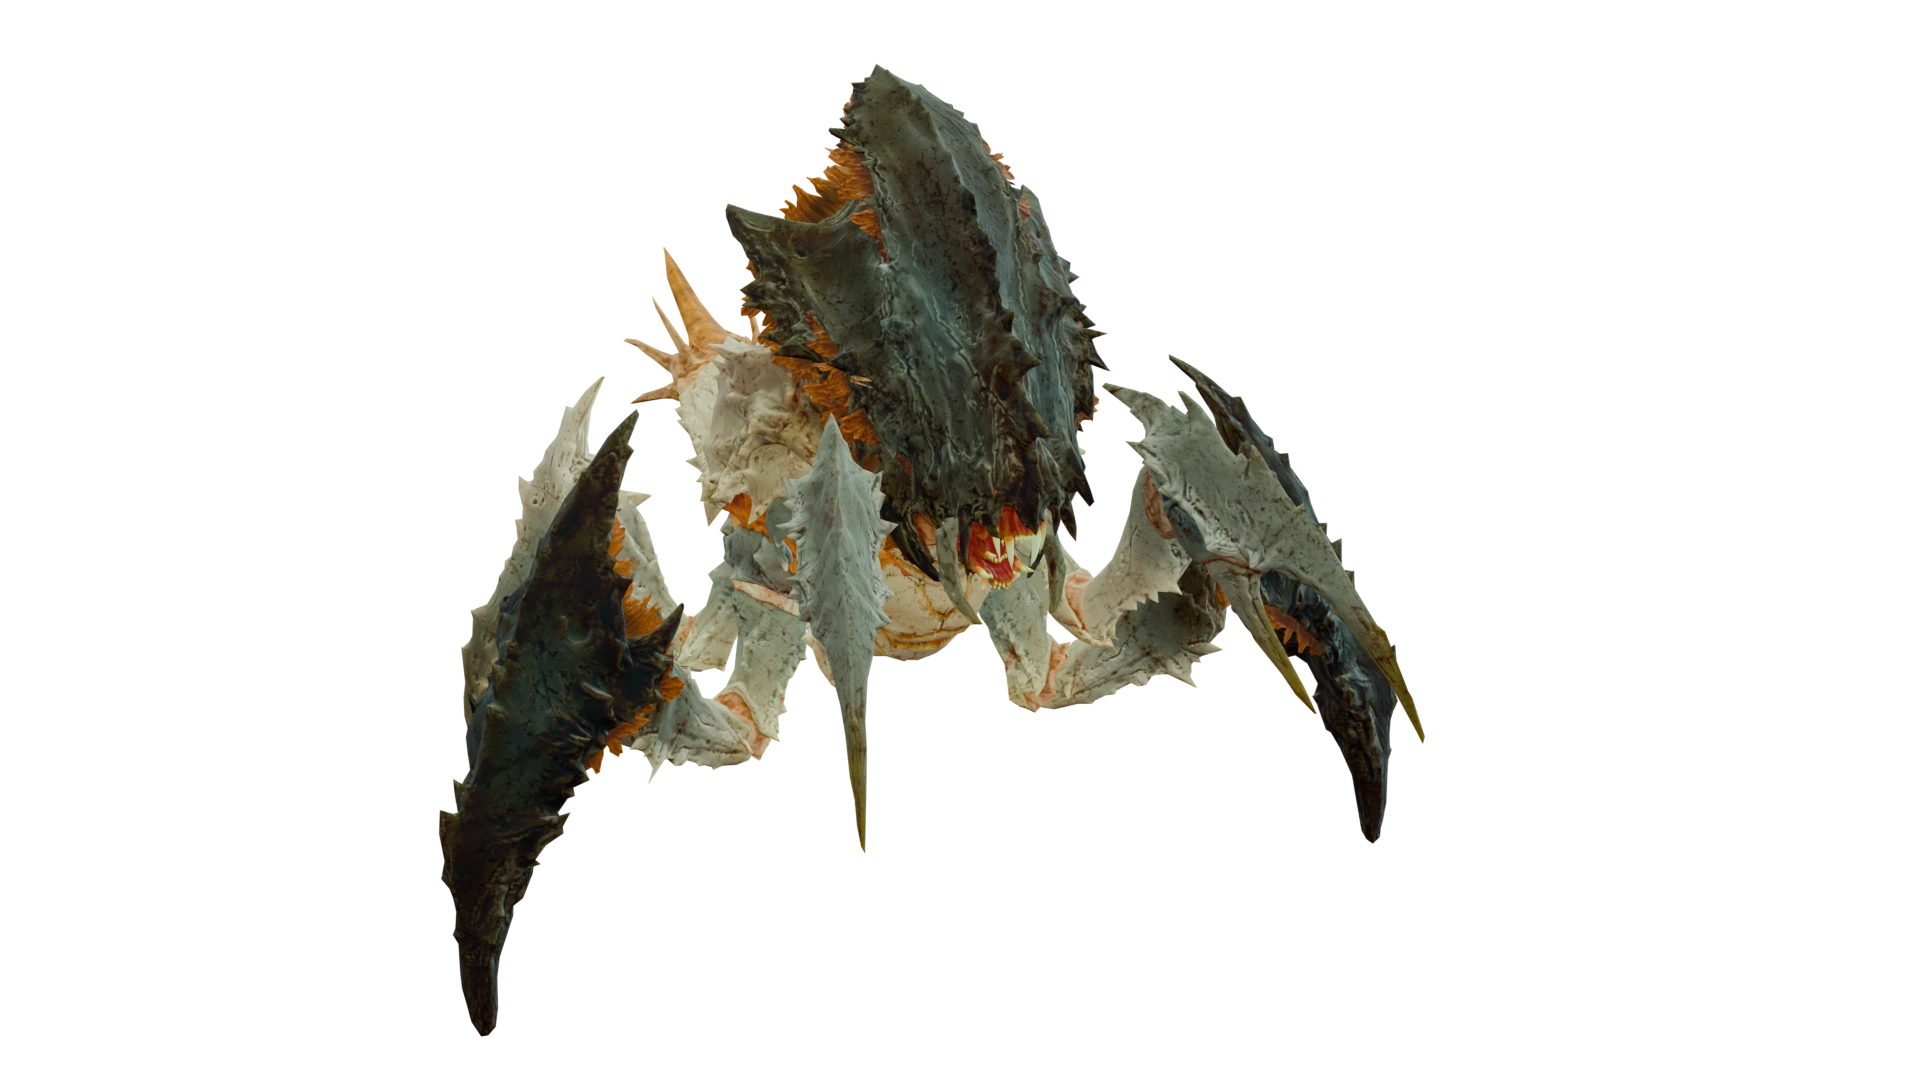
A Stalker is essentially a larger Hunter with optical camouflage and a nasty close-range three-hit combo. Any weapon can kill it, but it takes considerable punishment and will often leap backward and cloak again once wounded.
Important mechanic: Press the attack before it disengages. Standard Stalkers only appear when a Stalker Lair is present, and they often approach from the lair's direction. Kill the Stalkers, trace that direction, and destroy the lair before more arrive. Predator Stalkers are different; they can appear without a lair.
Shrieker
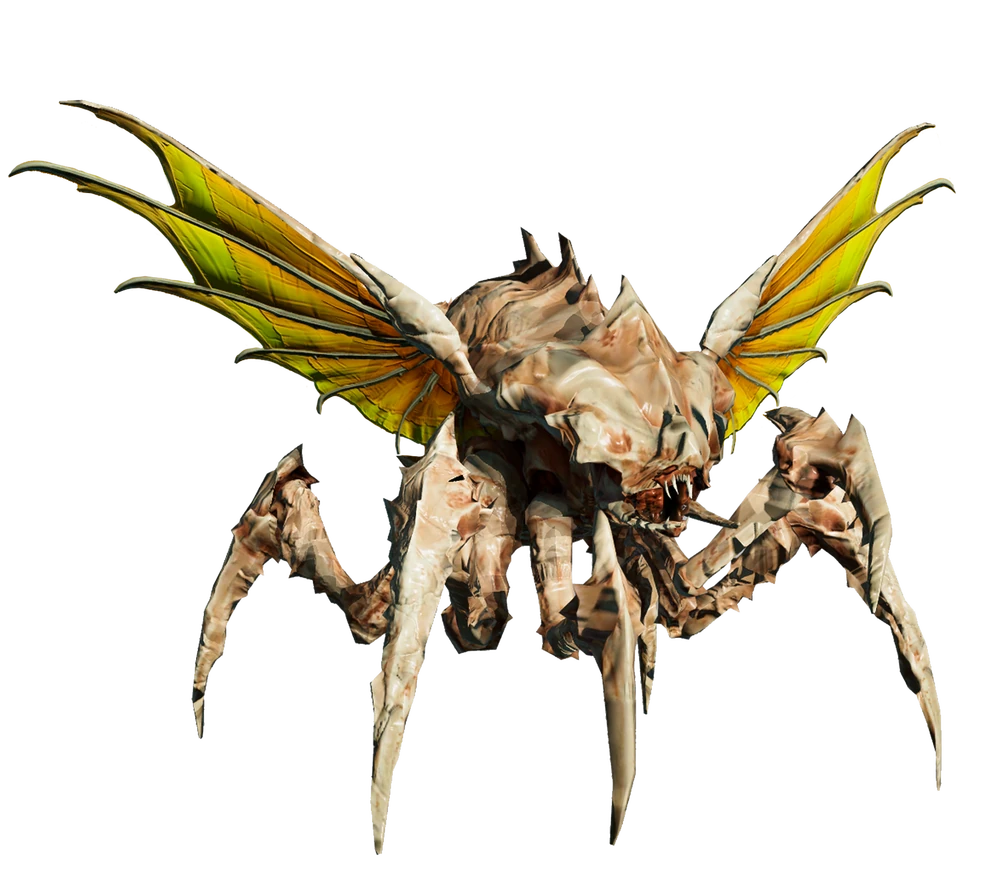
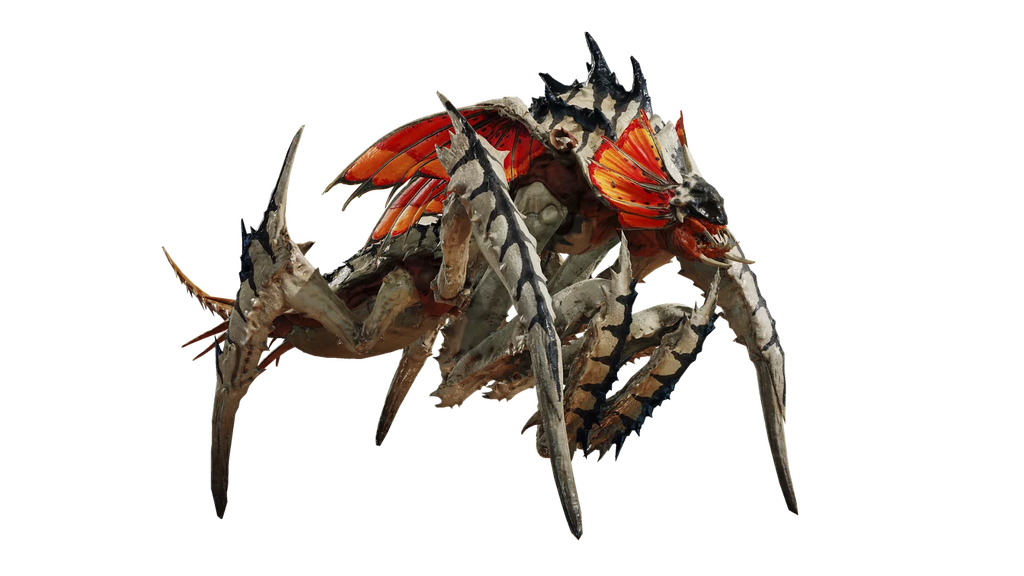
Shriekers are flying Terminids that swoop down on Helldivers near their nests. Follow their flight path to locate the nest and destroy it with Hellbombs to stop that source of spawns.
Important mechanic: Shriekers can also appear on missions without a nest. The Roving Shriekers operation modifier adds map-roaming Shrieker patrols, so plan your loadout accordingly.
As for the Shriekers themselves, putting lead into them works as well as it does on the other bugs. Just protect your head and avoid the falling corpse.
Nursing Spewer & Bile Spewer
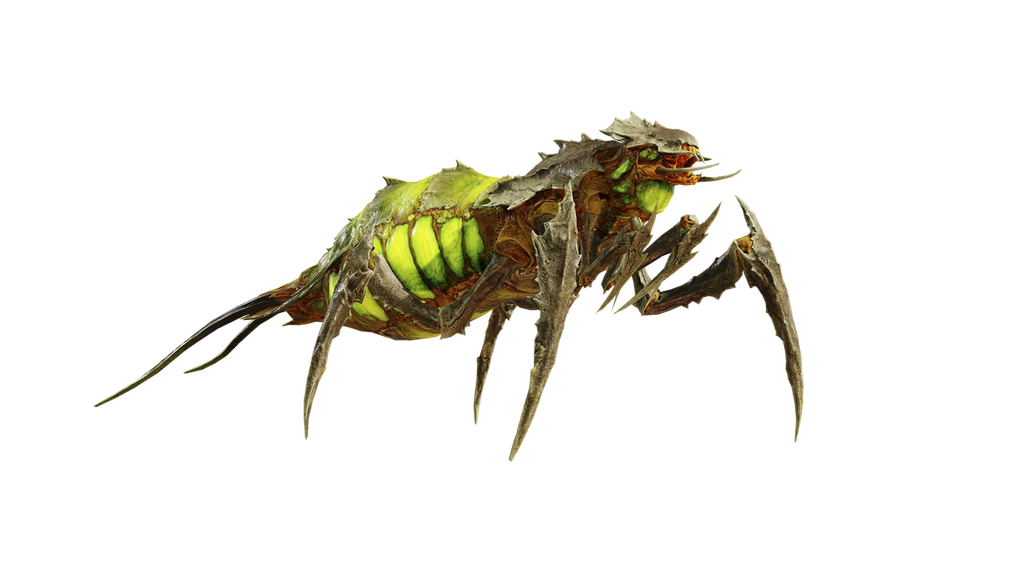
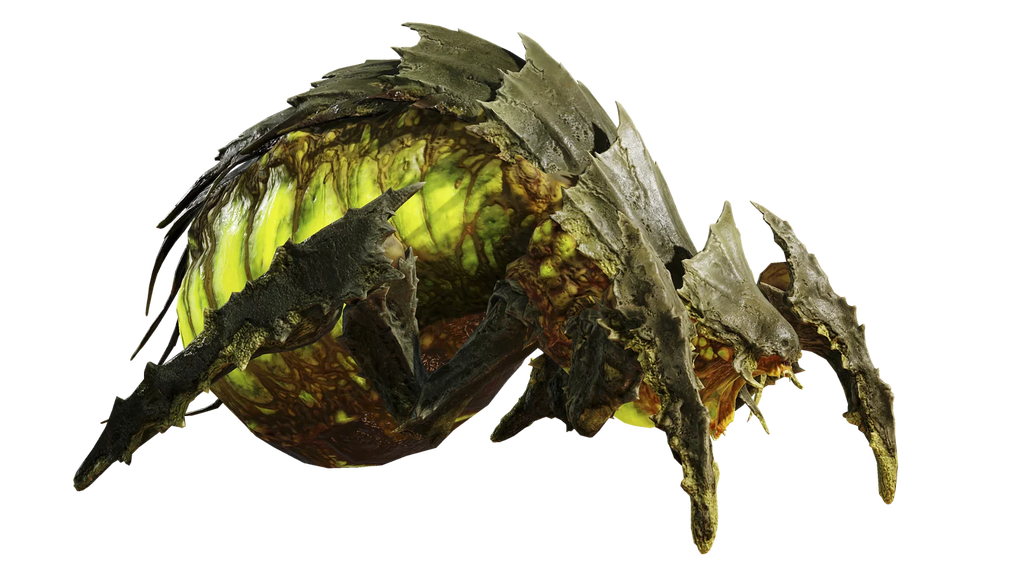
Both variants have MASSIVE sacks on their backs and can spew bile that either kills outright or slows and damages over time, leaving you open to the rest of the swarm.
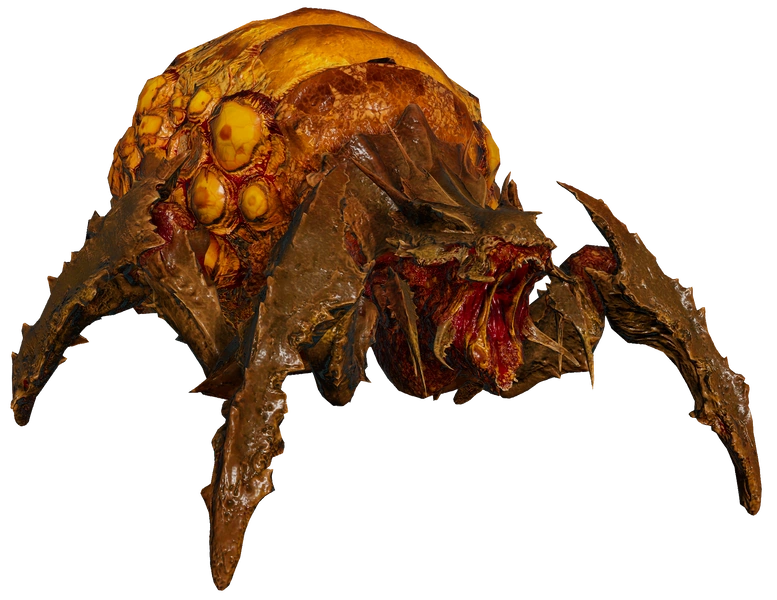
- Nursing Spewer: The yellow sack looks like the weak point because video game logic says it should be. WRONG. The head drops one much faster; the rear sack is extremely durable unless hit with explosives. The Grenade Launcher makes quick work of them and punishes tightly packed groups.
- Bile Spewer: The greener, deadlier version. It can hang back and launch bile mortars that ragdoll or kill, or close the distance and use its acid spray. On difficulty 6 and above, its head and spine shrug off light penetration, so use medium penetration for quick headshots. Without it, fire into the glowing sack for slower but consistent damage. Stand back when it dies, because the death explosion can splash acid around the body.
Terminids: Chargers & Impaler
Charger & Charger Behemoth
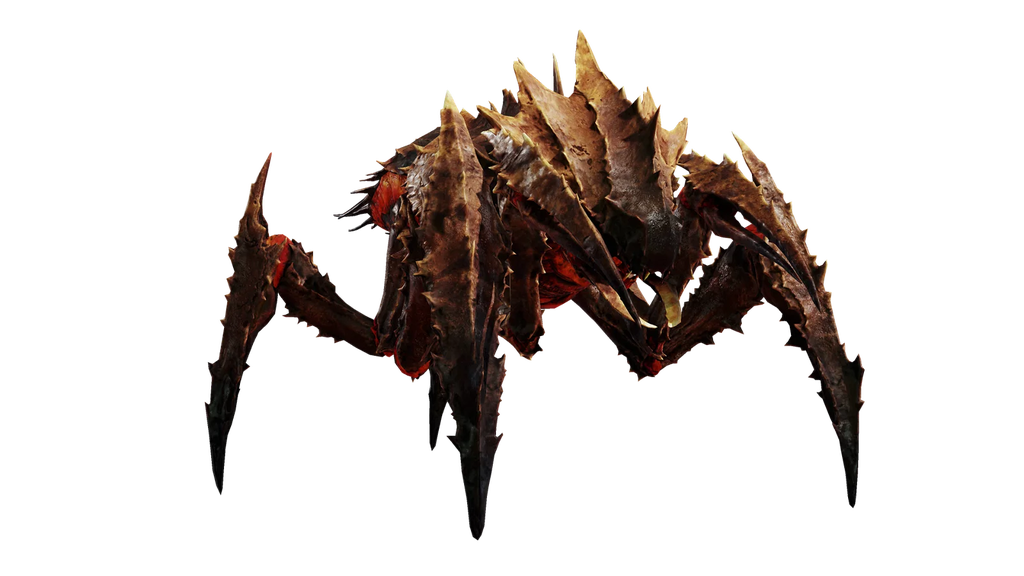
This is the bug that gives the Super Earth Armed Forces so much trouble. Most of its body is covered in heavy armor, leaving the backside as the obvious exposed target.
Recommended weapons: A clean anti-tank headshot from the Recoilless Rifle, EAT-17, or Quasar Cannon can kill a standard Charger. The Railgun can work through the head or strip leg armor so a primary can finish the job. The Flamethrower is also effective, especially when concentrated on one leg.
The Anti-Materiel Rifle and Autocannon can also kill Chargers, but they are inefficient against the front armor. With those weapons, target the squishy backside whenever possible.
The Charger Behemoth follows the same basic rules but has more health and durability than its smaller brother. The same support weapons work, but poor placement is punished harder.
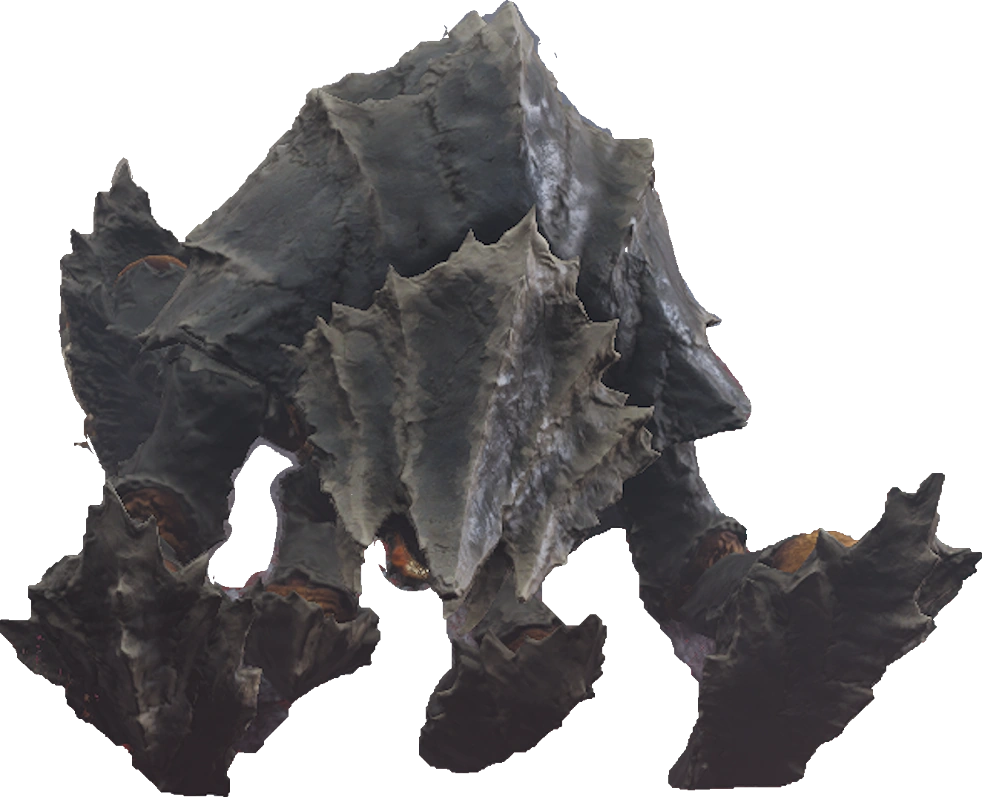
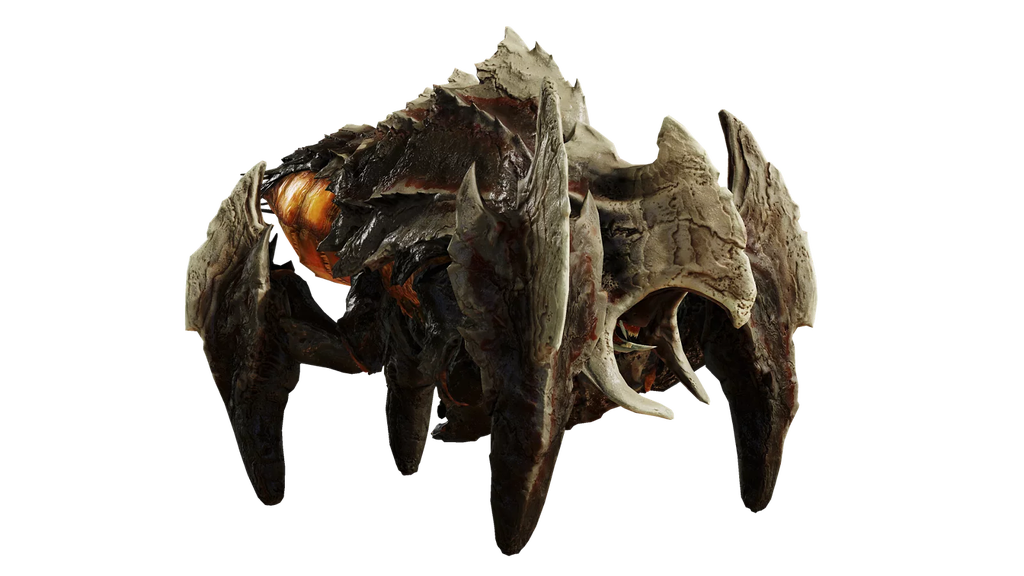
Spore Charger
The newest abomination in the Charger family is pseudo-stealthy and extremely annoying. A cloud of spore fog masks its approach until the last second and hides the movement of nearby bugs.
Tactic: Treat it like the other Chargers: put anti-tank fire into the head or destroy it with a call-in explosive.
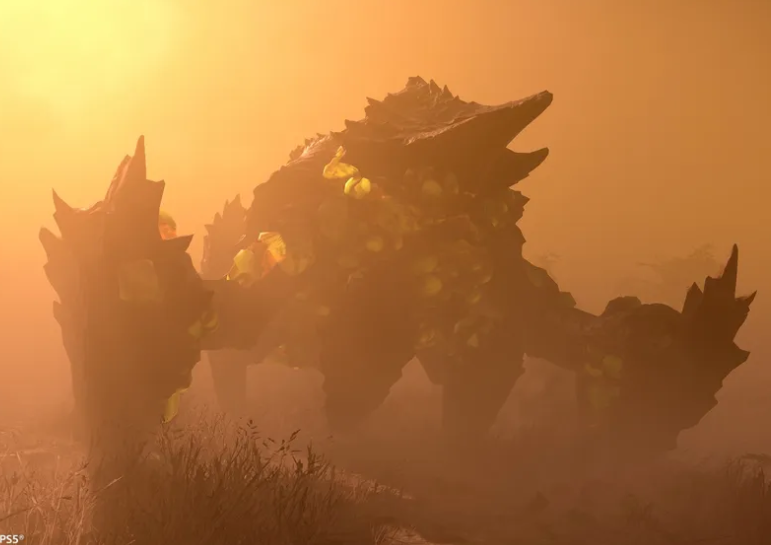
Impaler
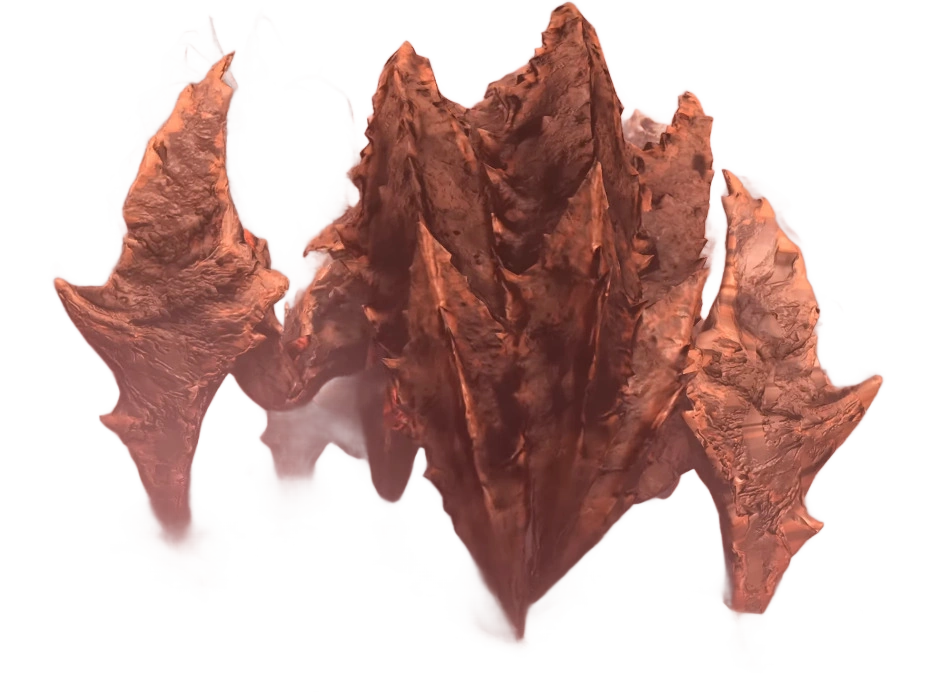
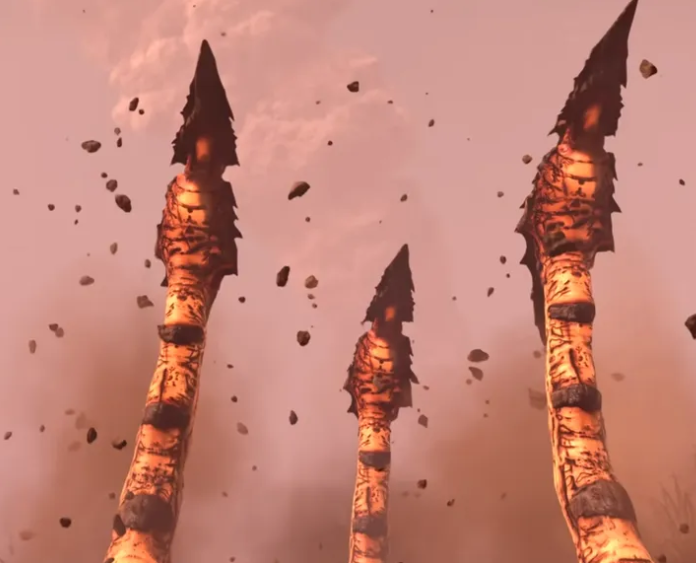
After 100 years, the dreaded Impaler returns, somehow larger and more imposing. It stays near the outside of a fight and burrows its stabby tentacles beneath the surface to impale and ragdoll you. Run from the tentacles; if that is not possible, dive and crawl away.
Weak point: While the tentacles are buried, the Impaler exposes its unarmored head. That is your window to punish it with direct support-weapon fire, anti-tank ordnance, or a call-in.
Terminids: Titans & Dragonroach
Bile Titan
You do not need anti-tank weapons to kill a Bile Titan. Destroying the underside sacs prevents the bile-spew attack, and continued fire into the exposed belly can kill it.
Recommended weapons: A clean headshot from the Recoilless Rifle or EAT-17 can kill it in one hit. Other anti-tank launchers remain strong, but their breakpoints vary. The Autocannon, Anti-Materiel Rifle, Heavy Machine Gun, and Grenade Launcher can work through the underside with sustained fire.
Weak points: Aim anti-tank fire at the head. Lower-penetration support weapons should target the underside sacs; destroying them removes the bile-spew attack, and the exposed belly can then be finished with continued fire.
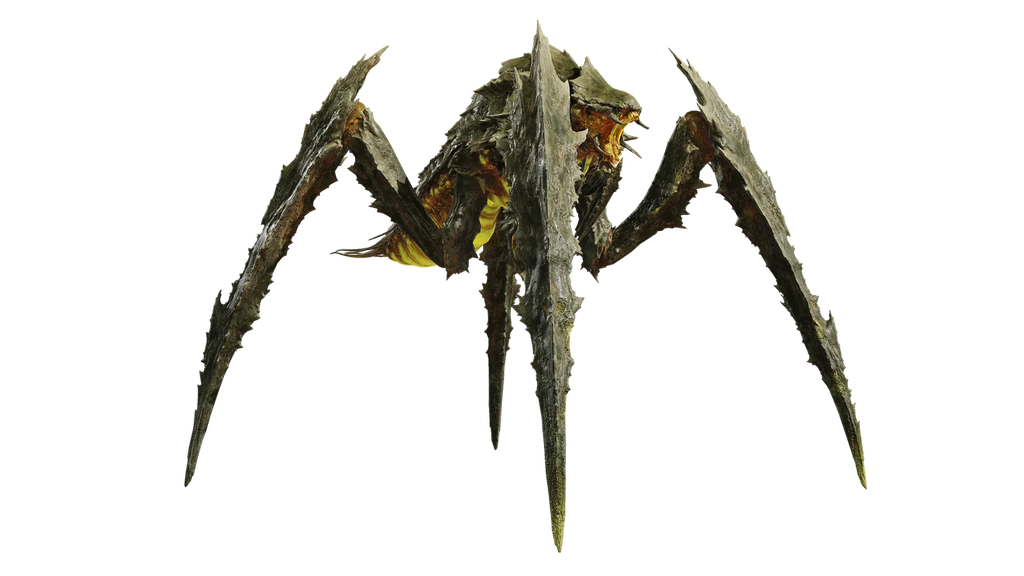
Dragonroach
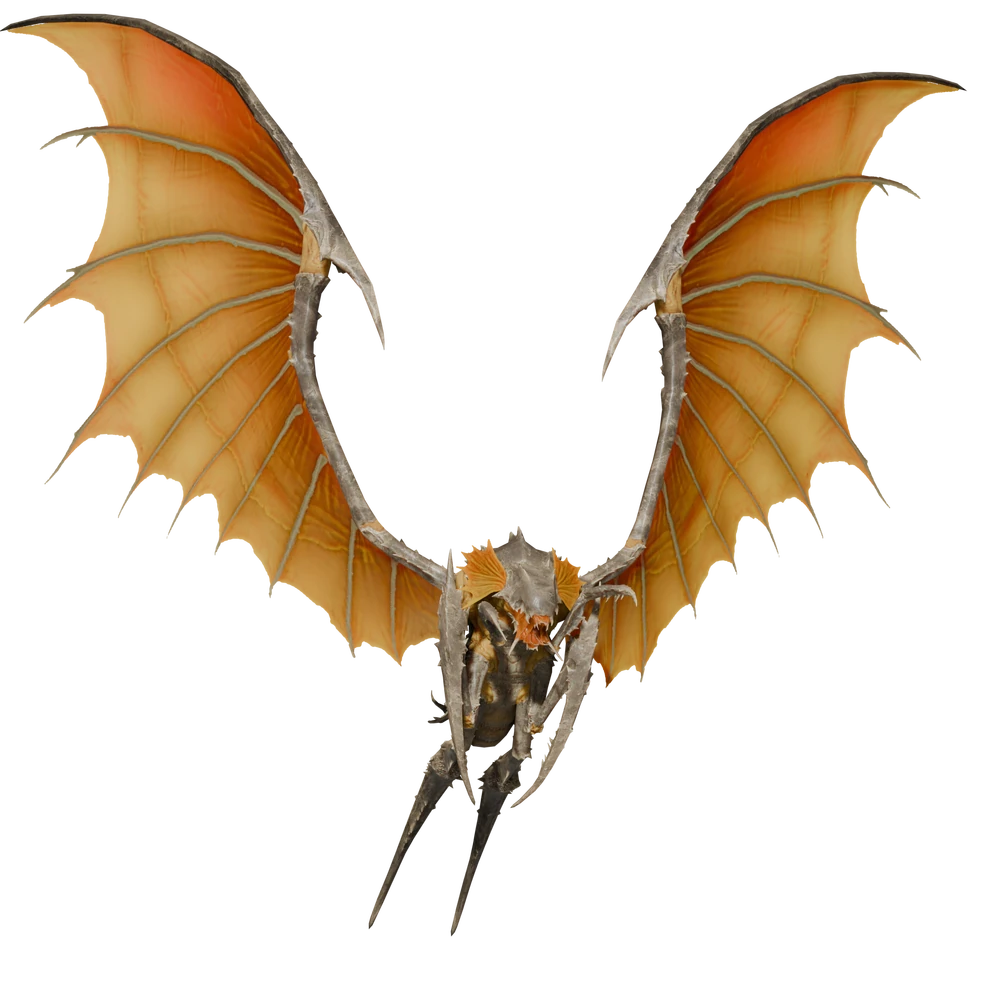
A big flying Bile Titan. Dragonroaches are among the highest-priority Terminids because they keep coming back for strafing runs once engaged.
Recommended weapons: Use anti-tank support weapons against the head, an Orbital Railcannon Strike, or a homing weapon such as the Spear or W.A.S.P.
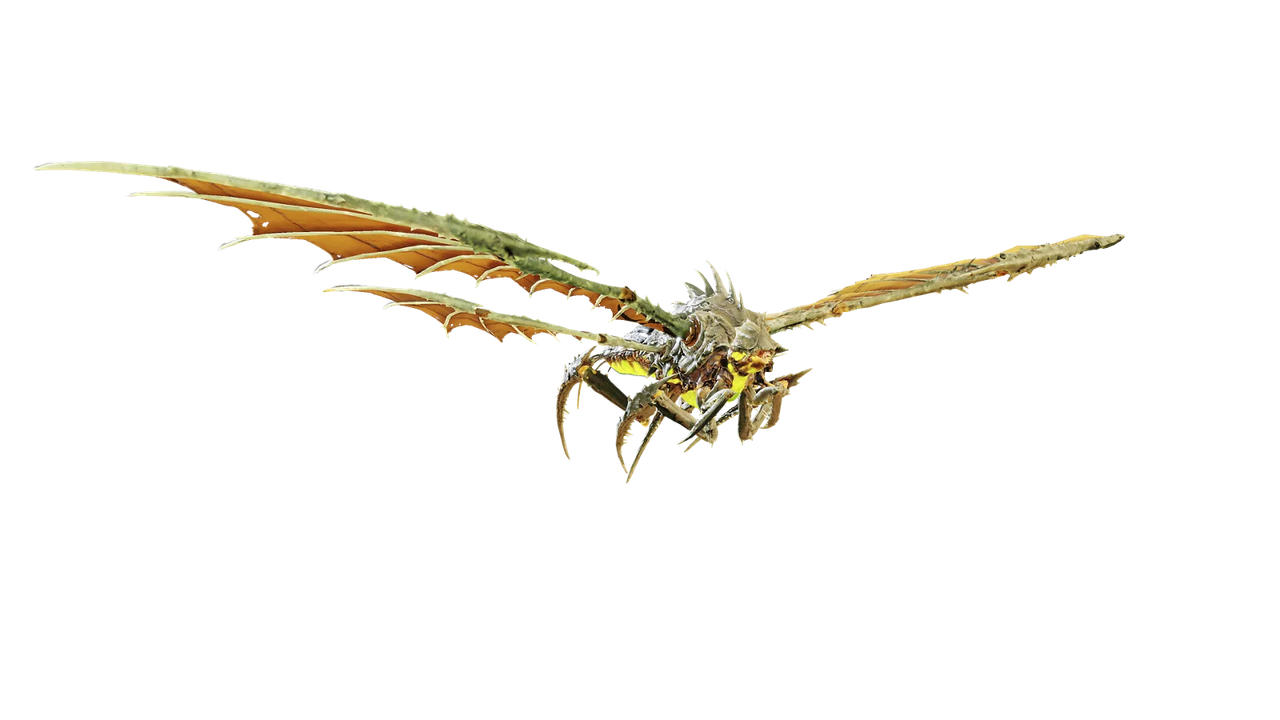
- Fire Breath: A huge breath of flame that deals fire damage, ignites you, and leaves burning ground behind. Dive out of the stream, then stay prone long enough to extinguish the flames.
- Clipped Wings: The wings can be damaged by every penetration type. They are not weak points in the usual sense, but destroying one kills the Dragonroach. If precise headshots are not happening and you have the damage output, a wing is a valid target.
Terminids: Hive Lord
Hive Lord
The largest and most durable enemy in the game, the Hive Lord is responsible for the enormous tunnels found on Terminid Hive Worlds. They are almost never seen above ground, so finding one gives the Helldivers a rare opportunity to rid the galaxy of this massive menace. That is much easier said than done.
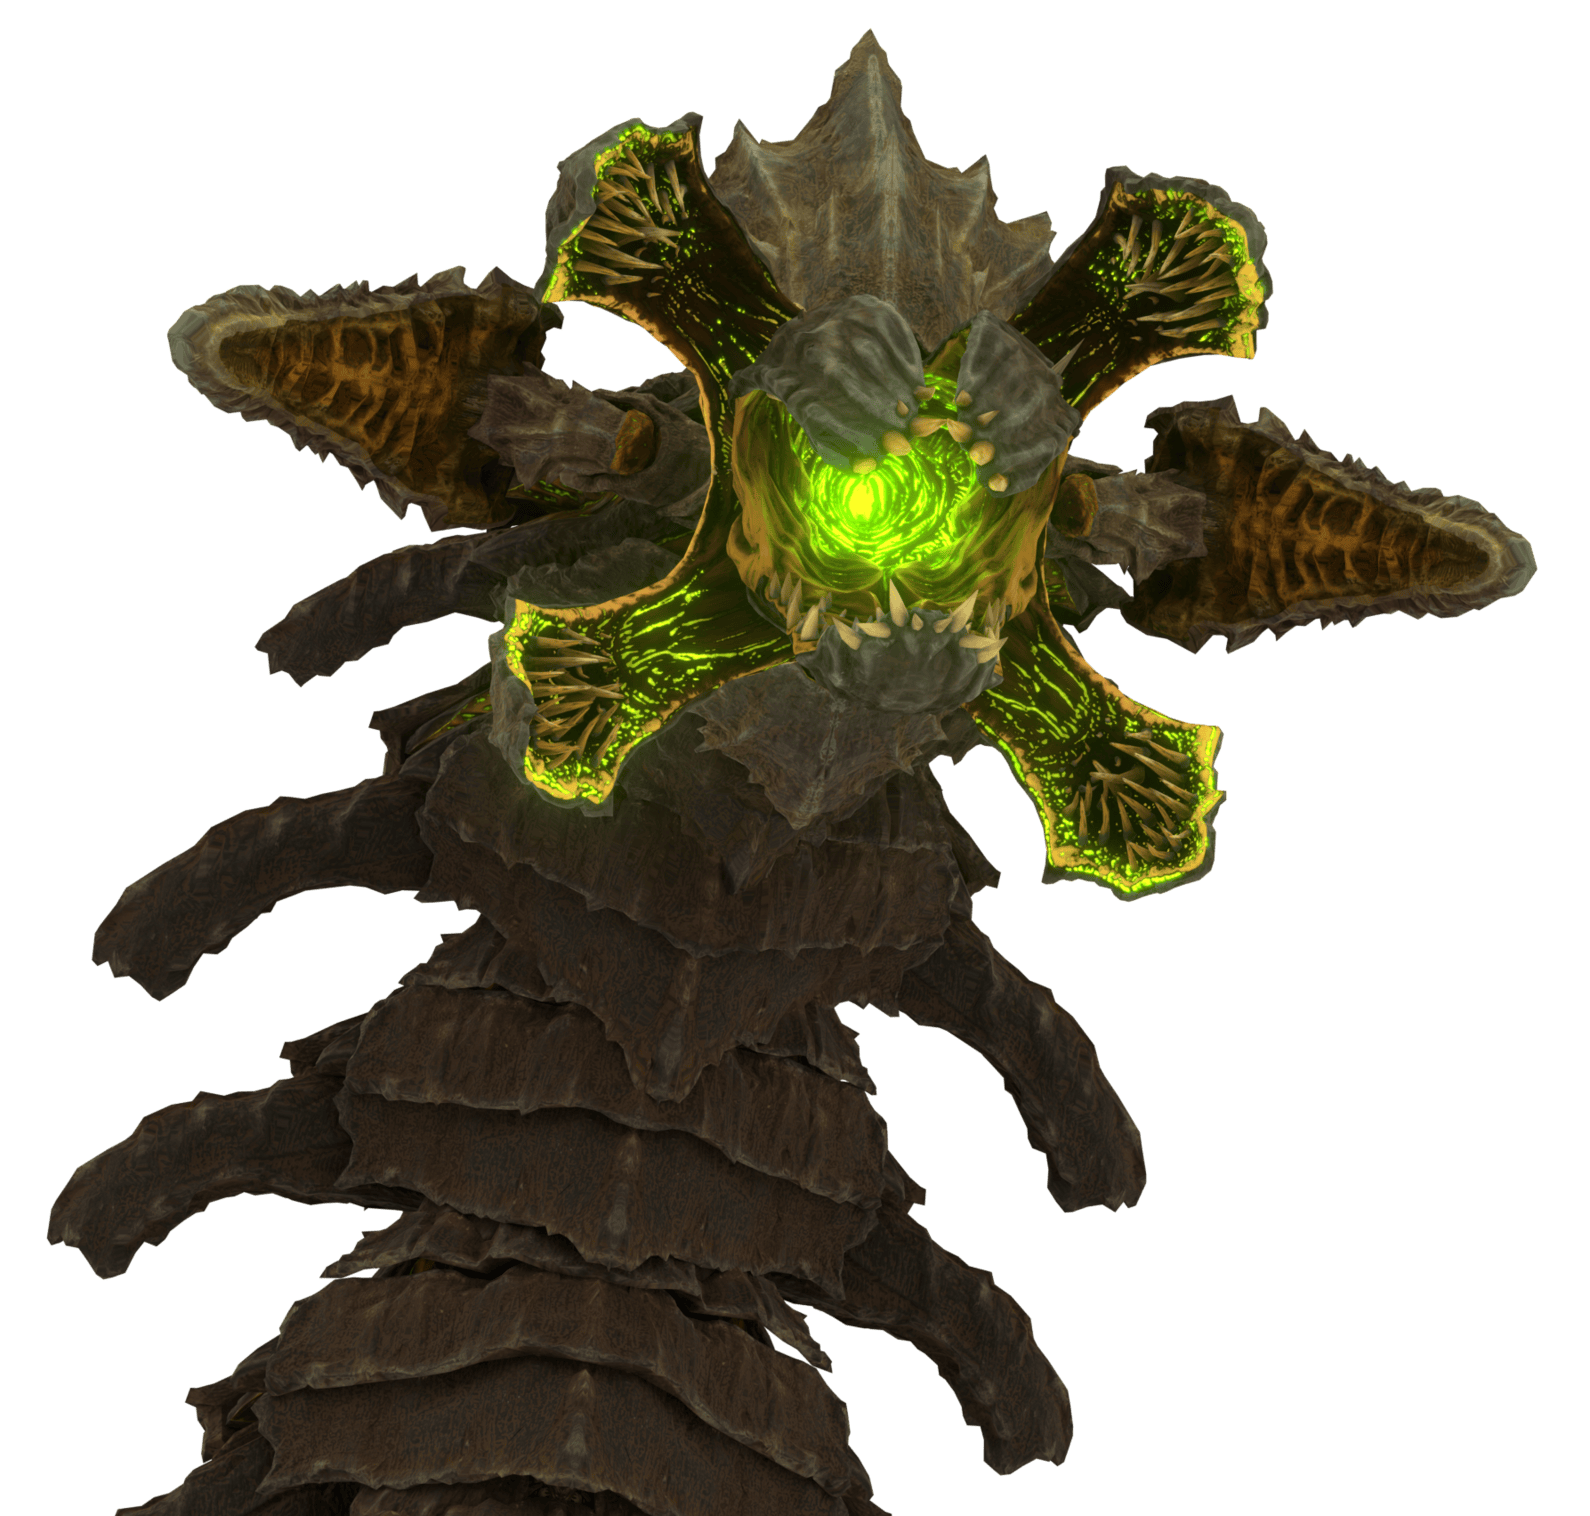
- Big Boy: A Hive Lord has a massive 150,000 health pool, so even Hellbombs and many, MANY rockets demand a coordinated fight. Fight it as a team or seriously consider not engaging at all.
- Massive Firepower: If you choose to fight, arrive properly equipped. Hellbombs, 500 kg Bombs, anti-tank support weapons, and Exosuits are among the best options for bringing one down.
- Thick Armor: Most body plates are Tank 1. Head sections reach Tank 2 or higher, while the open mouth is lightly armored. Match your target to the penetration you brought.
- Strip the Armor: Destroying an armored section exposes the softer flesh beneath, allowing direct damage to its enormous health pool. Switch to direct-fire damage once it is exposed; the inner flesh is immune to explosion damage.
- Environmental Hazard: The Hive Lord is so large that its movement causes tremors and quakes nearby. Surfacing slows Helldivers and throws enormous rocks back through the entrance, which can kill anyone they hit. Standing close to the body can also knock a Helldiver off balance.
- Massive Attacks: Its attacks have recognizable tells, including body slams that can kill, sudden surfacing attacks that swallow a Helldiver, and a massive bile-spit attack. Watch the body language and move early.
- Even Worth It?: Fighting a Hive Lord forces the whole team to commit while smaller Terminids continue making the situation worse. Killing one awards only 222 XP, which is very, very measly. Being able to say you killed one may be all the glory you need.
Terminids: Predator Strain
The Predator Strain
A Gloom-enhanced strain of Terminids with altered behavior and improved abilities. Their striking black-and-yellow pattern makes them easy to distinguish from the normal swarm.
Predator Hunter
A Hunter enhanced by the Gloom. It is more aggressive, can cloak like a normal Stalker, and jumps and attacks faster. Escaping one is extremely difficult without a Jump Pack or FRV.
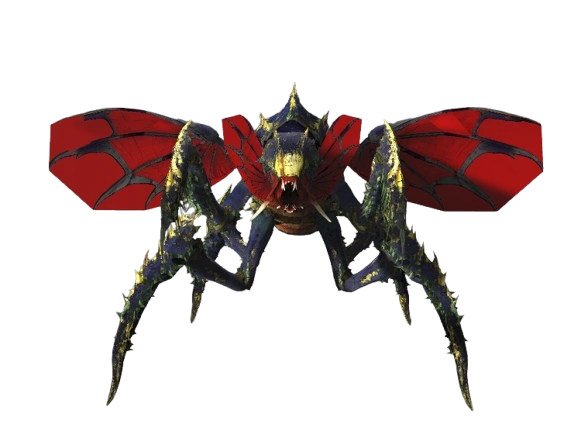
- Cloaking: Predator Hunters use the same camouflage ability as normal Stalkers, allowing them to close in before the opening attack.
- Bile Vomit: They can spit bile over a short distance, giving them slightly more reach than a normal Hunter and slowing anyone who survives the attack.
Weakness: Their head remains fragile, and leg damage can interrupt their pounces. High-stagger and rapid-fire weapons are safer than relying on fire alone; burning can make a cloaked silhouette easier to track, but it is not a guaranteed quick kill.
Predator Stalker
A Gloom-enhanced Stalker that traded away its camouflage for much greater numbers and relentless aggression. It does not require a Stalker Lair to spawn, will not retreat after taking damage, and can be identified by its black, yellow, and red pattern.
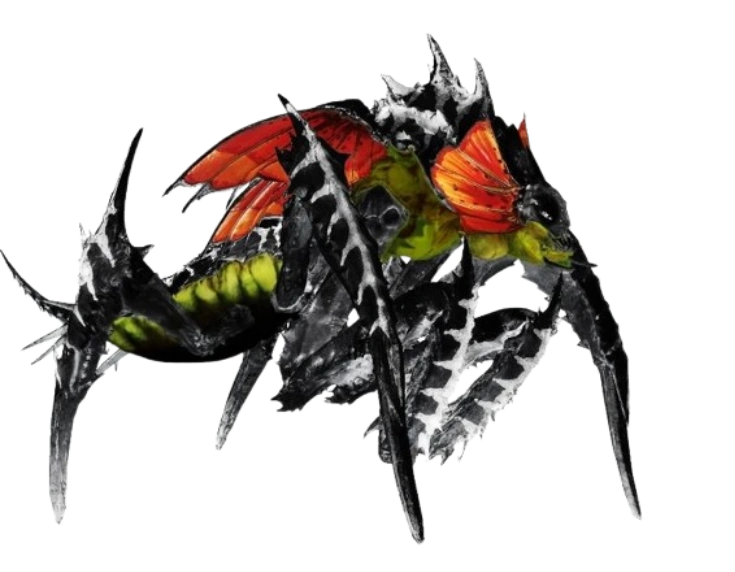
- Spawn Rate: Predator Stalkers can appear in patrols, breaches, nests, objectives, and points of interest. They do not require a Stalker Lair.
- Pack Nature: Because they are not tied to lairs, several can pile into the same fight.
- Relentless: Once engaged, they continuously pursue until either their target, meaning YOU, or they are dead. Kill every last one or die trying.
Predator Stalkers are somewhat less durable overall than standard Stalkers, and every weapon can damage them. High-stagger or stun weapons such as the Halt, Pummeler, and Punisher can keep them at a safer distance. Rapid headshots work, but remember that they travel in numbers. Tesla Towers, fast-firing turrets, minefields, and sustained-fire support weapons can delay or kill the pack while it closes in.
Terminids: Spore Burst Strain
Spore Burst Strain
Long-term exposure to the Gloom has left these Terminids looking almost infected, with red-and-white carapaces resembling flesh and bone. Most behave like their normal counterparts, with one important difference: they explode into spores and gas when they die unless the killing blow leaves them burning.
Important mechanic: A Spore Burst death cloud obscures vision, deals light damage, and speeds up nearby Spore Burst bugs. If it dies while burning, the cloud does not appear, but distance is still the safest answer.
Spore Burst Scavenger
A Scavenger enhanced by prolonged Gloom exposure. It behaves like the normal version but explodes into spores and gas on death.
Swarm spawn: These Scavengers can appear in tightly packed swarms. Killing several together can fill the lane with overlapping clouds, so keep your distance.
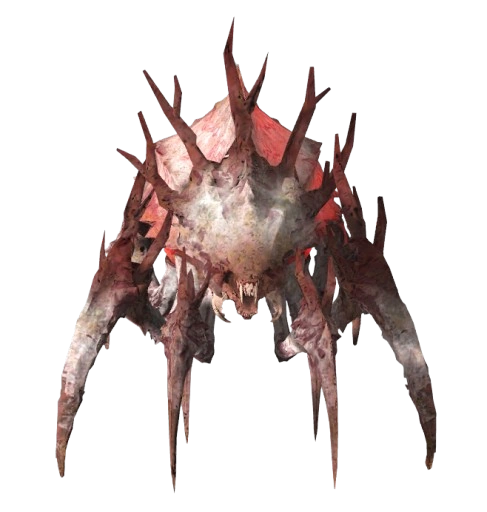
Spore Burst Hunter
A Hunter that behaves and takes damage much like its normal counterpart, plus the Spore Burst death explosion.
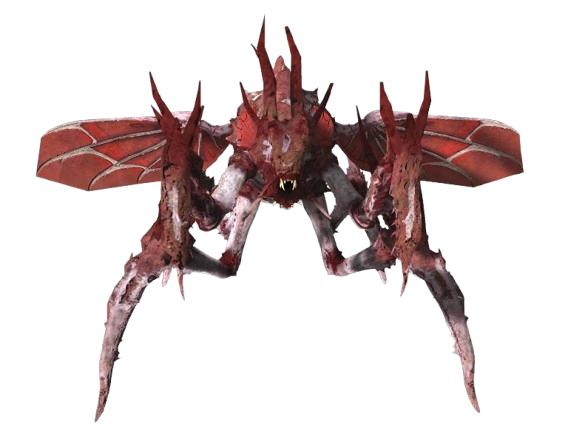
Spore Burst Warrior
A Warrior with the same general behavior as the normal version and the same spore-and-gas explosion on death.
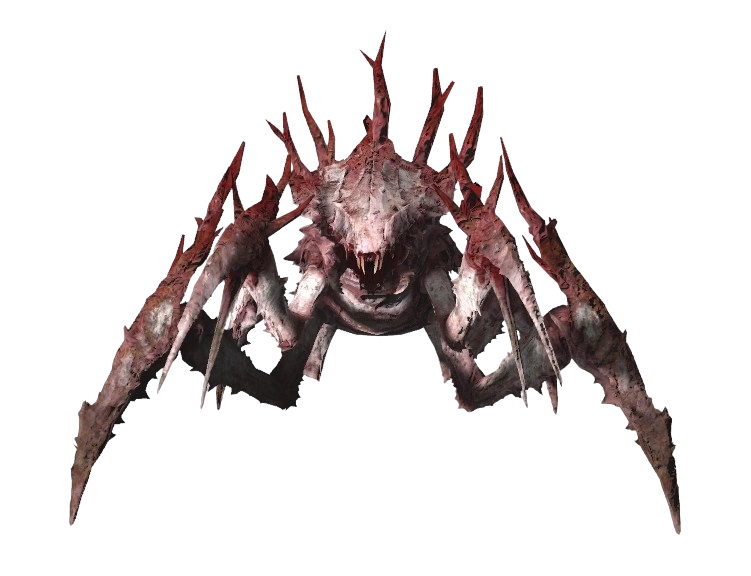
Spore Burst Bile Titan
If standard Bile Titans were not enough of a headache, this mutated abomination takes the problem to another level. Crimson spore sacks cover its carapace, and its attacks turn it into a massive force multiplier for the surrounding swarm.
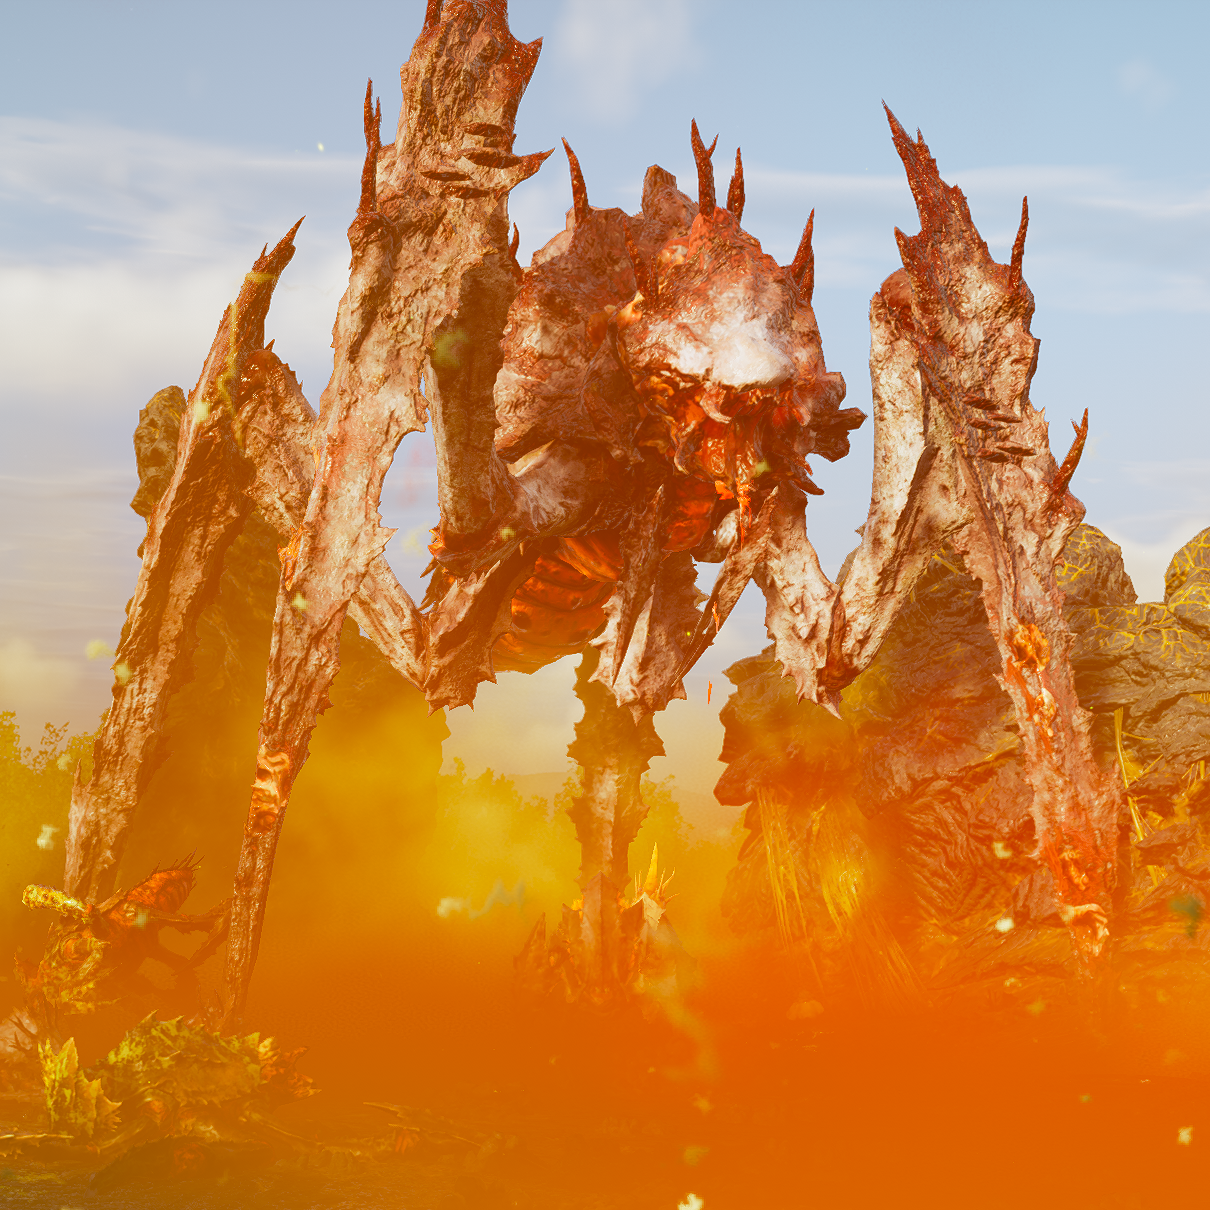
- Spore Blast: Its spew takes slightly longer to wind up than a normal Titan's, but the blast violently ragdolls Helldivers and leaves a crimson cloud that gives nearby Spore Burst bugs an enormous speed boost. The surrounding horde goes from manageable to a rabid blur very quickly.
- Recommended weapons: The Recoilless Rifle and Spear can kill with a clean headshot. The EAT-17 and Quasar Cannon need follow-up damage against this tougher Titan. The Autocannon, Heavy Machine Gun, and Commando can destroy the glowing underside and disable the spew.
- Crucial trick: A normal kill triggers a huge crimson spore explosion that blankets the area, obscures vision, and buffs surrounding bugs. Make sure it is burning when it dies with weapons such as the Flamethrower or Torcher, or stratagems such as Eagle Napalm, to prevent the cloud from deploying. Gas alone does not reliably suppress the death cloud. Armor with the Rock Solid passive also helps against the vomit blasts.
Terminids: Rupture Strain
Rupture Strain
The Rupture Strain closes the distance by burrowing rather than walking across the surface. So far, it appears exclusive to Terminid Hive Worlds. This strain can dictate your entire loadout: entering without at least medium penetration or an explosive weapon is going to produce a very bad time.
Rupture Warrior
A cowardly Warrior variant that burrows toward its target and launches surprise attacks at close range. When the Rupture Strain is present, these often replace normal Warriors, making them a constant threat.
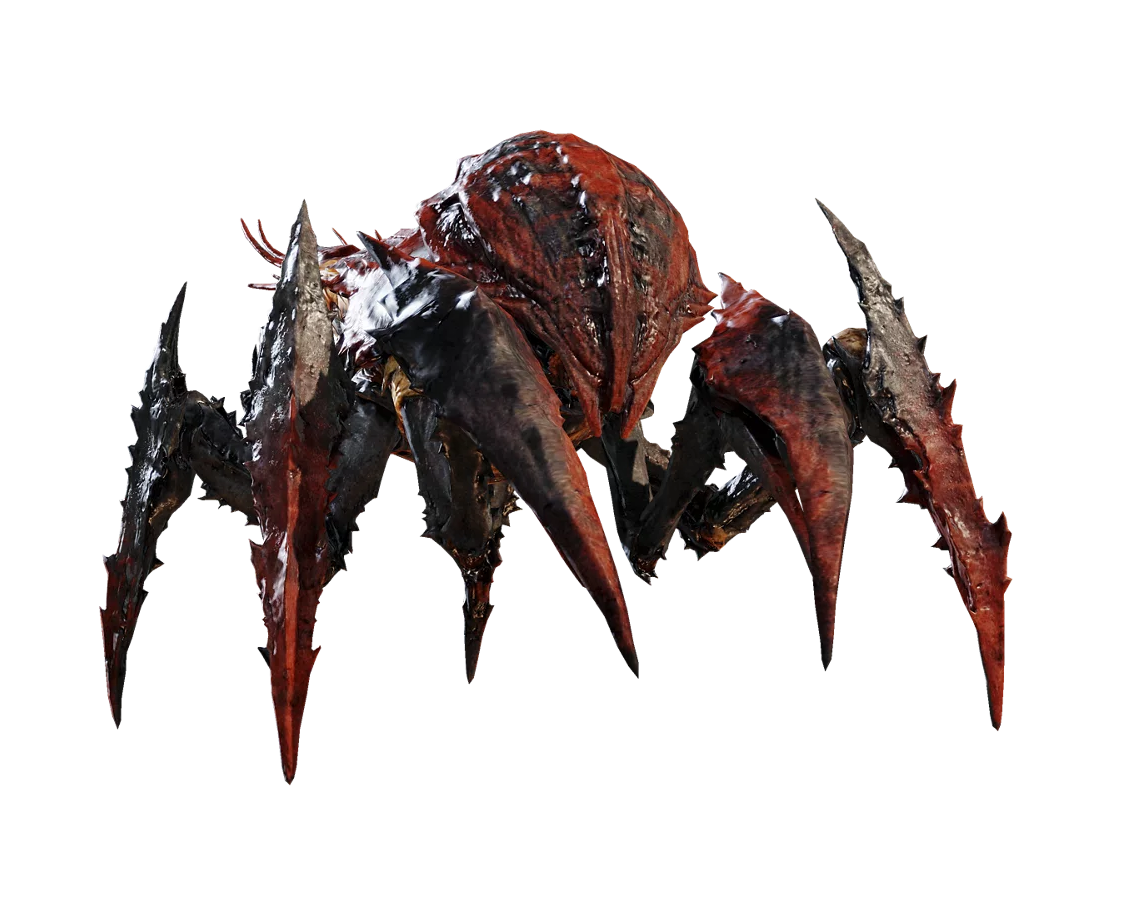
- Burrowing: Rupture enemies generally approach underground. Most direct fire cannot reach them there, but explosions, gas, and fire can, and explosives can force them above ground. If you lack those tools, bait the attack and move past it to create a surface window.
- Armored Head, Weak Tail: Unlike a normal Warrior, the head has medium armor. The tail remains vulnerable to every weapon. Treat these like faster, more numerous Hive Guards: bring the right penetration or flank them.
- Explosive Weakness: The Eruptor, Exploding Crossbow, and PLAS-101 Purifier can damage them while burrowed. Explosives do not make the strain harmless, but they make it considerably less miserable.
- Possible Host-Side Behavior: Older reports said Rupture Warriors emerged closer to the mission host. Patch 1.006.202 was meant to even out their tracking between host and client, and it is unclear whether any host disadvantage remains. Bring protective gear for the strain
What players suggest
Aim for the specific weak spots on medium and heavy-armored enemies rather than needing high armor-penetration weapons for every encounter.