 Day One Fixes
SolvedHow-toUpdated
Photo Mode Settings for Realistic Images in Forza Horizon 6
Short answer
This guide focuses on creating more realistic and natural-looking screenshots in Forza Horizon 6 using the in-game photo mode settings. Rather than relying on heavily saturated or overly bright presets, these settings aim for a cleaner and more cinematic look that better resembles real automotive…
Steam Community guide by Spoggi99.
Basics
Forza Horizon 6 features much more advanced lighting compared to previous Horizon titles. Dynamic weather, ray-traced reflections and lighting and dense city environments can drastically change how a screenshot looks depending on the scene.
Because of that, there is no universal “perfect” setup that works everywhere. The goal of this guide is therefore not to provide magical settings, but rather a strong baseline that produces consistently realistic-looking images in most situations.
The two most important settings by far are **exposure ** and brightness. Learning how these interact with different lighting conditions will make a much bigger difference than tweaking smaller settings.
In general, realistic screenshots tend to look:
- slightly darker rather than overly bright
- less saturated
- lower in contrast than typical “social media style” screenshots
- cleaner and more natural overall
Cloudy weather and sunrise/sunset conditions usually produce the most realistic-looking results.
Exposure and Brightness Guidelines
Rule of thumb:
Exposure should usually be at or above 50
**Brightness ** should usually stay at or below 50
There are exceptions, especially during nighttime scenes or extremely dark weather conditions where much higher exposure values (~75) may be required.
However, brightness above 50 will very often make the image appear washed out and unnatural. If your image looks flat or lacks depth, brightness is usually the first setting that should be reduced.
A good approach is:
- Adjust exposure first until the car and environment are properly visible
- Then lower brightness until the image regains depth and contrast
Black or dark-colored cars often require slightly higher exposure values than bright-colored vehicles.
Settings Recommendations
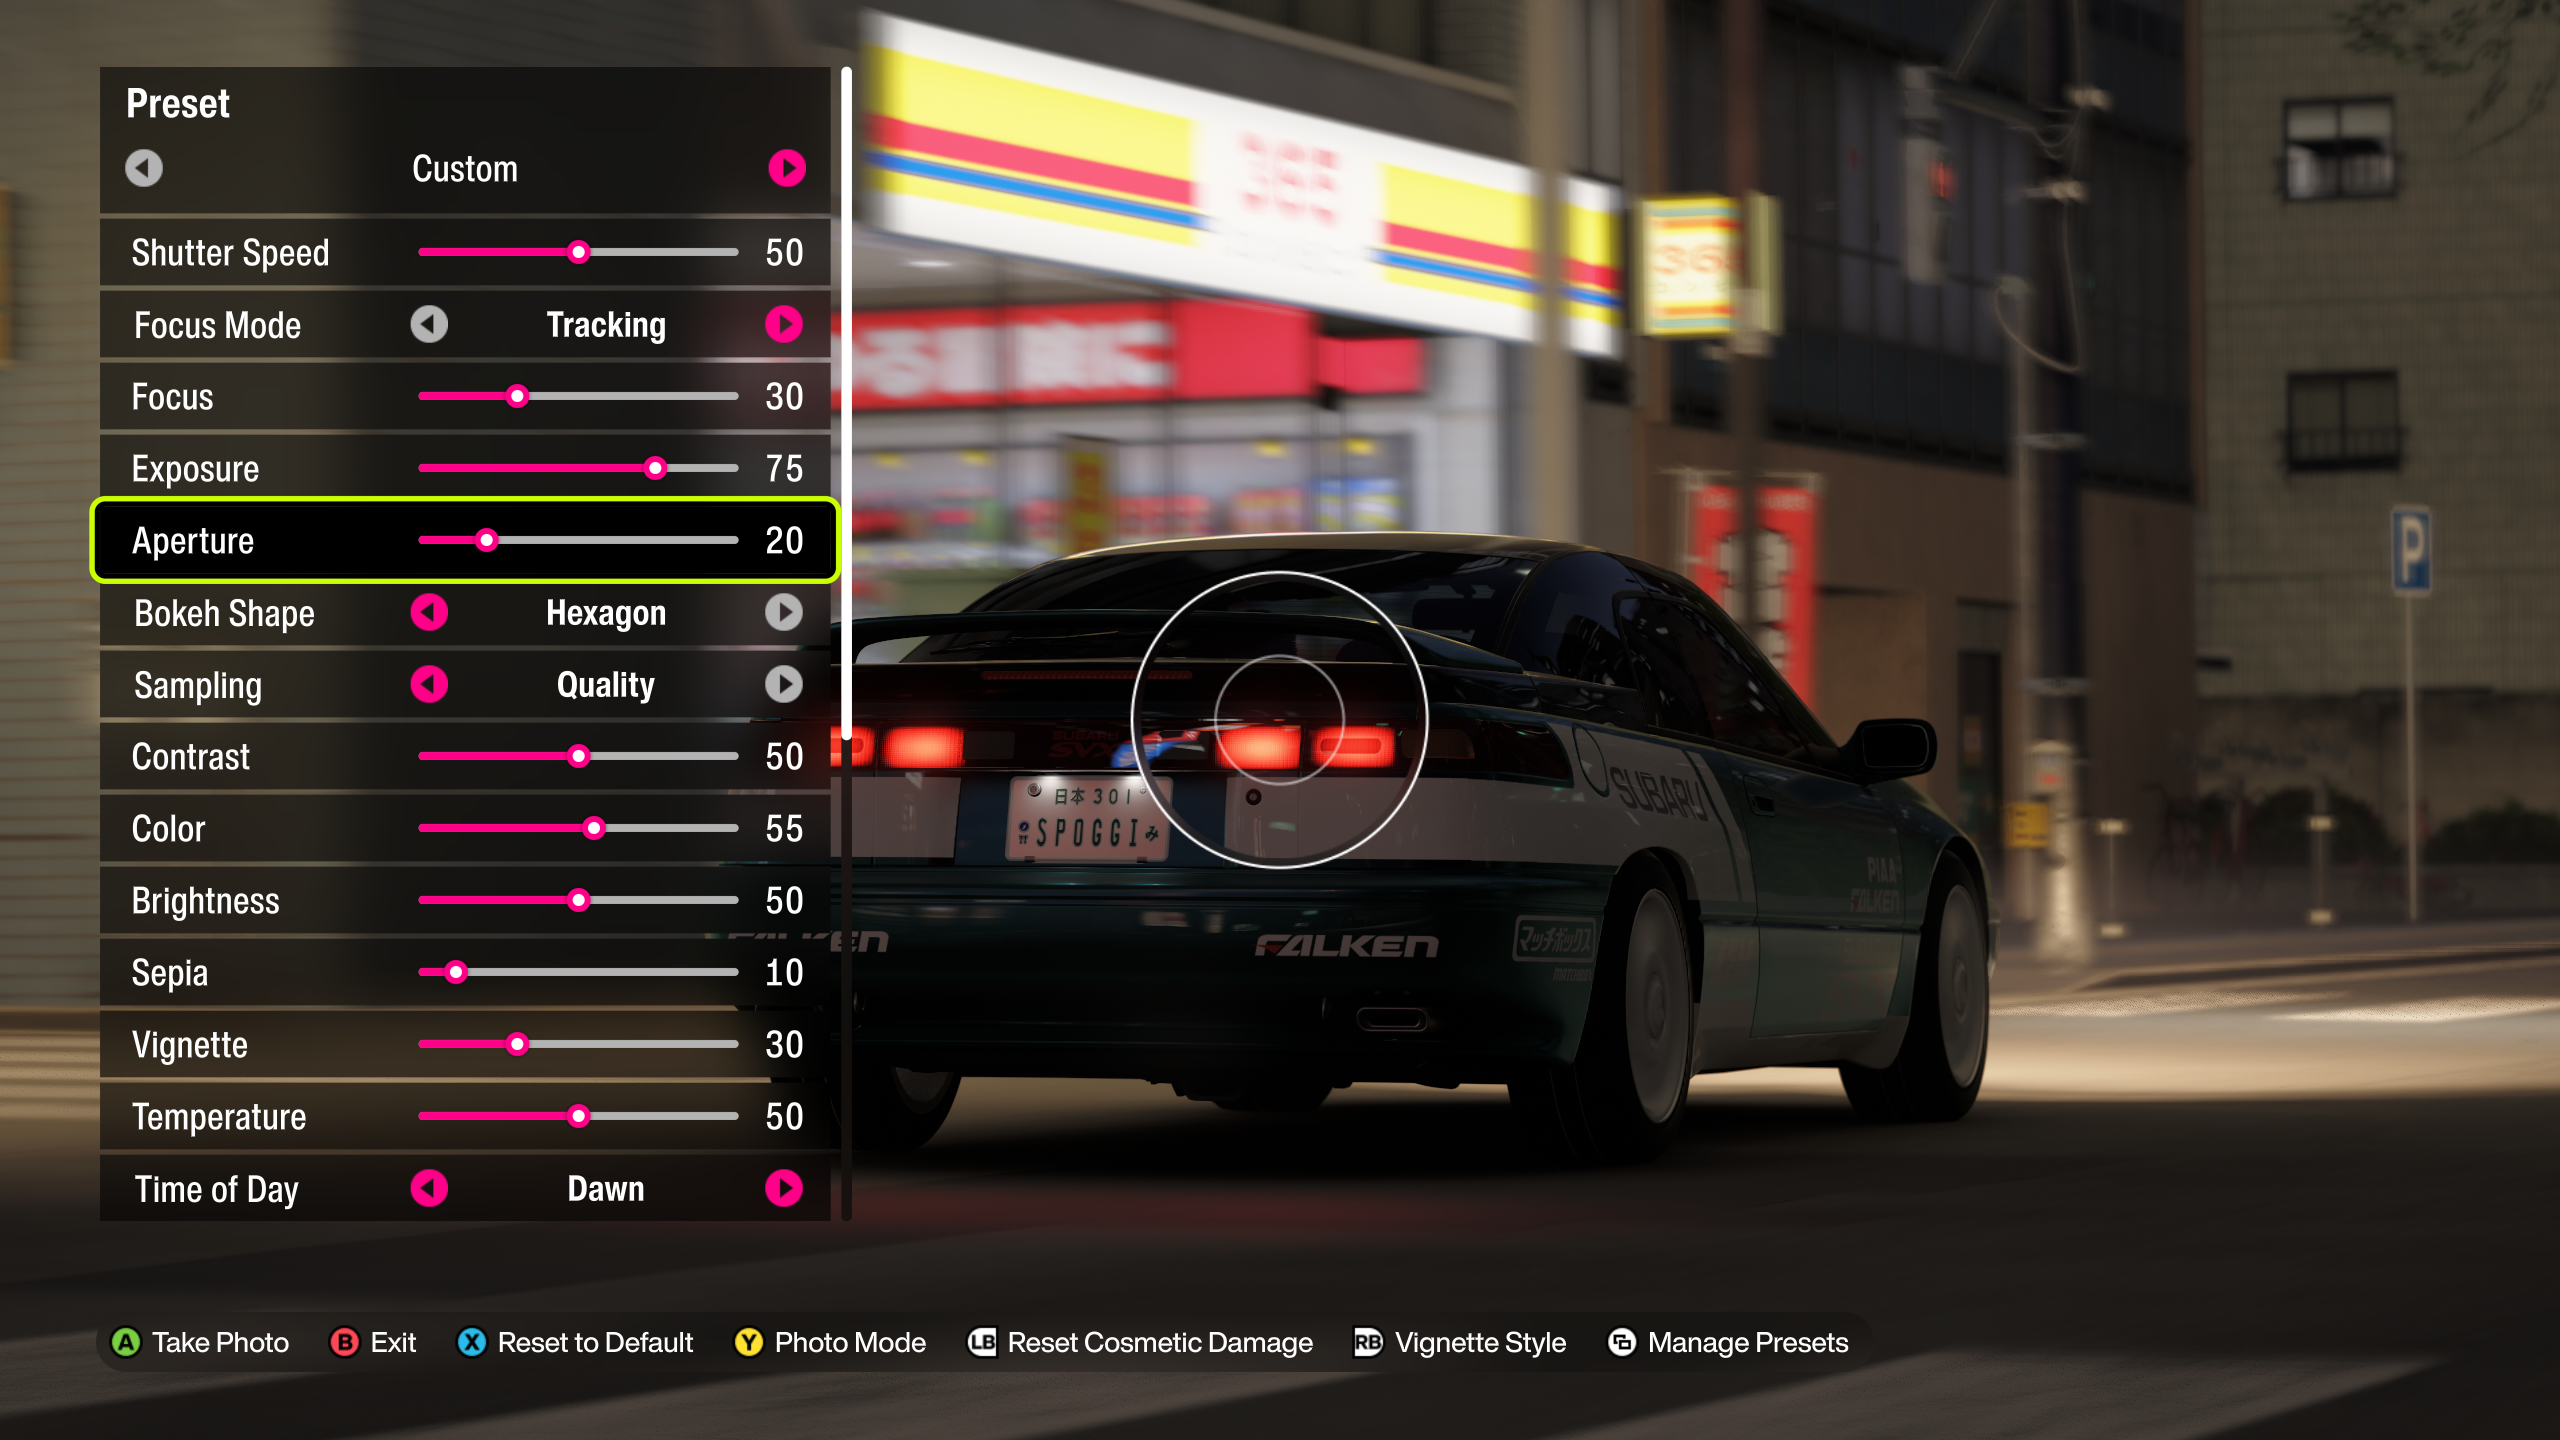
These are the settings I personally use as a baseline:
- Shutter Speed: 50
- Focus Mode: Tracking
- Focus: 30
- Exposure: ≥50
- Aperture: 20
- Bokeh Shape: I use Hexagon but that's personal preference
- Sampling: Quality
- Contrast: 50
- Color: 55
- Brightness: ≤50
- Sepia: 10
- Vignette: personal preference, I use 30
- Temperature: 50
Additional recommendations: - Avoid excessive depth of field
- Lower camera angles usually look more realistic
- Hexagon or Circle bokeh shapes tend to look the most natural
Examples
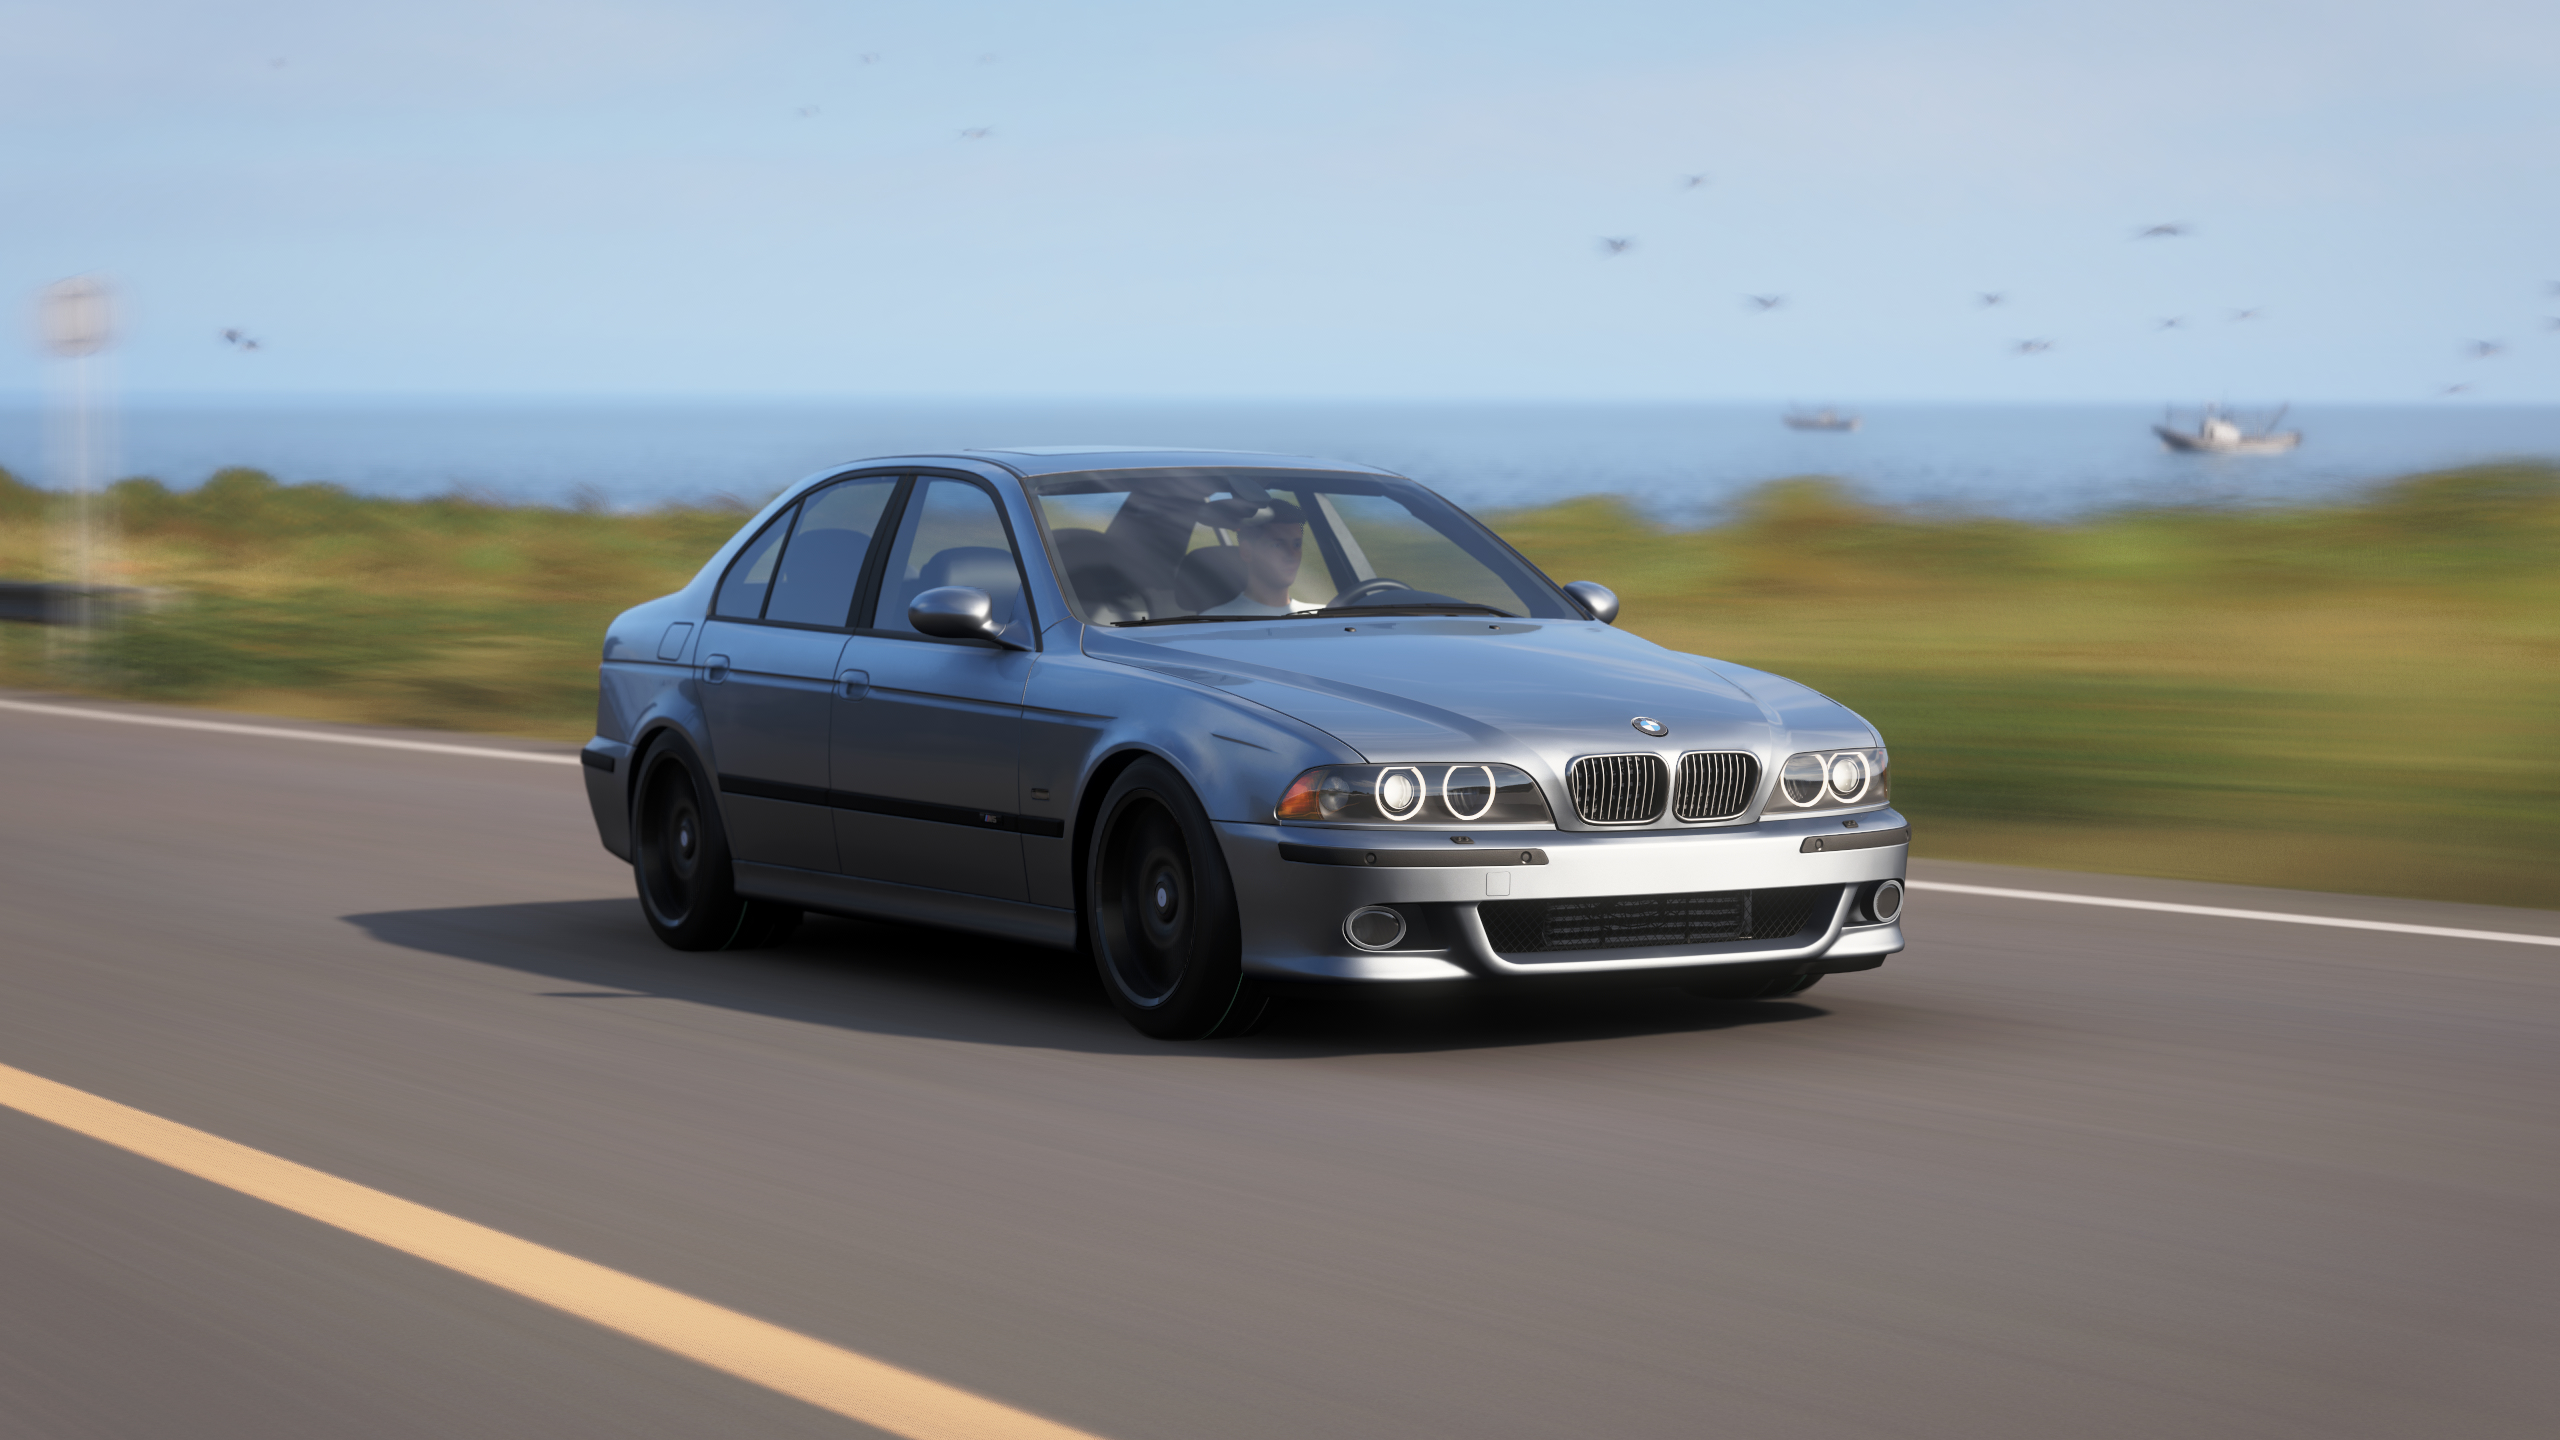
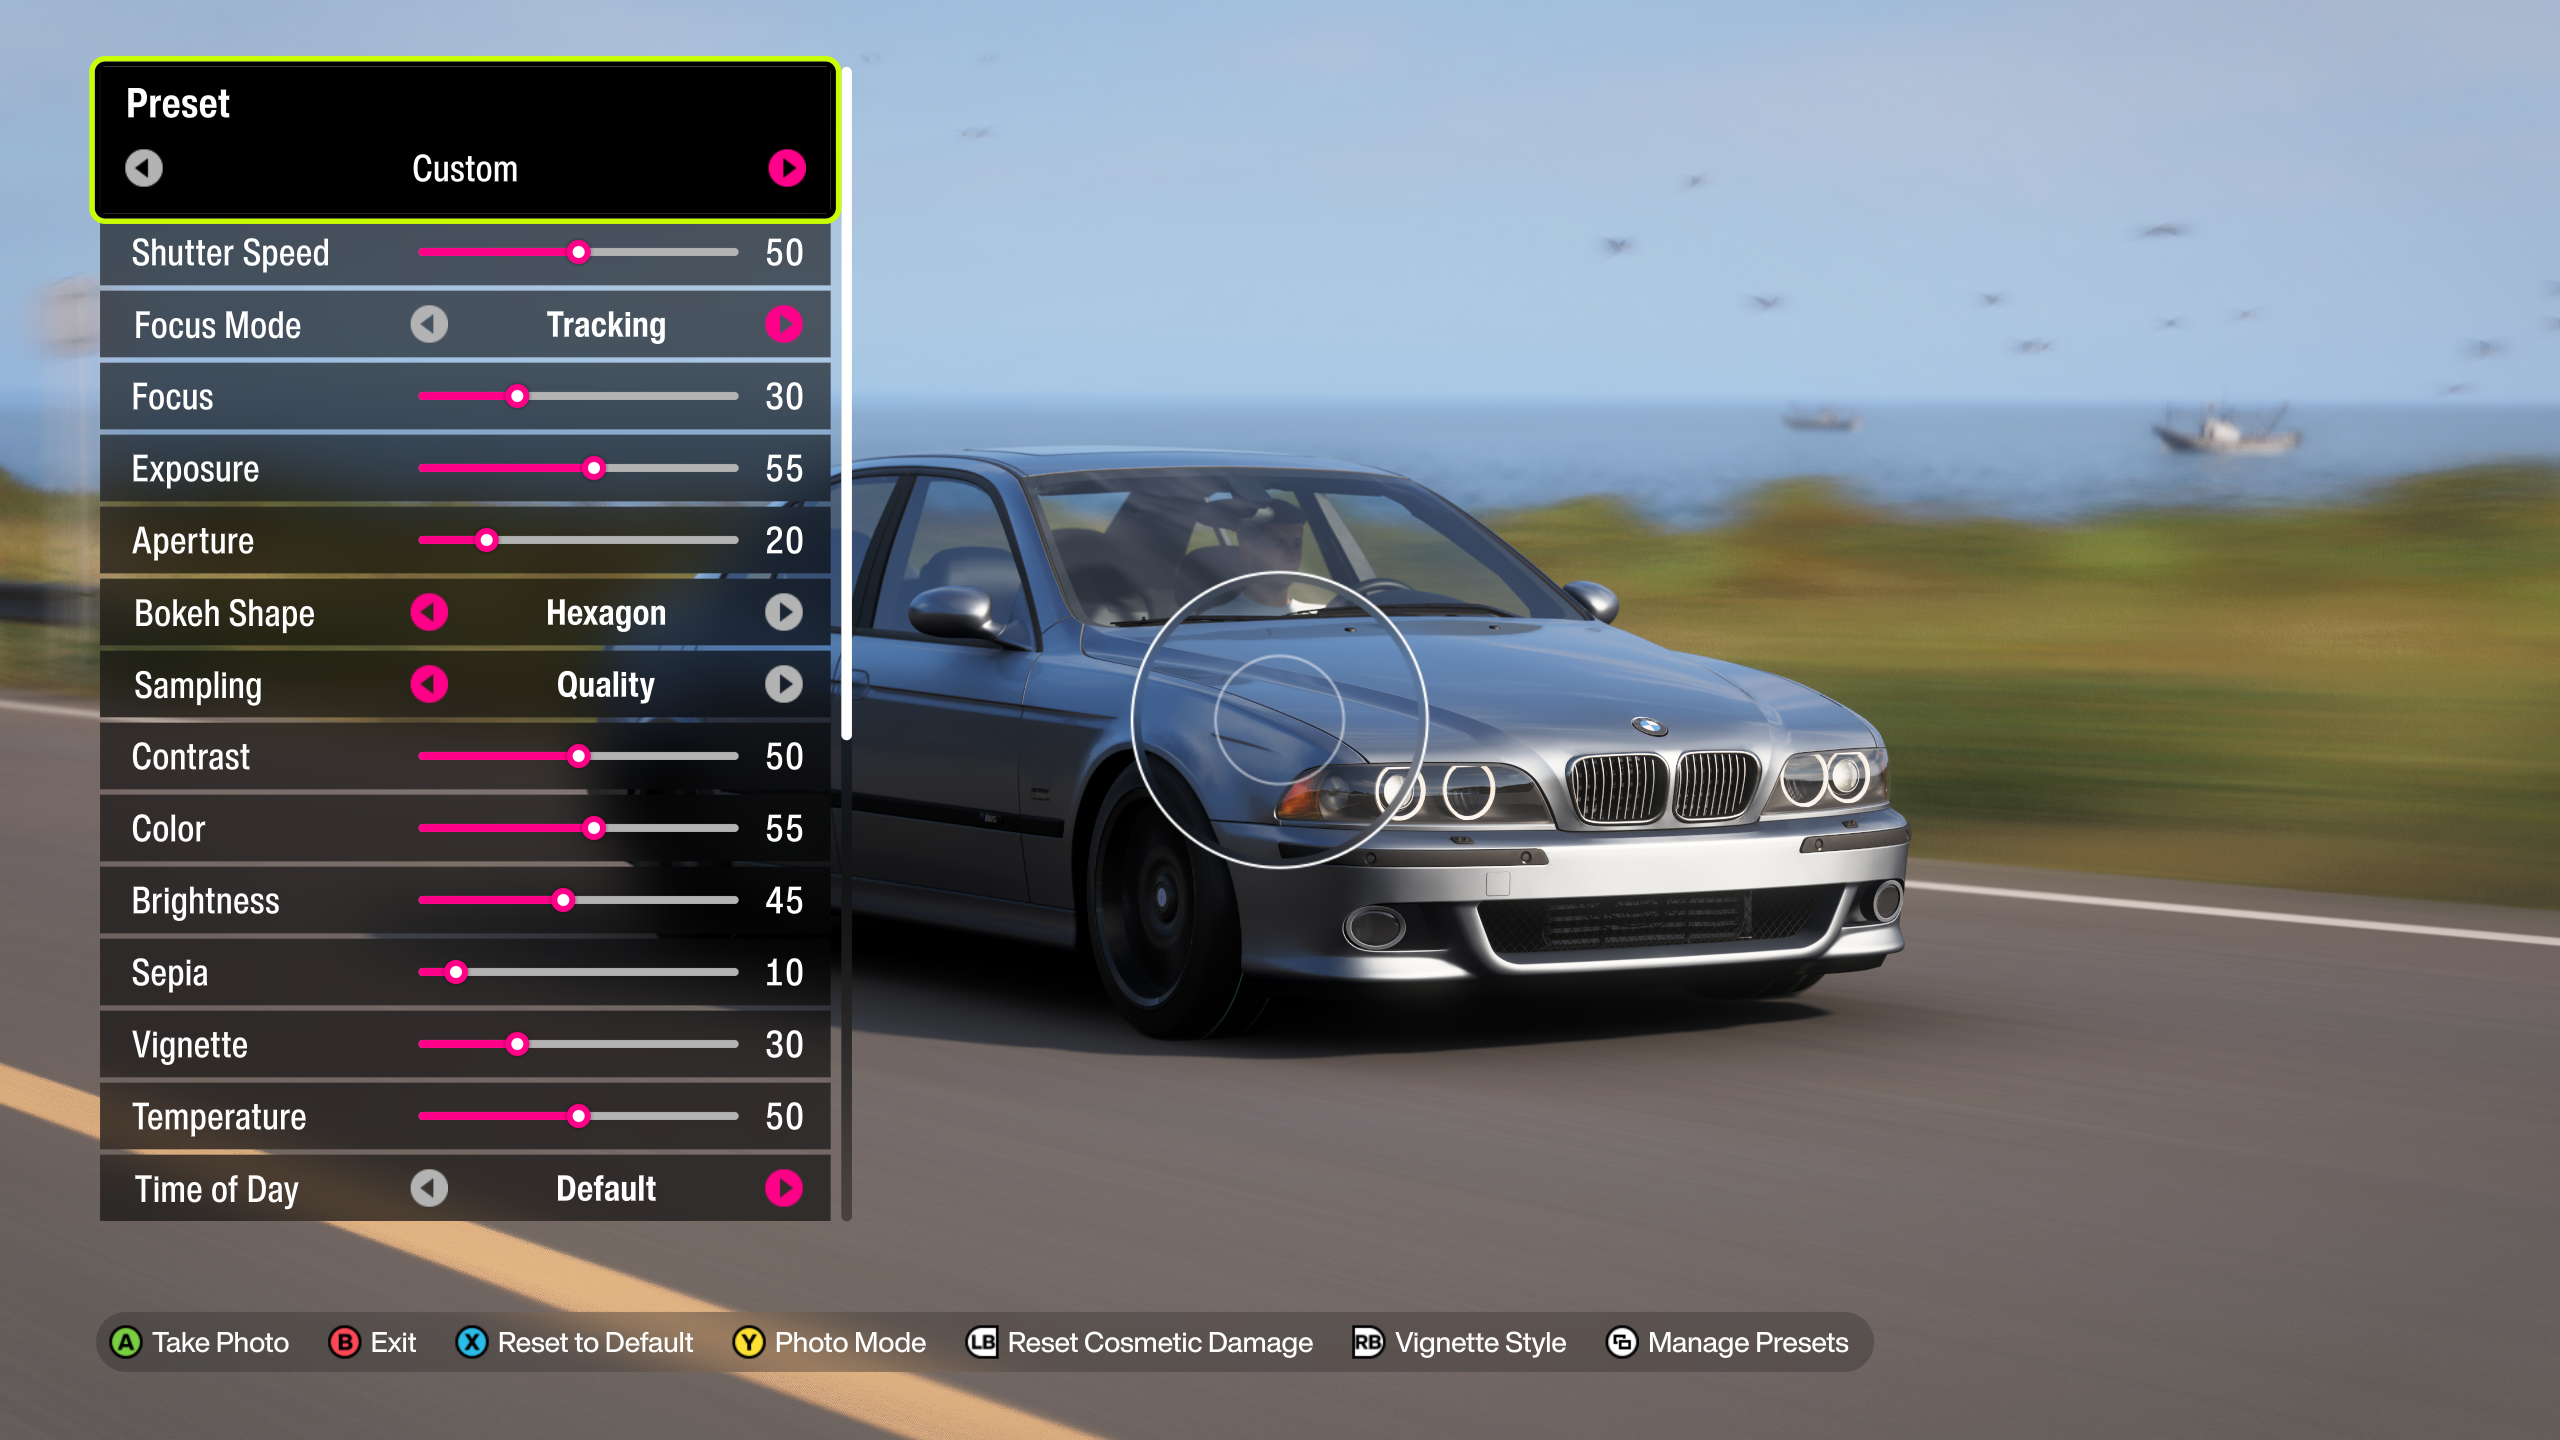
Sunny daytime scene
Exposure: 55 | Brightness: 45
Result: Natural highlights and deeper shadows without the image appearing washed out.
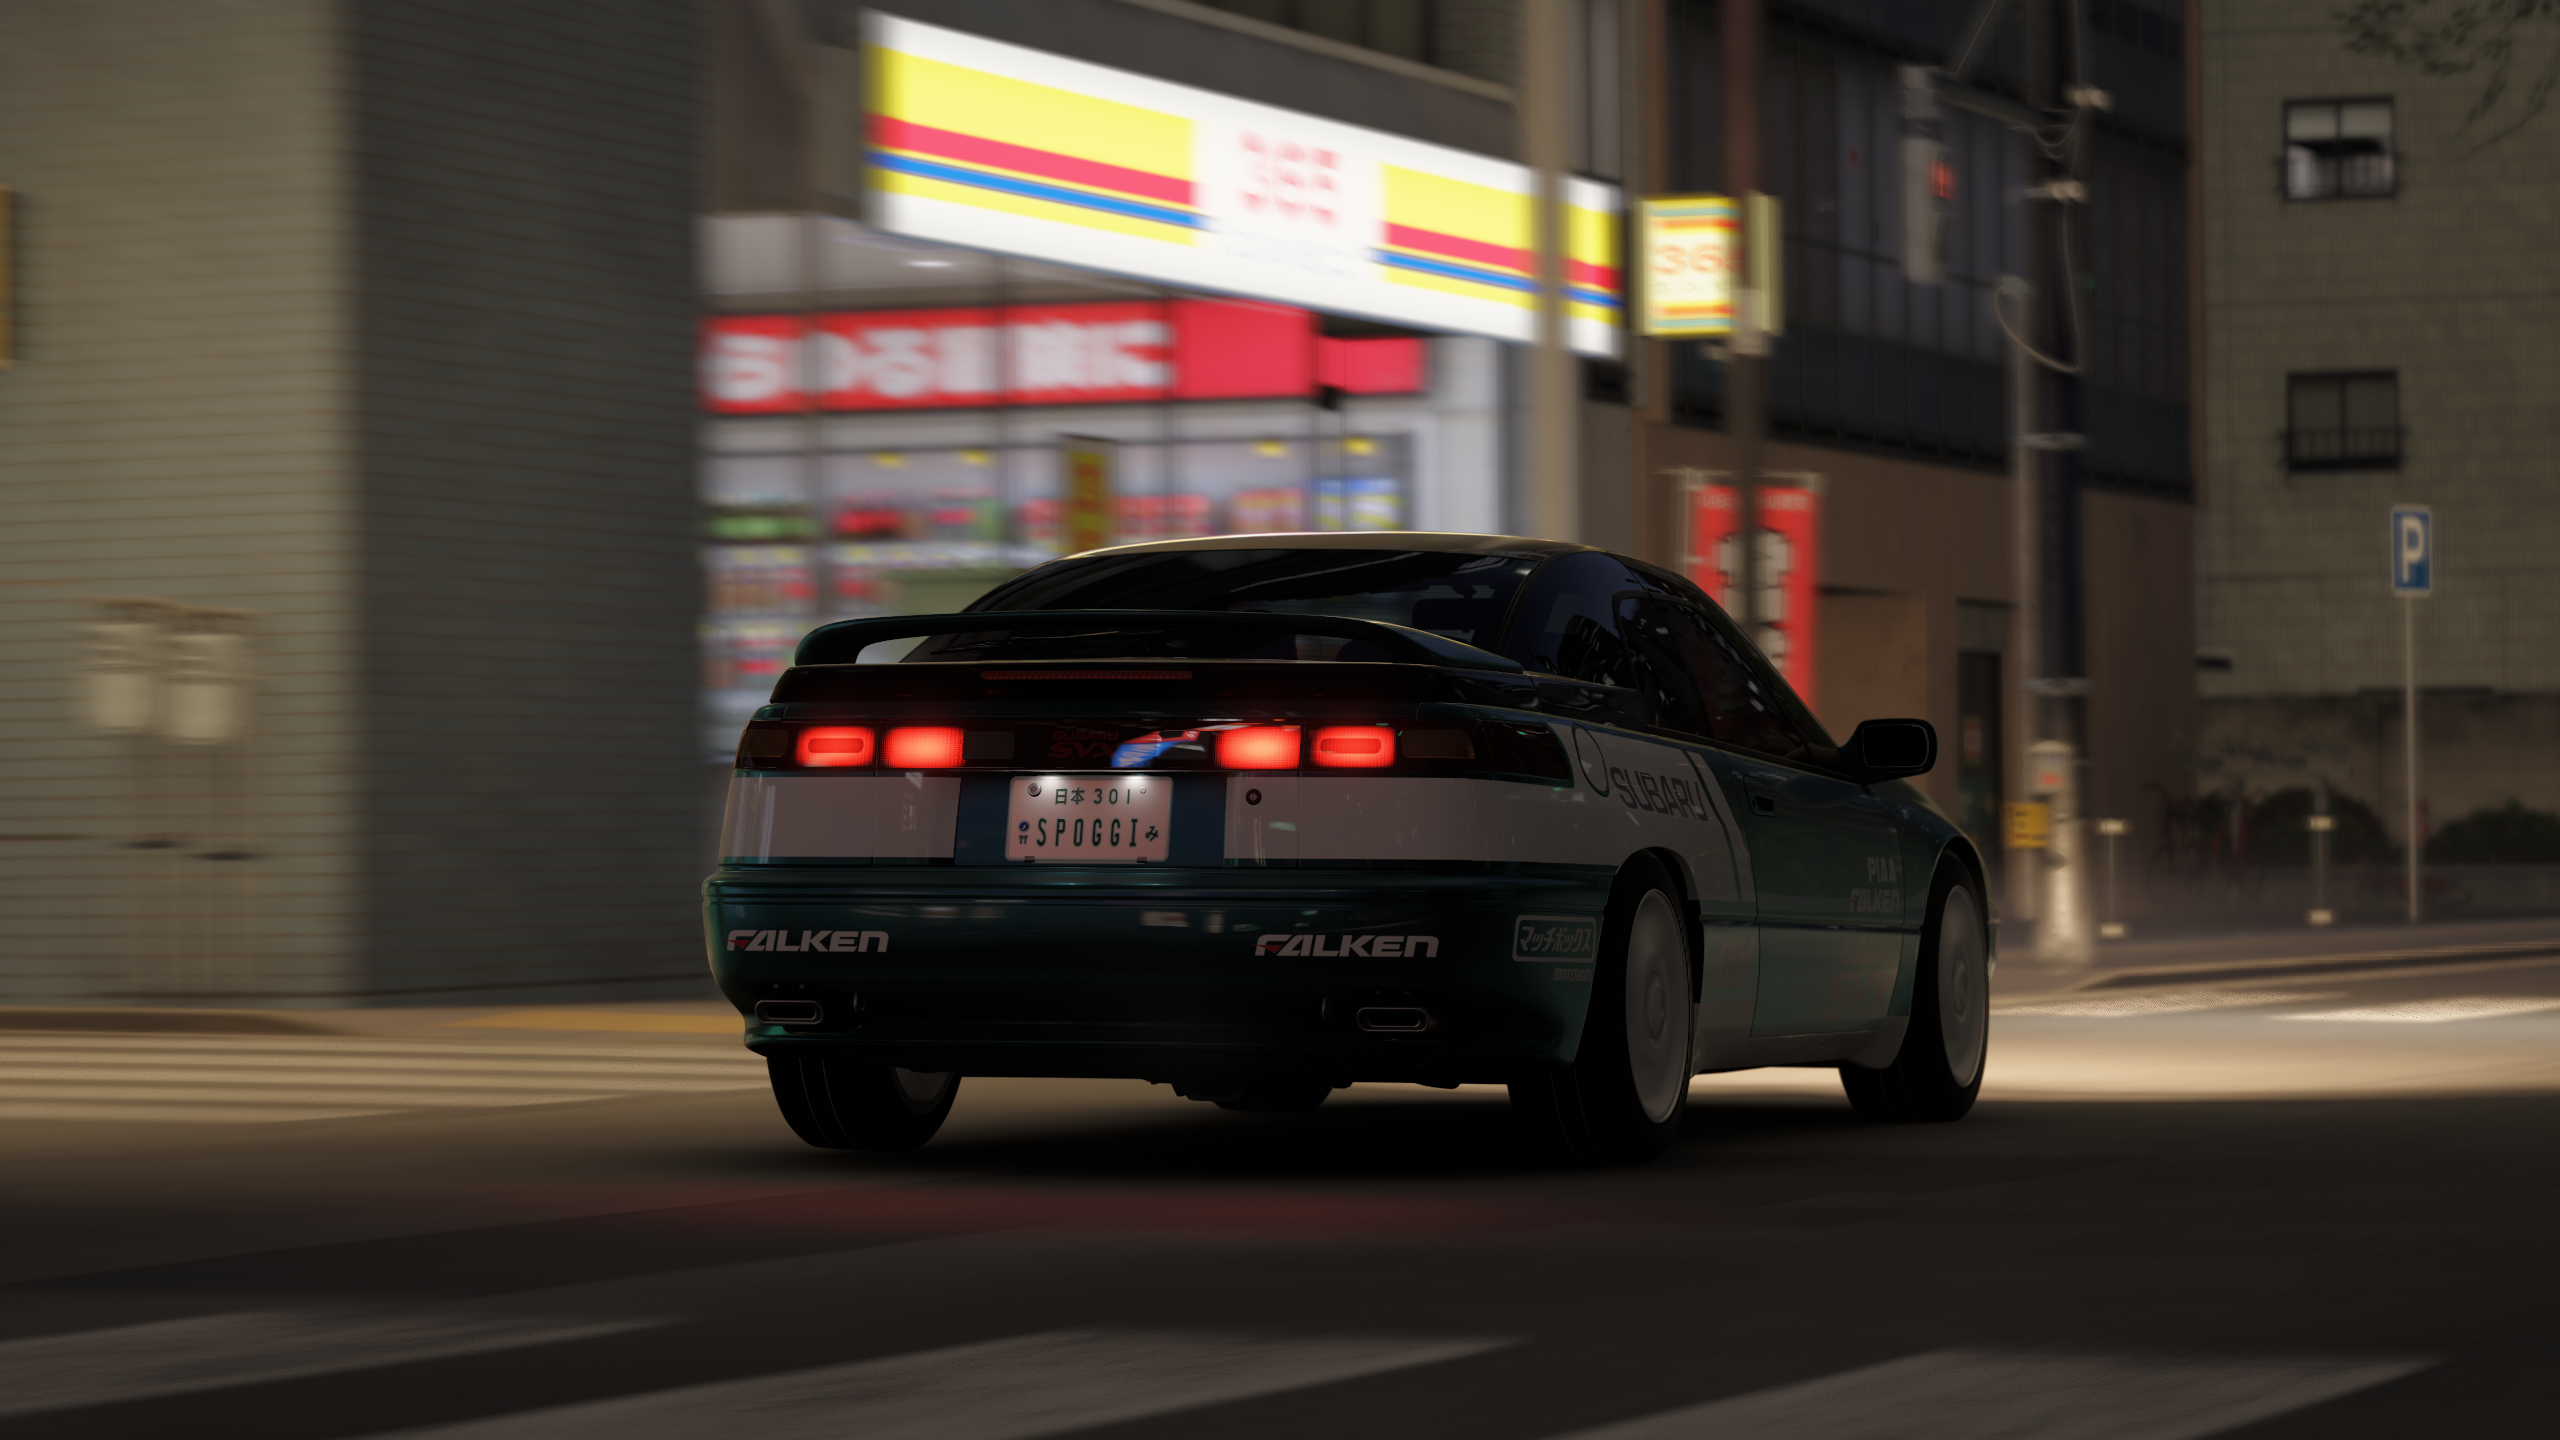
Nighttime scene
Exposure: 75, Brightness: 50
Result: Good visibility while maintaining good contrast and avoiding a washed-out look
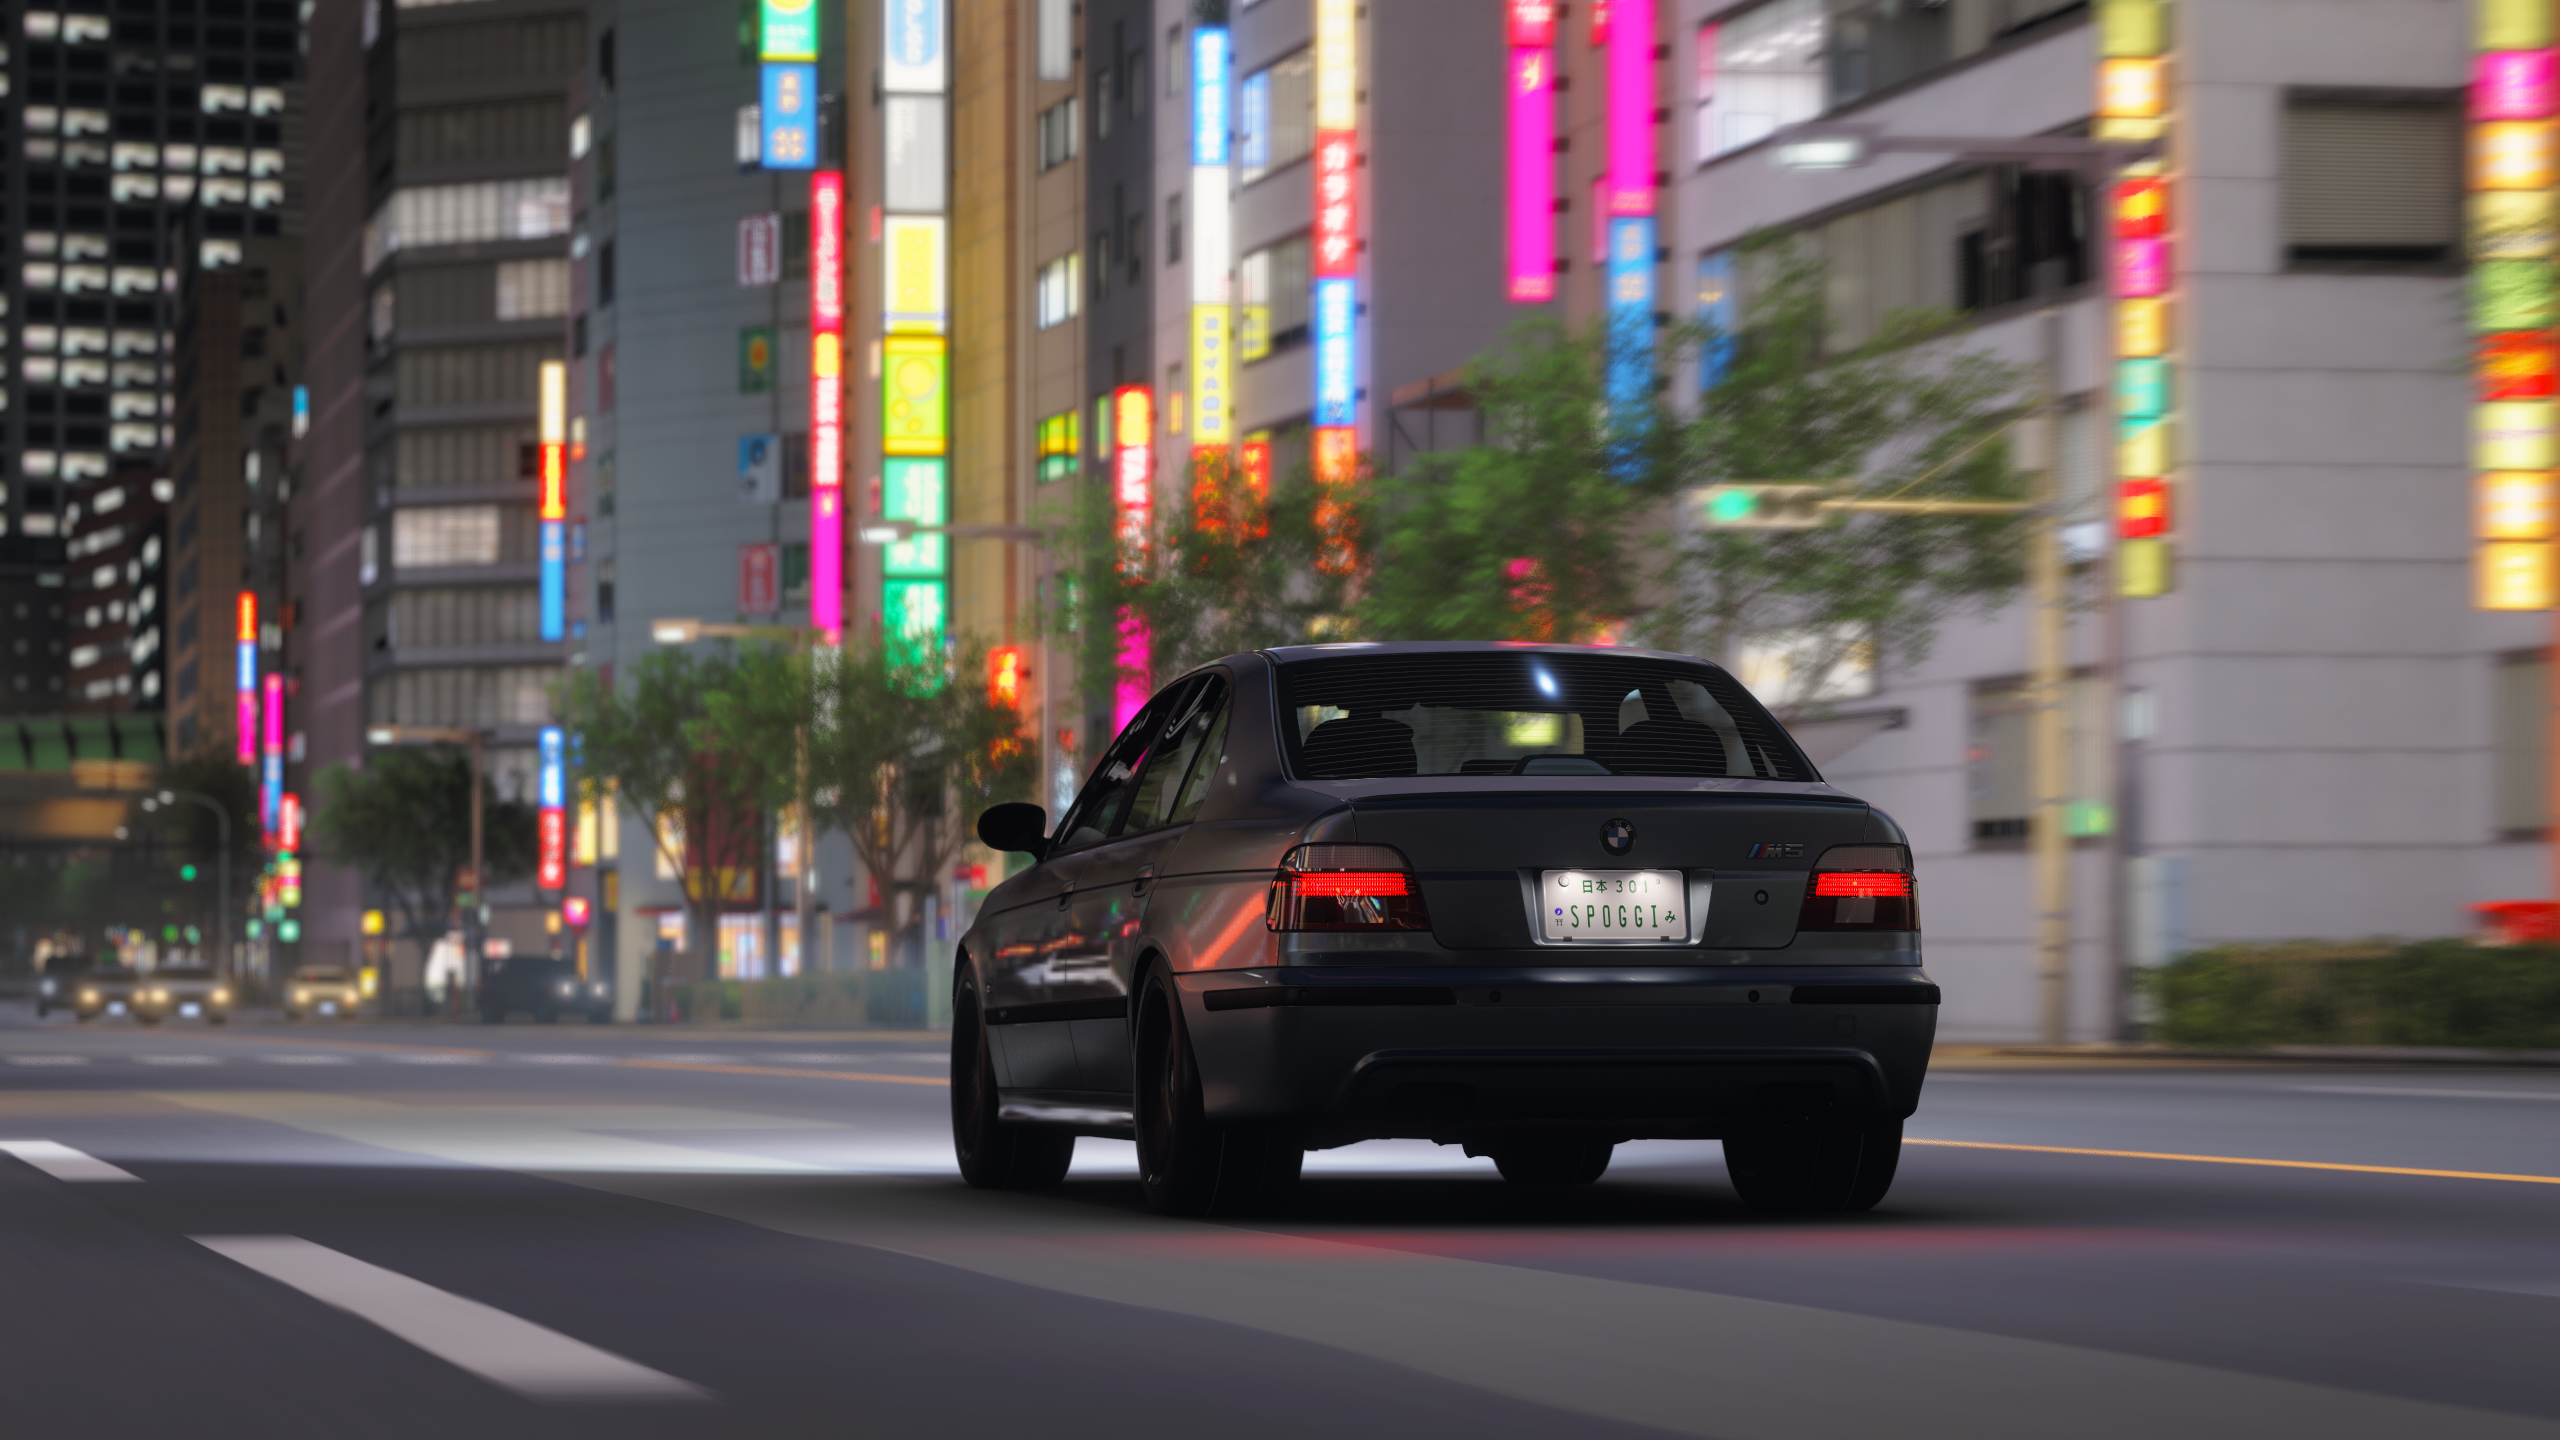
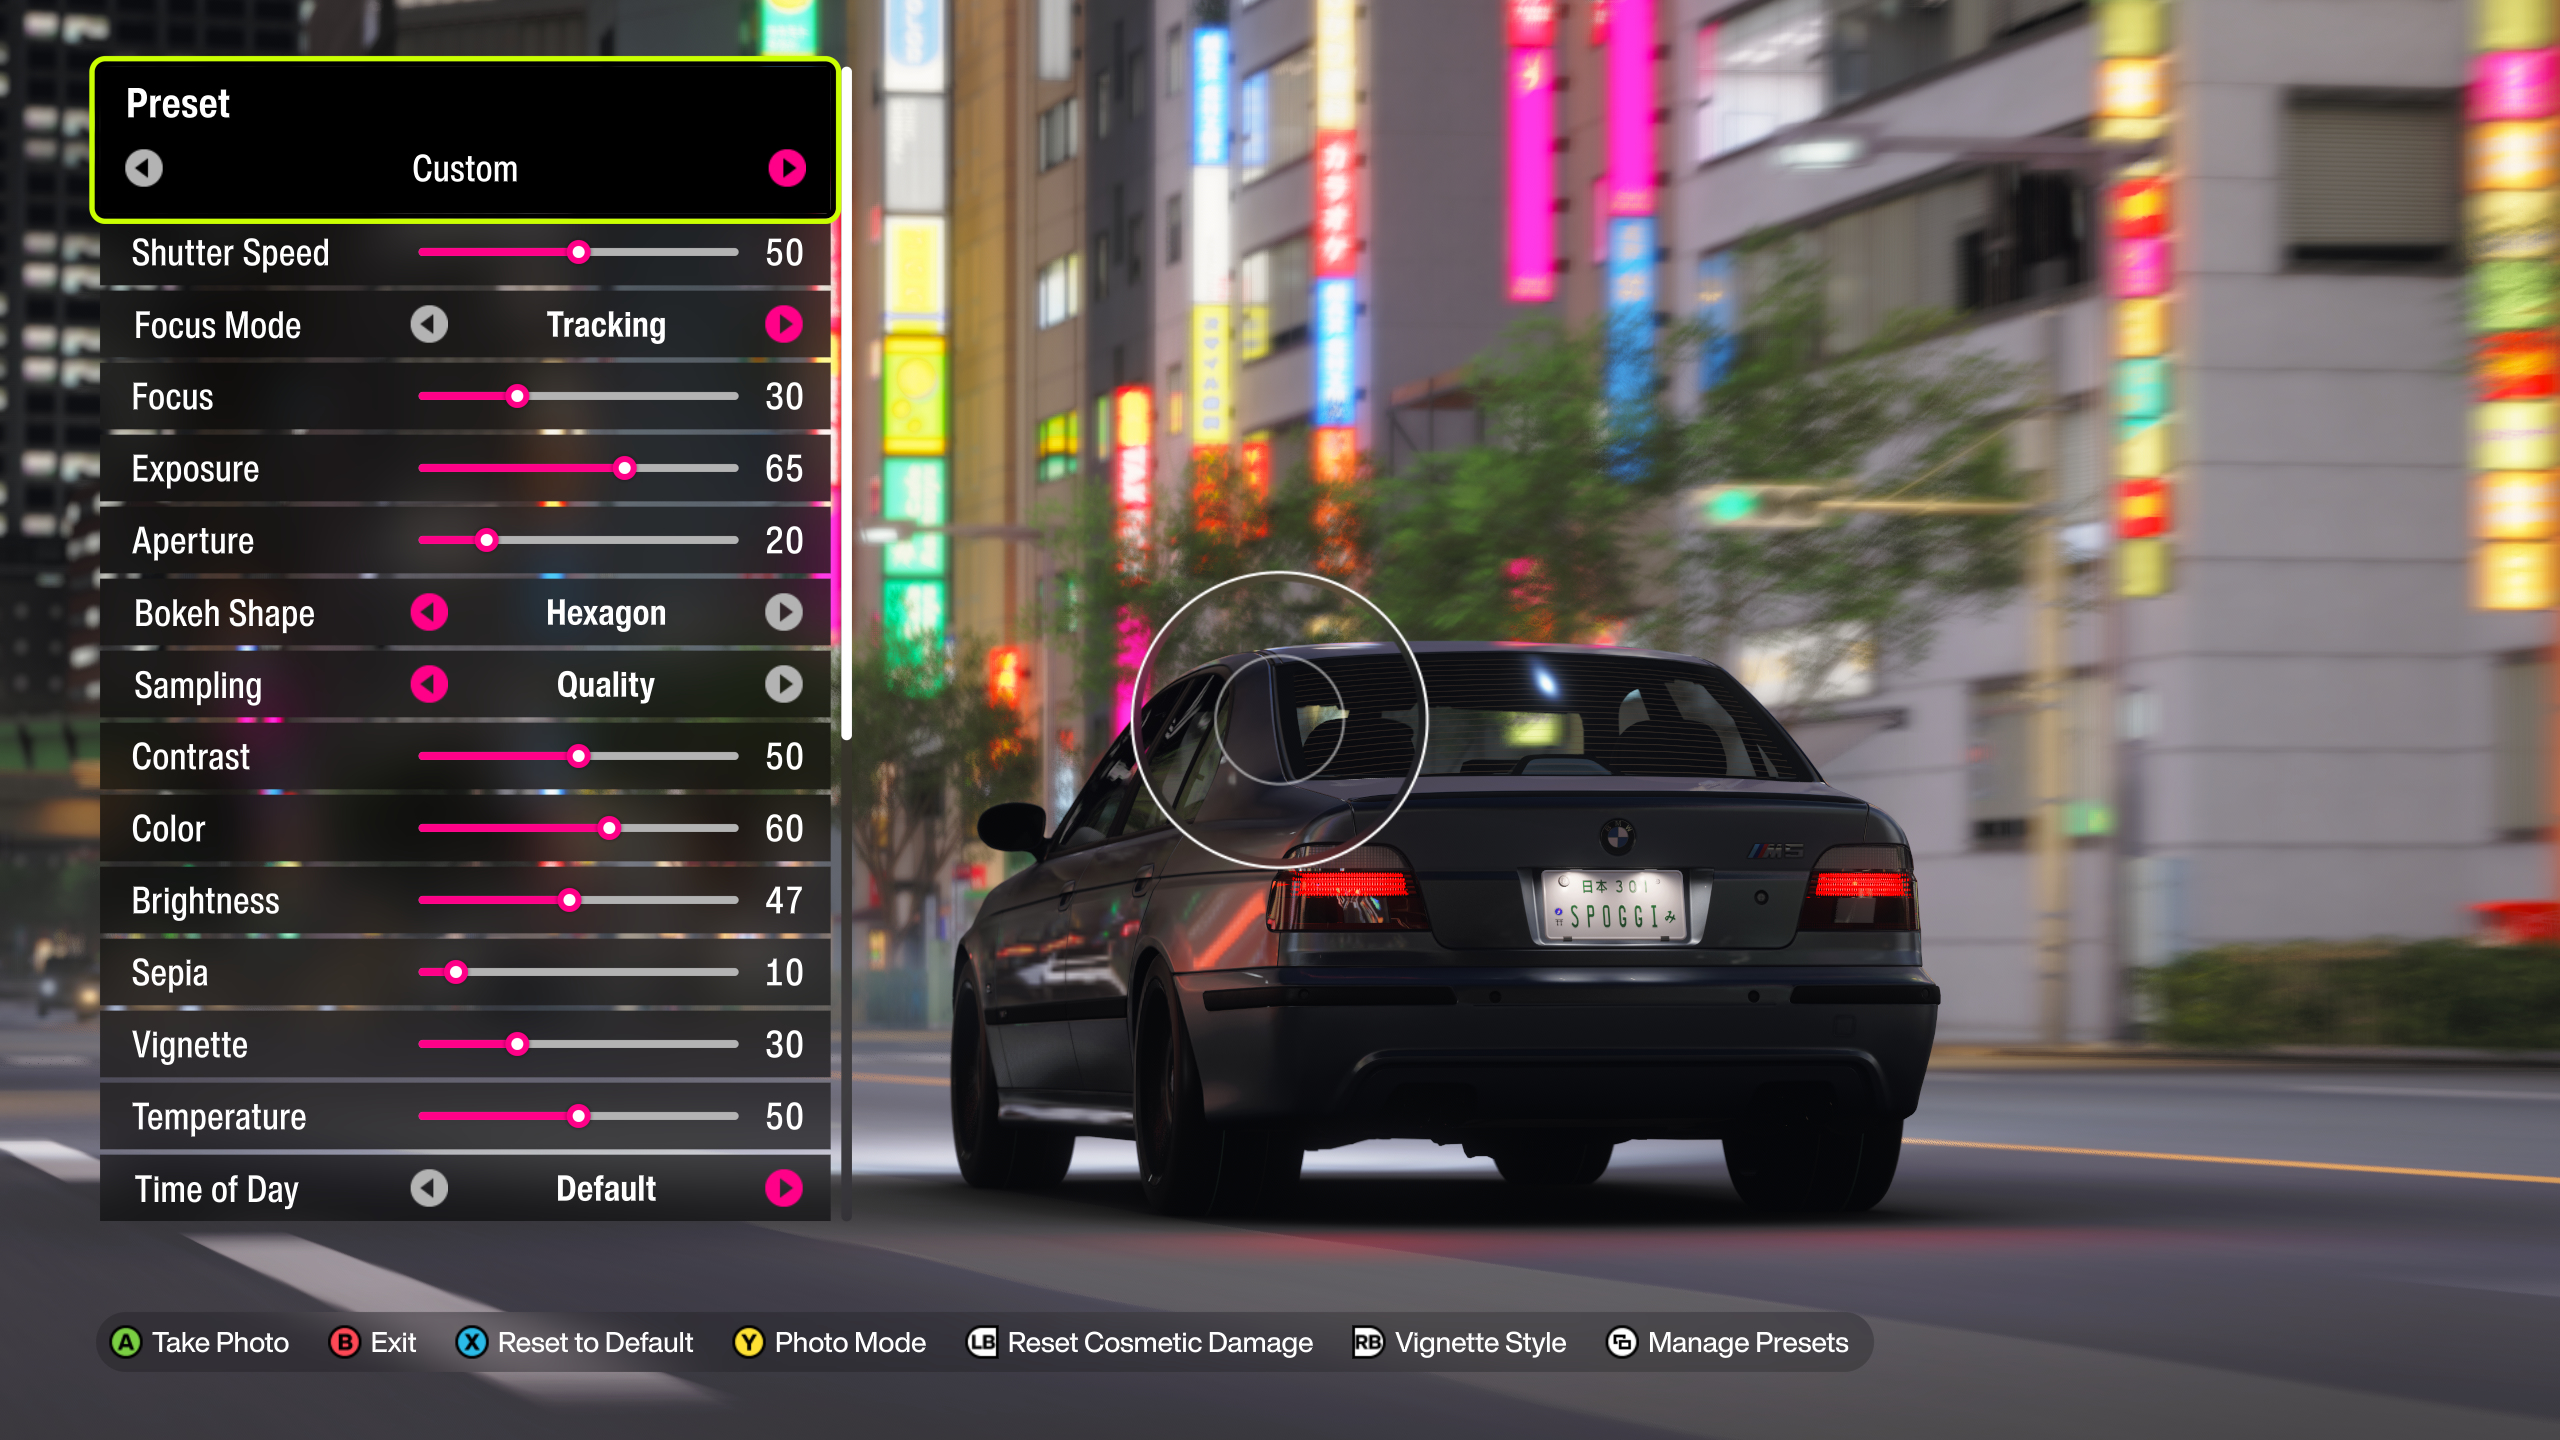
Brightly lit nighttime city scene
Exposure: 65, Brightness: 47
Result: Strong neon lighting and reflections while keeping the image natural and not blown-out.
If you have questions or recommendations, feel free to leave a comment.
Otherwise, please rate this guide and add it to your favorites if you found it helpful. Thanks! :)