 Day One Fixes
SolvedHow-toUpdated
Call of Duty: Black Ops 6 Terminus Main Easter Egg
Short answer
A guide to the main Easter Egg for black ops 6 zombies Terminus map
Steam Community guide by Crash792.
Intro
The Terminus Easter egg is 3 Parts.
- Crafting the Wonder weapon.
- Freeing Nathan
- Stopping Modi
If you already have the DRI-11 Beamsmasher you can skip to Part 2
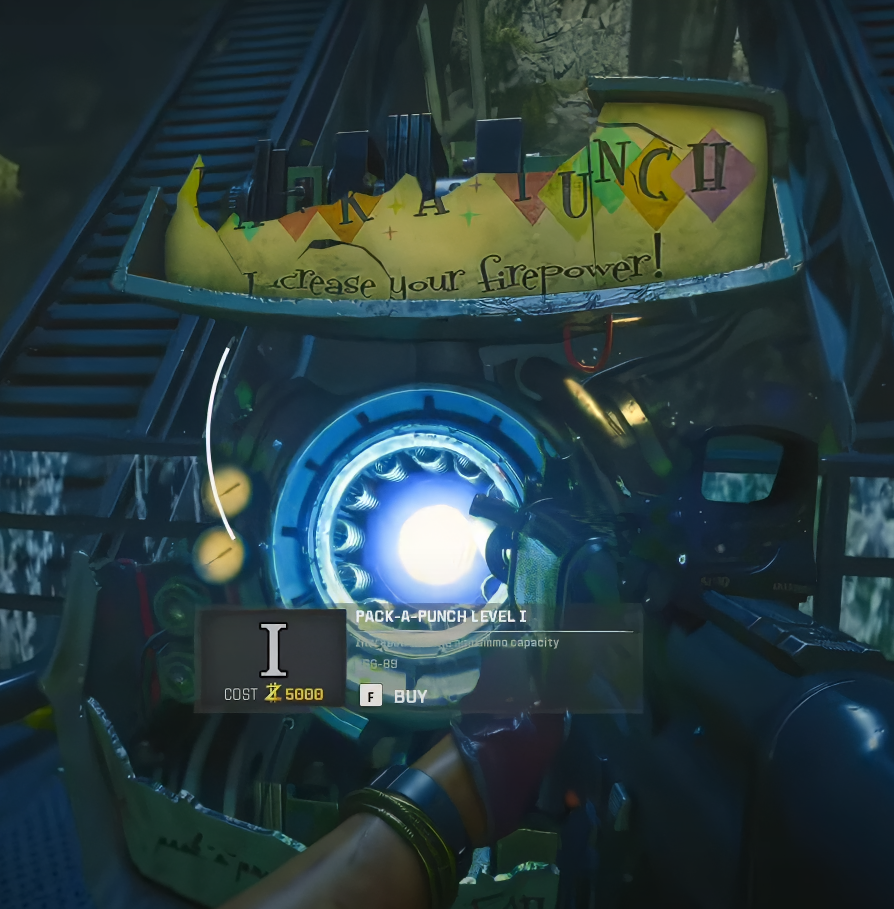
Turn the Power on & Unlocking Pack-A-Punch
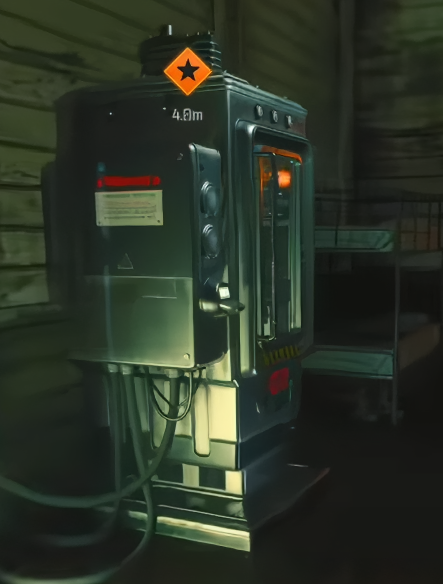
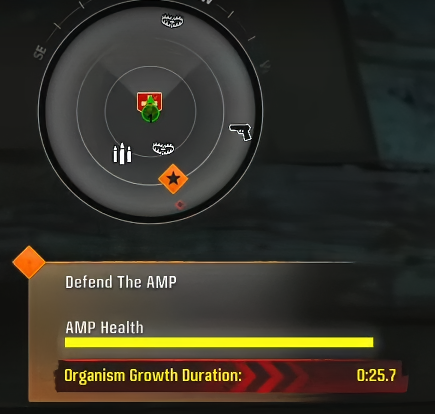
The first step to turning the power on is to activate the AMP Generator for $500
There is a a start star symbol above each one.
When activated a countdown will begin
Protect each AMP Generator until the timer runs out.
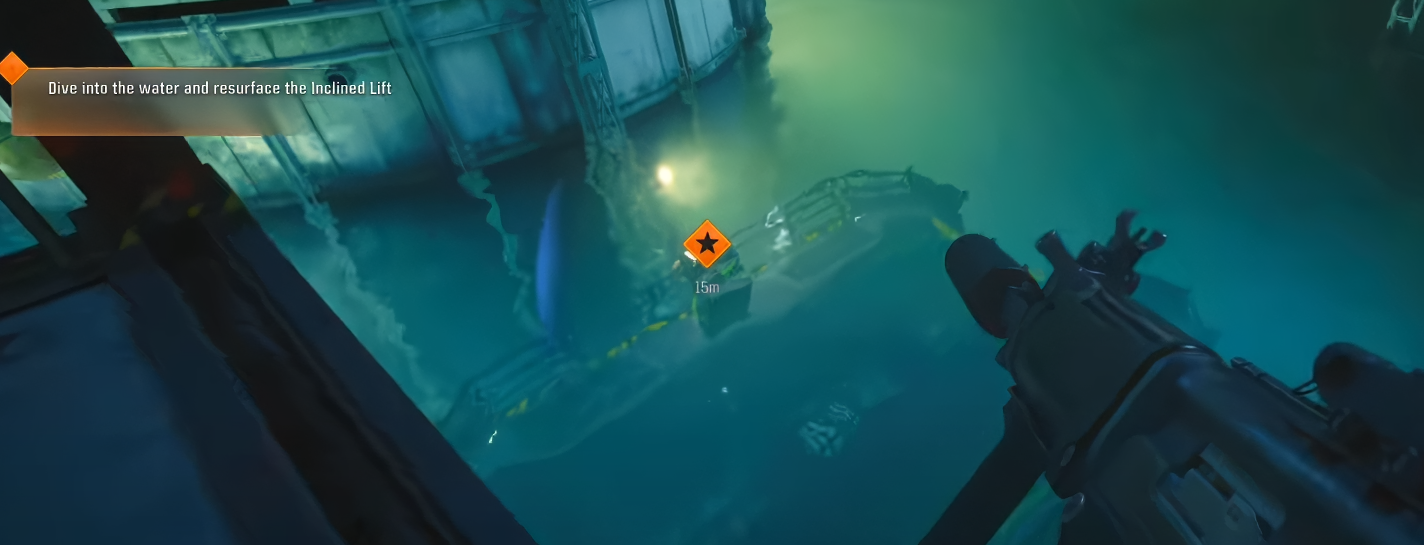
After the final AMP generator has been finished, Dive into the water to bring the platform up.
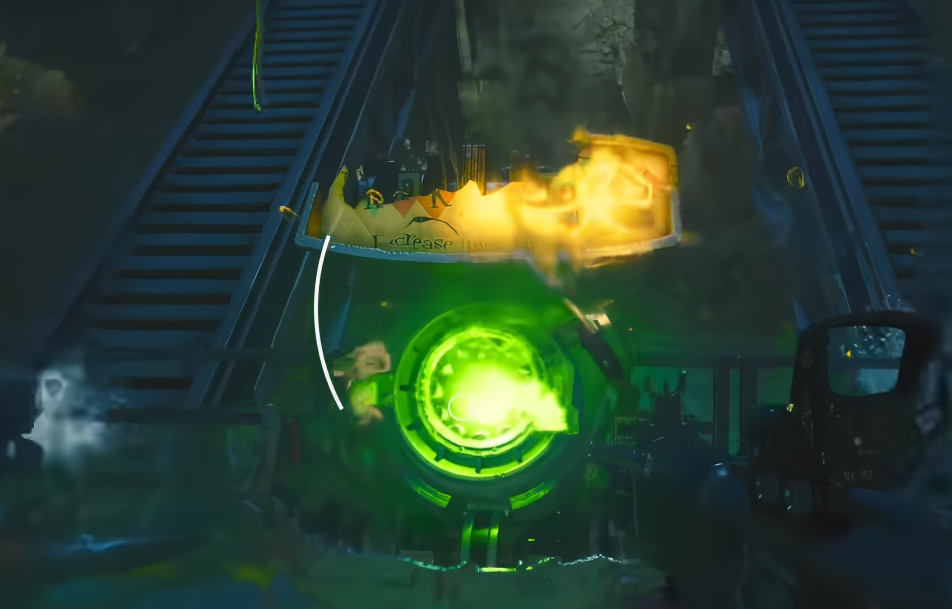
Once the platform is lifted out of the water, Pack-A-Punch can be used.
Part 1 - Obtain the DRI-11 Beamsmasher
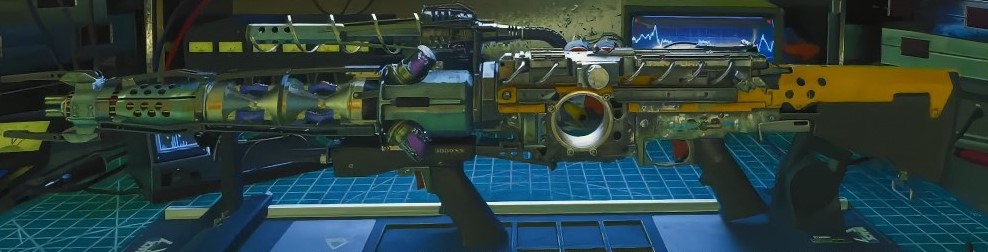
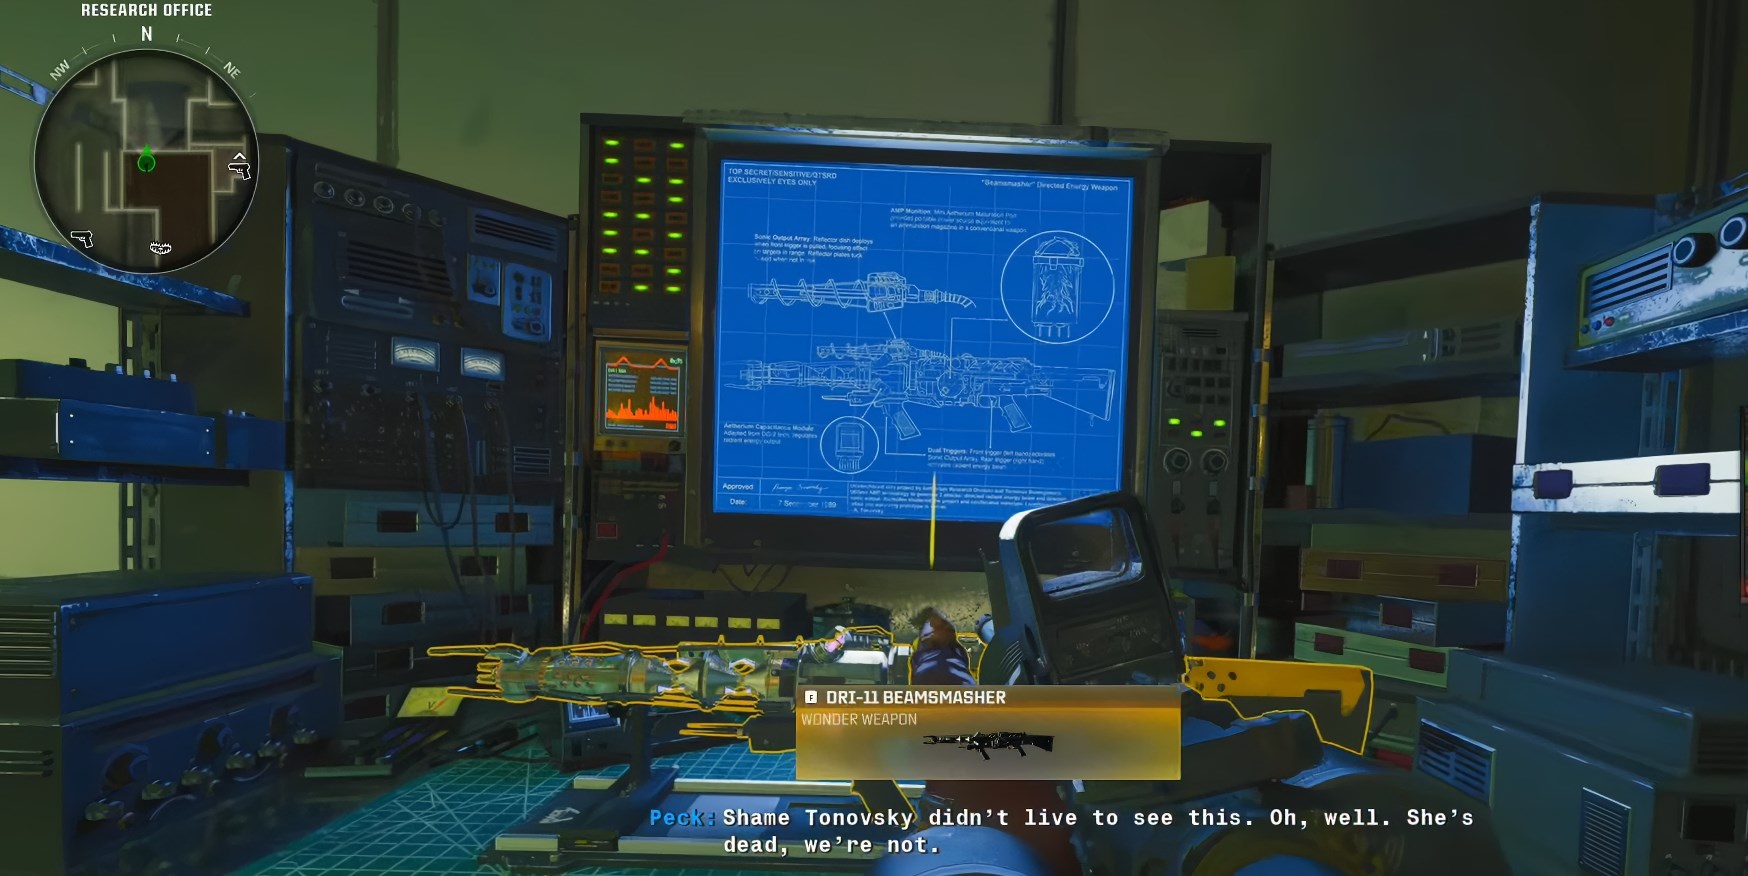
The first part of this easter egg is obtaining the DRI-11 Beamsmasher.
This can be from the mystery box..
If you were lucky enough to get it from the mystery box, Skip to Part 2 - Free Nathan
Otherwise it can be crafted.
Set Up
First a weapon.
Pack-A-Punch a weapon.
Then head over to a arsenal station and equip the weapon with a dead wire weapon mod.

Step 1 - Opening up the Research Office
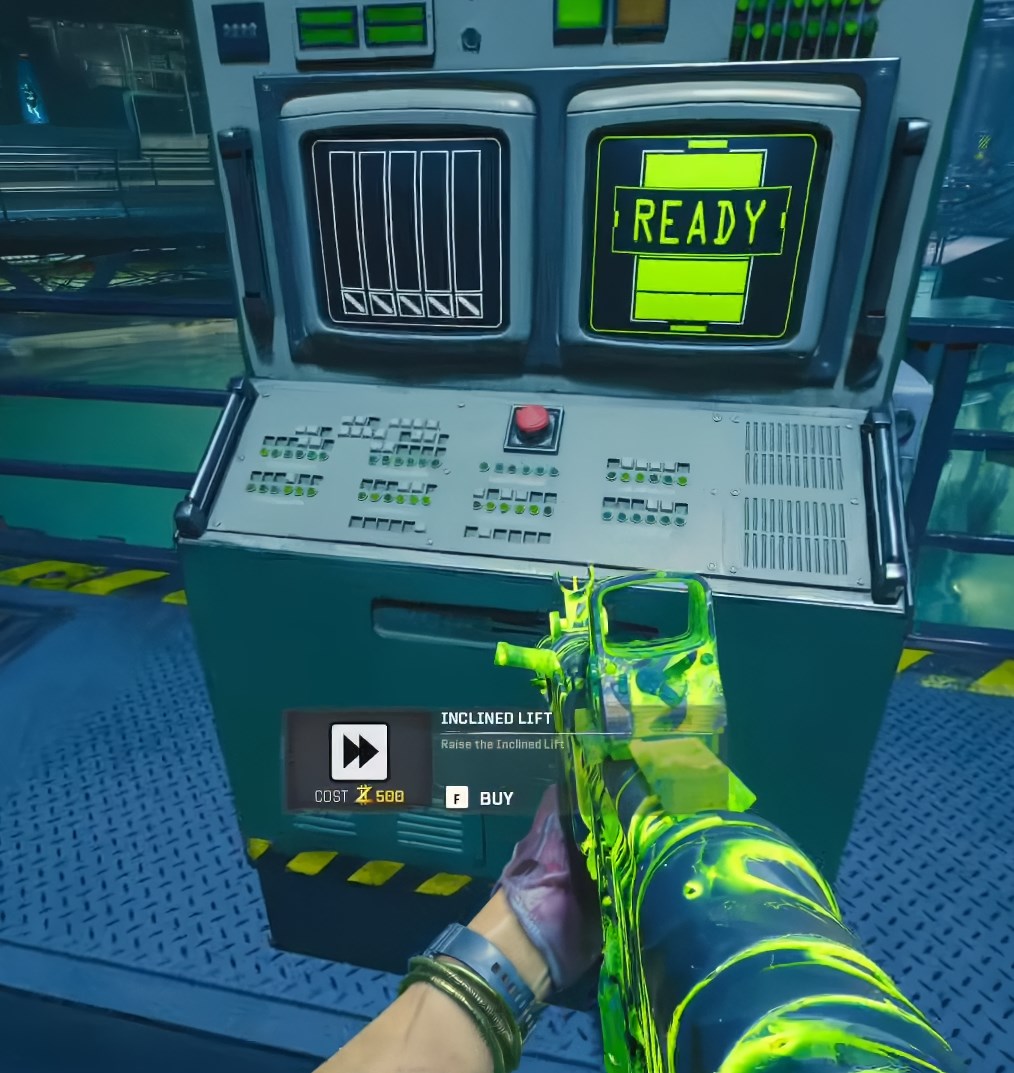
Take the lift with Pack-A-Punch on it up using the console opposite the Pack-A-Punch Machine
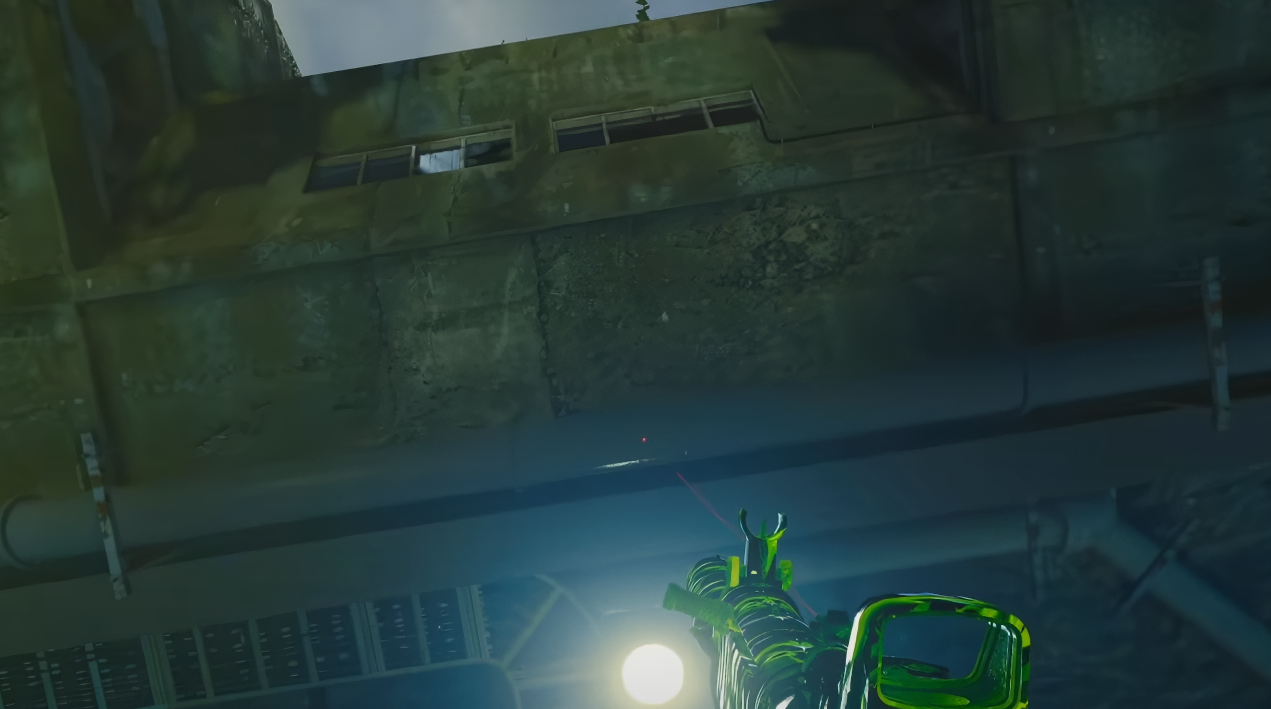
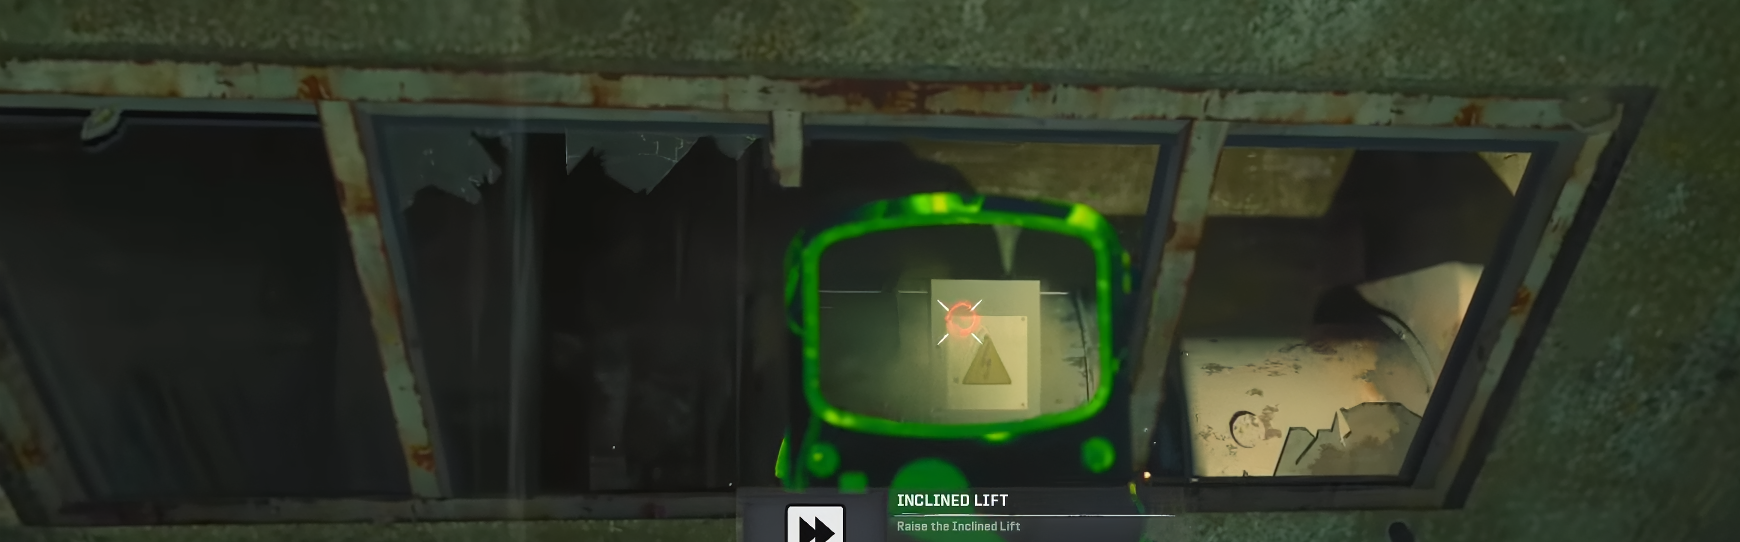
As you are being taken up, Look up and you'll see 2 windows on an inclined wall.
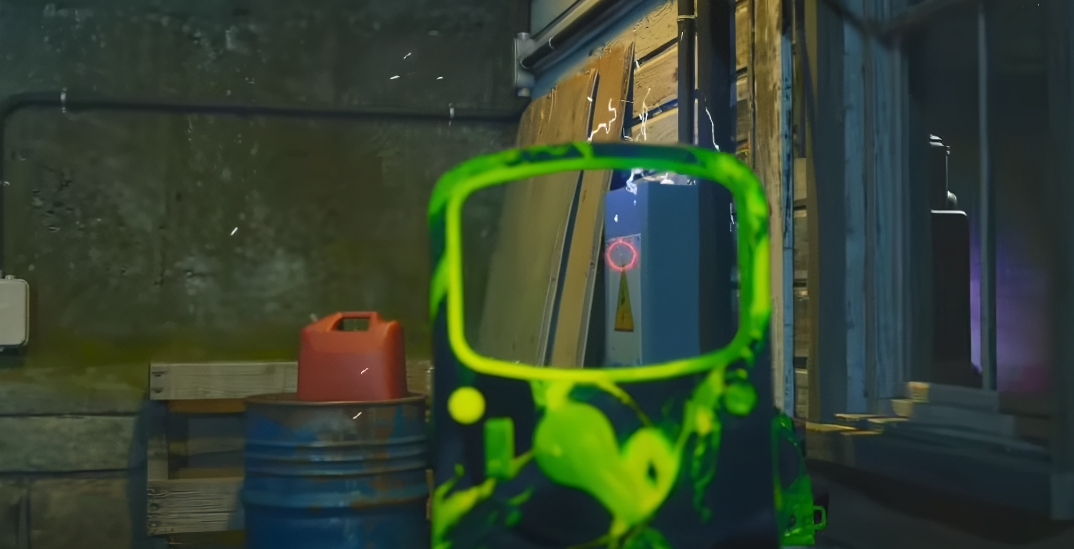
Look in the one on the right as you are moving up and shoot the power box inside with the dead wire weapon.
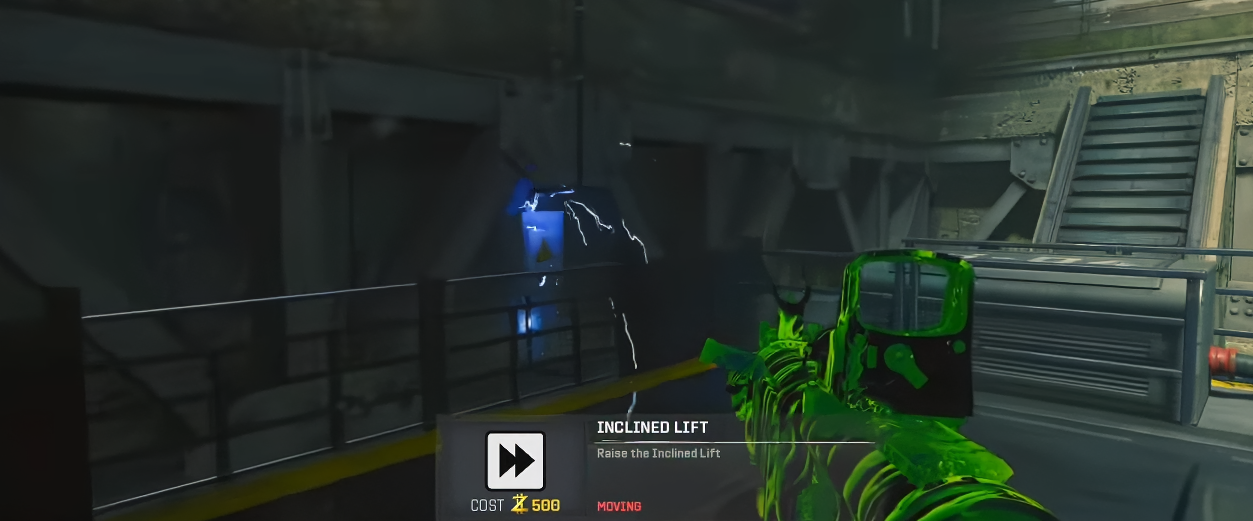
Follow the lightning that comes out and shoot the power boxes it moves to.
The first will be as you are on the lift moving up, just after activating the lightning, Turn to the right.
If you miss this one, it can be shot from below.
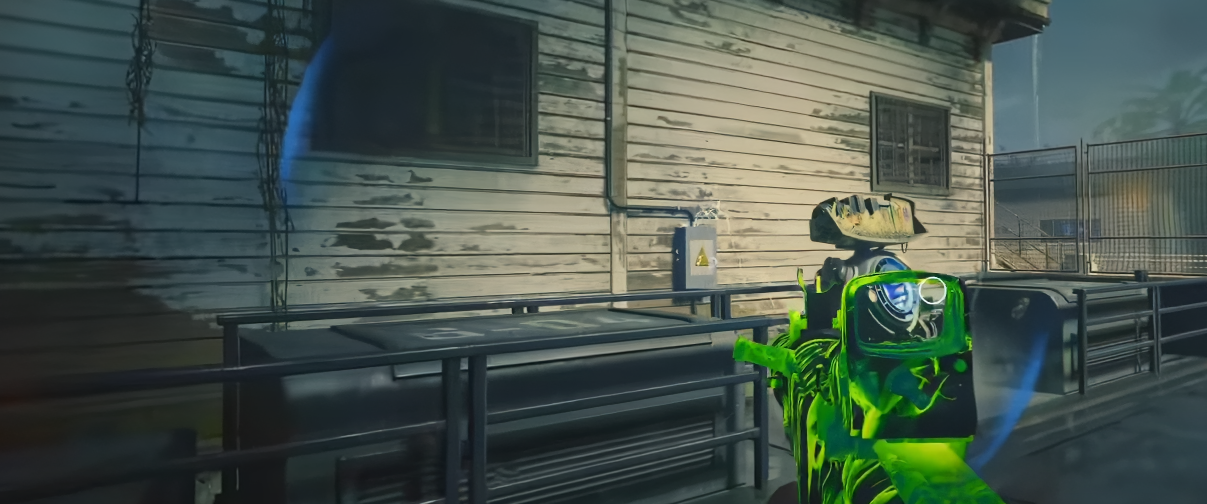
The next box is behind the Pack-A-Punch machine when you get to the top of the lift.
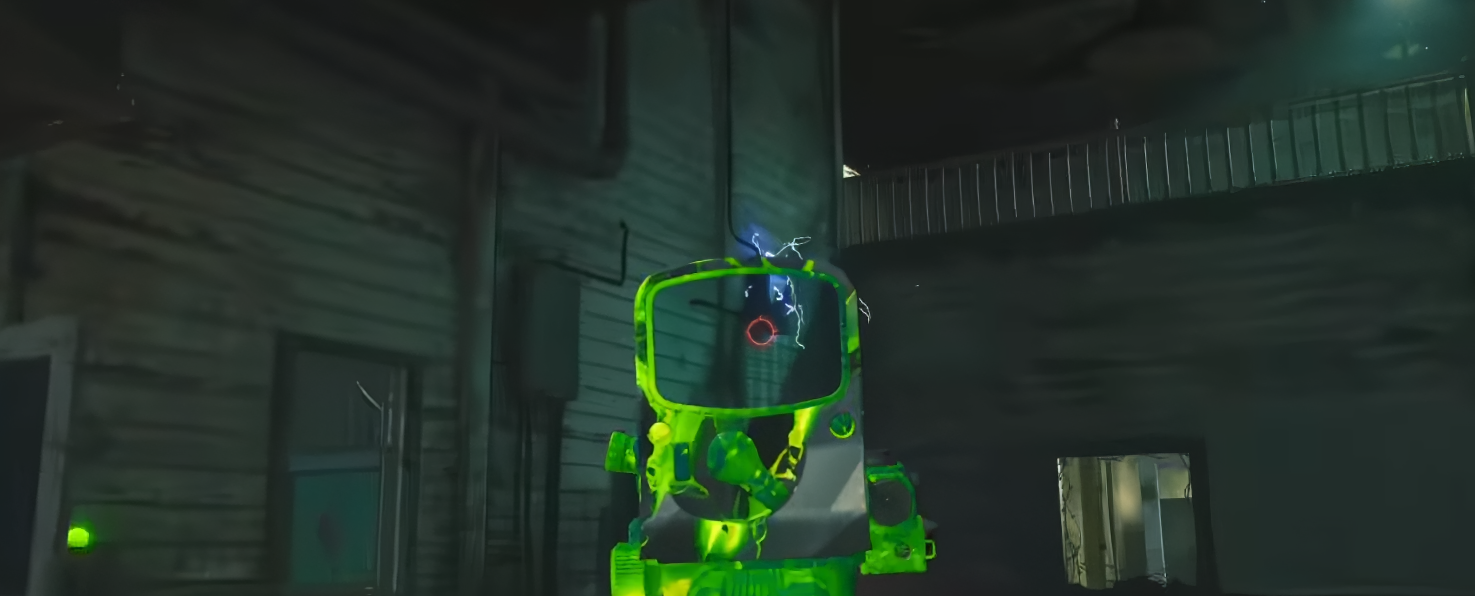
After that head to the room with Juggernog in it and shoot the box just above the power terminal.
The lightning will then move to the other side of the wall
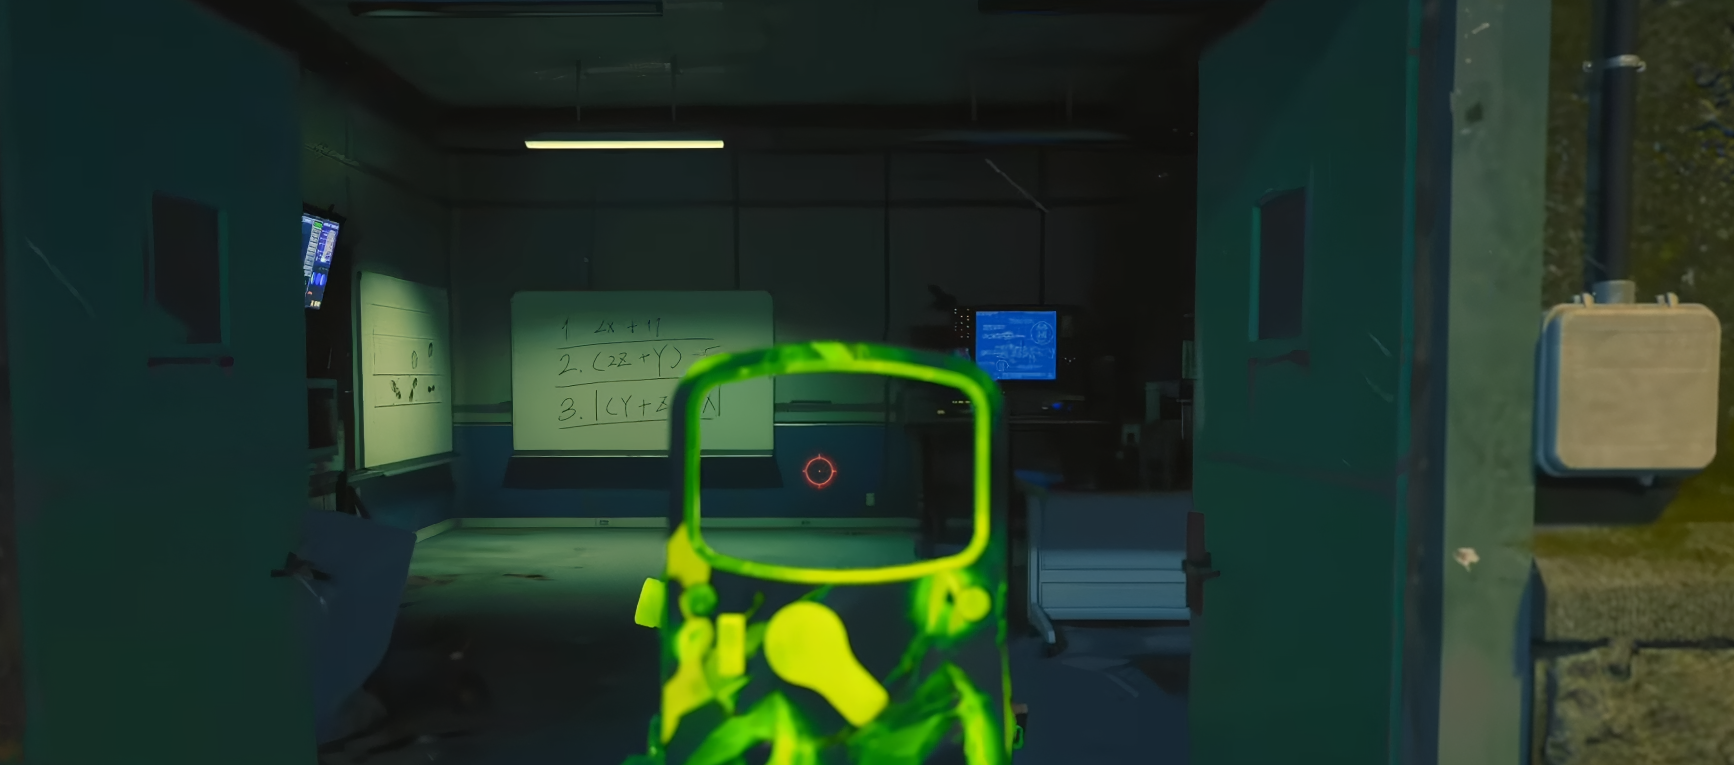
And this will open the door to the left of the final power box
Step 2 - Obtaining the EMF FOB
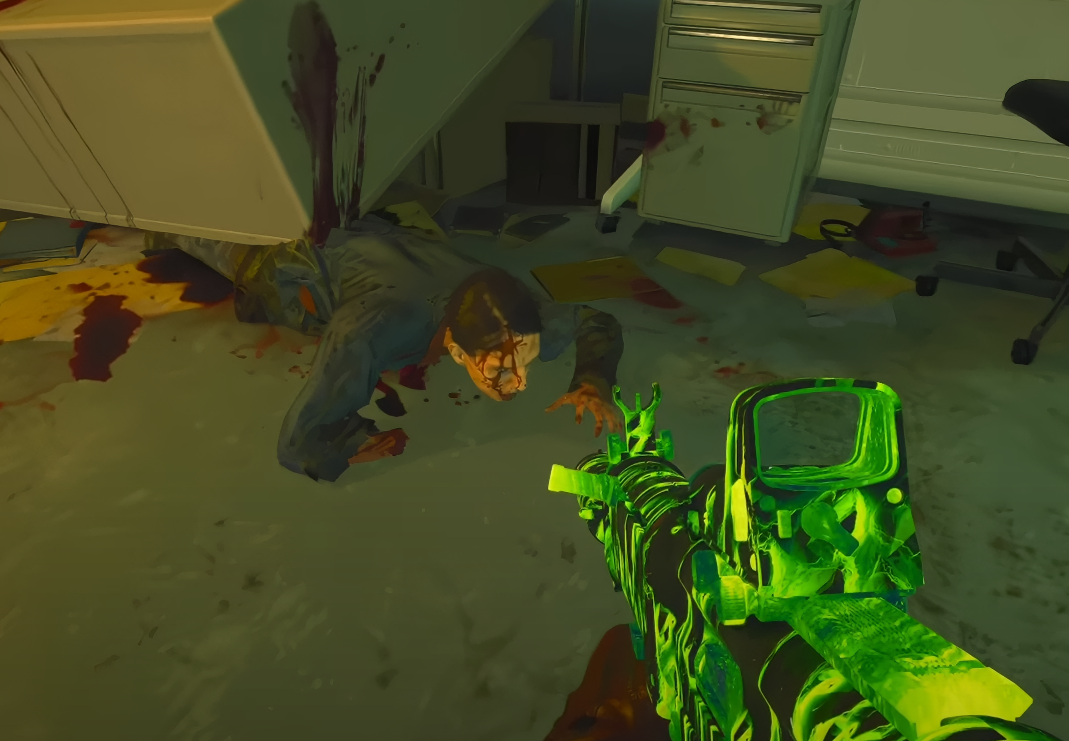
Once the doors have opened, head inside and you'll see a scientist, Anya Tonovsky, Trapped under a some debris.
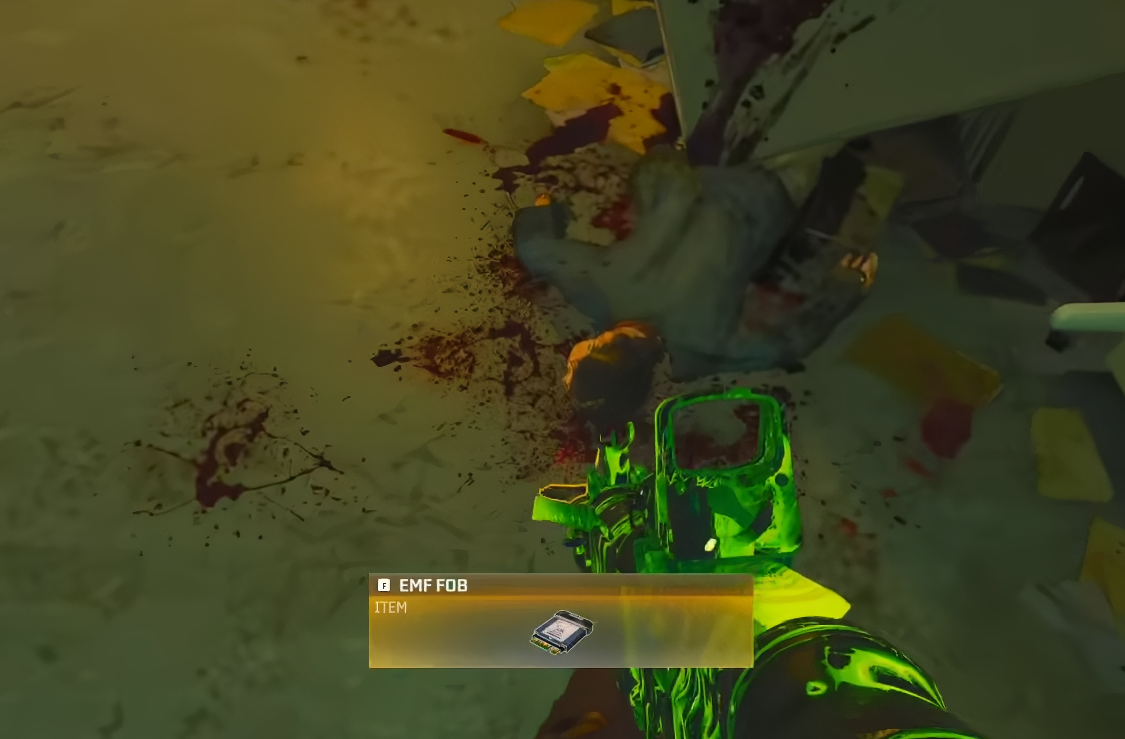
Shoot her and pick up the EMF Fob
It will now show up in your inventroy

Step 3 - Obtaining the MULTIPHASIC RESONATOR
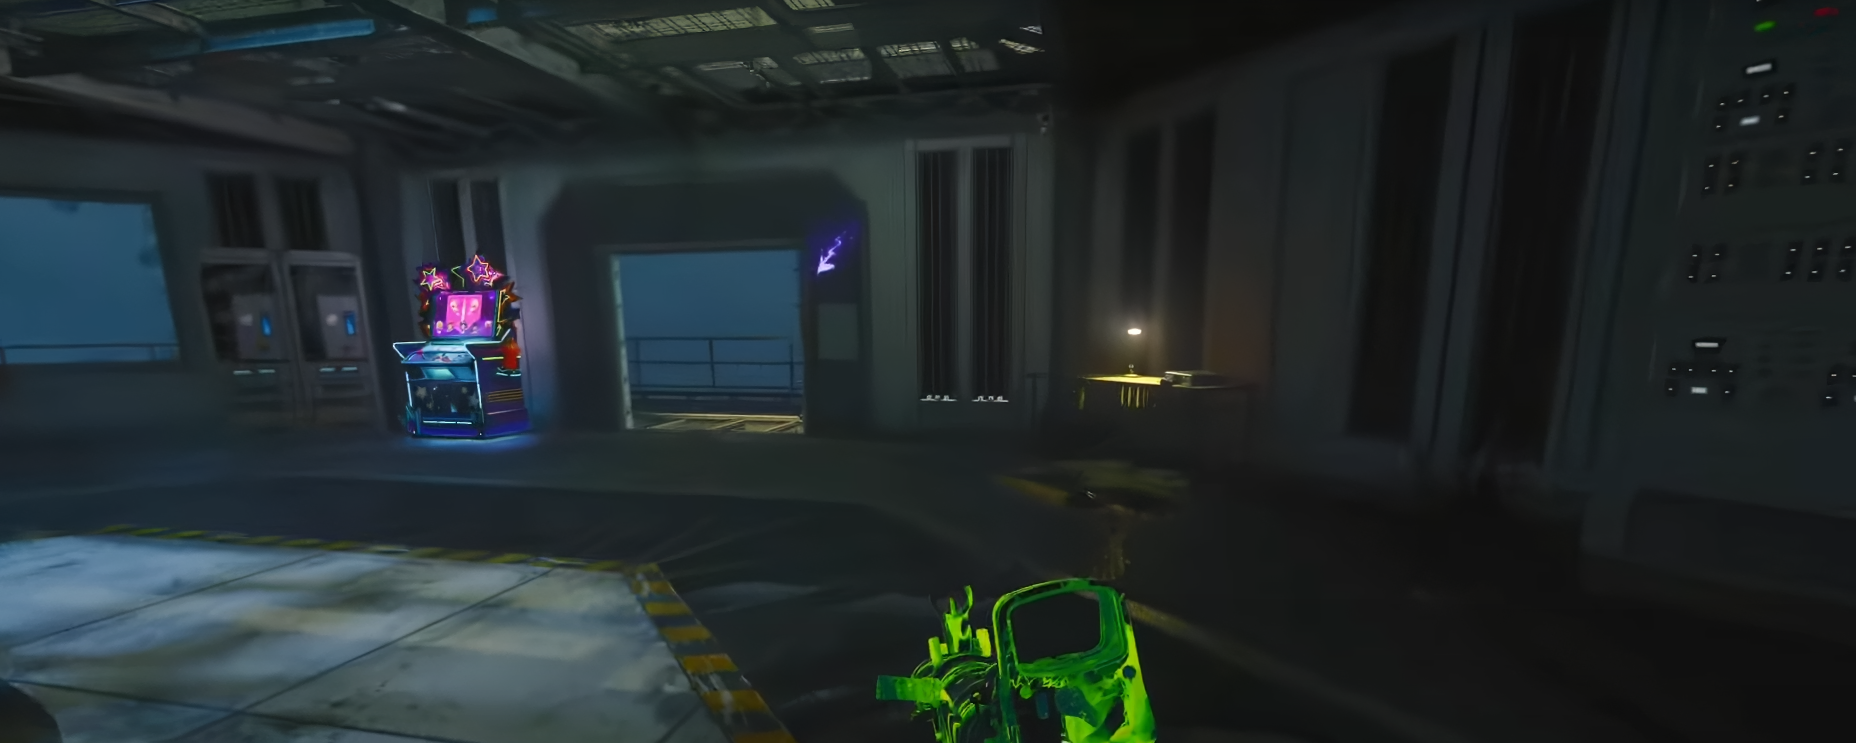
Next Head to the Sea Tower Room with Elemental Pop inside.
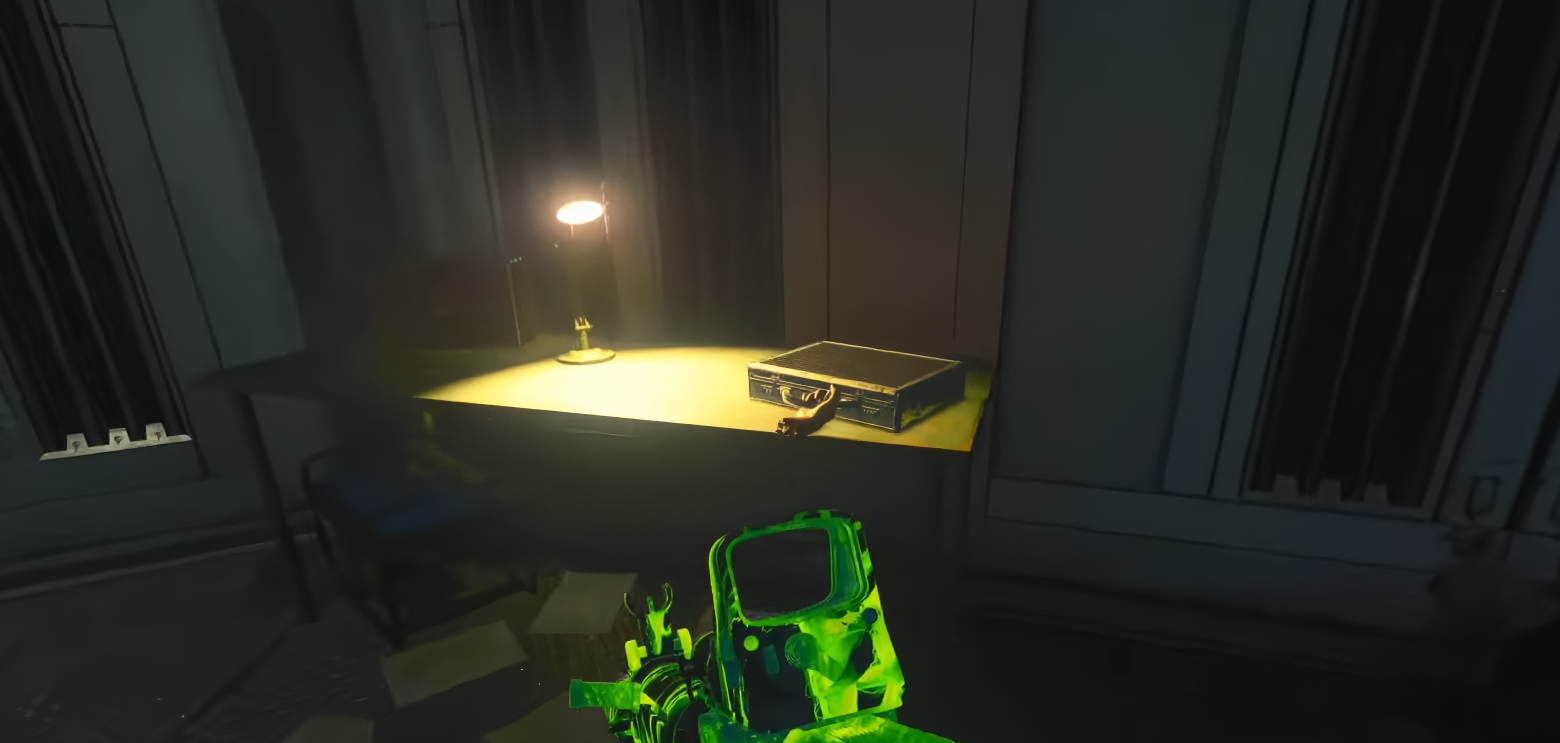
You will see a table with a briefcase on the other side of the door to elemental pop.
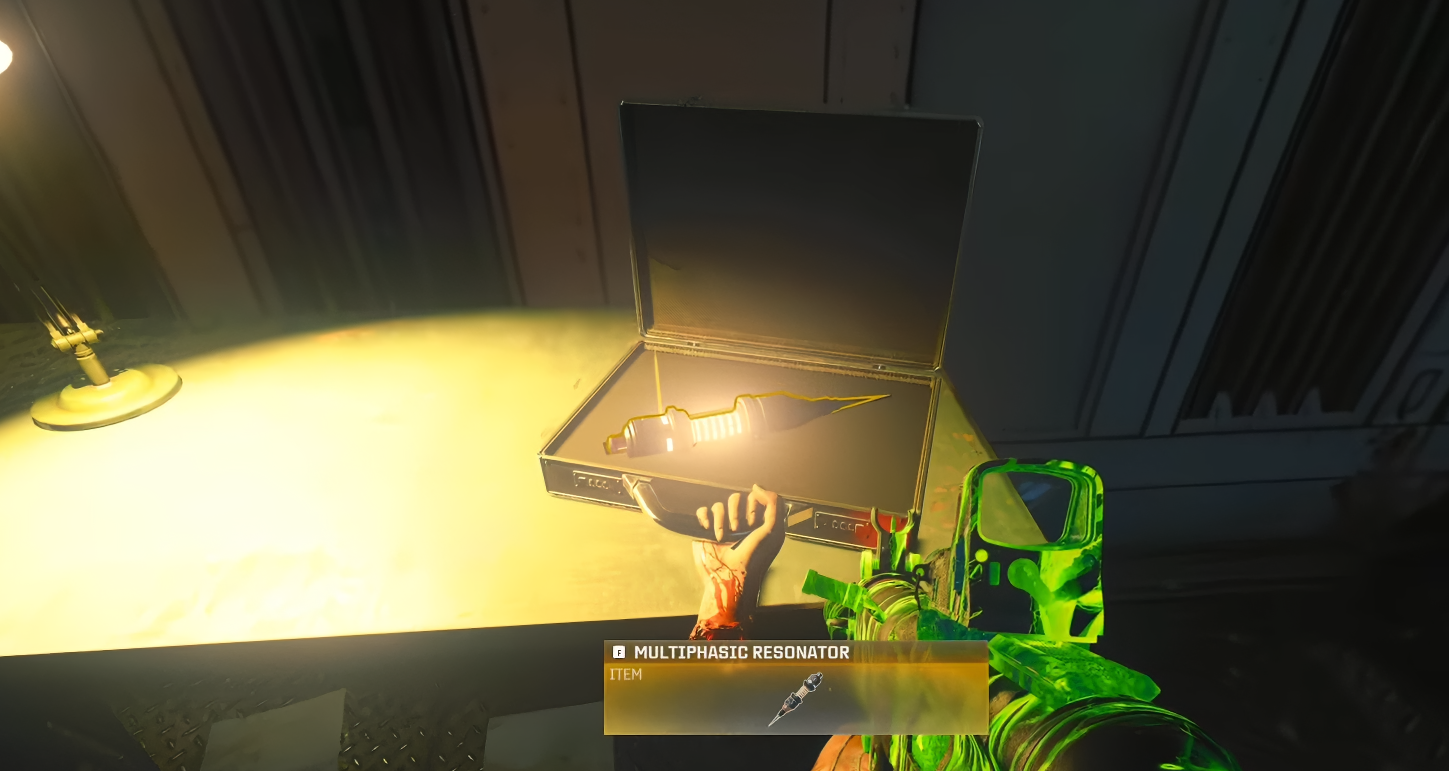
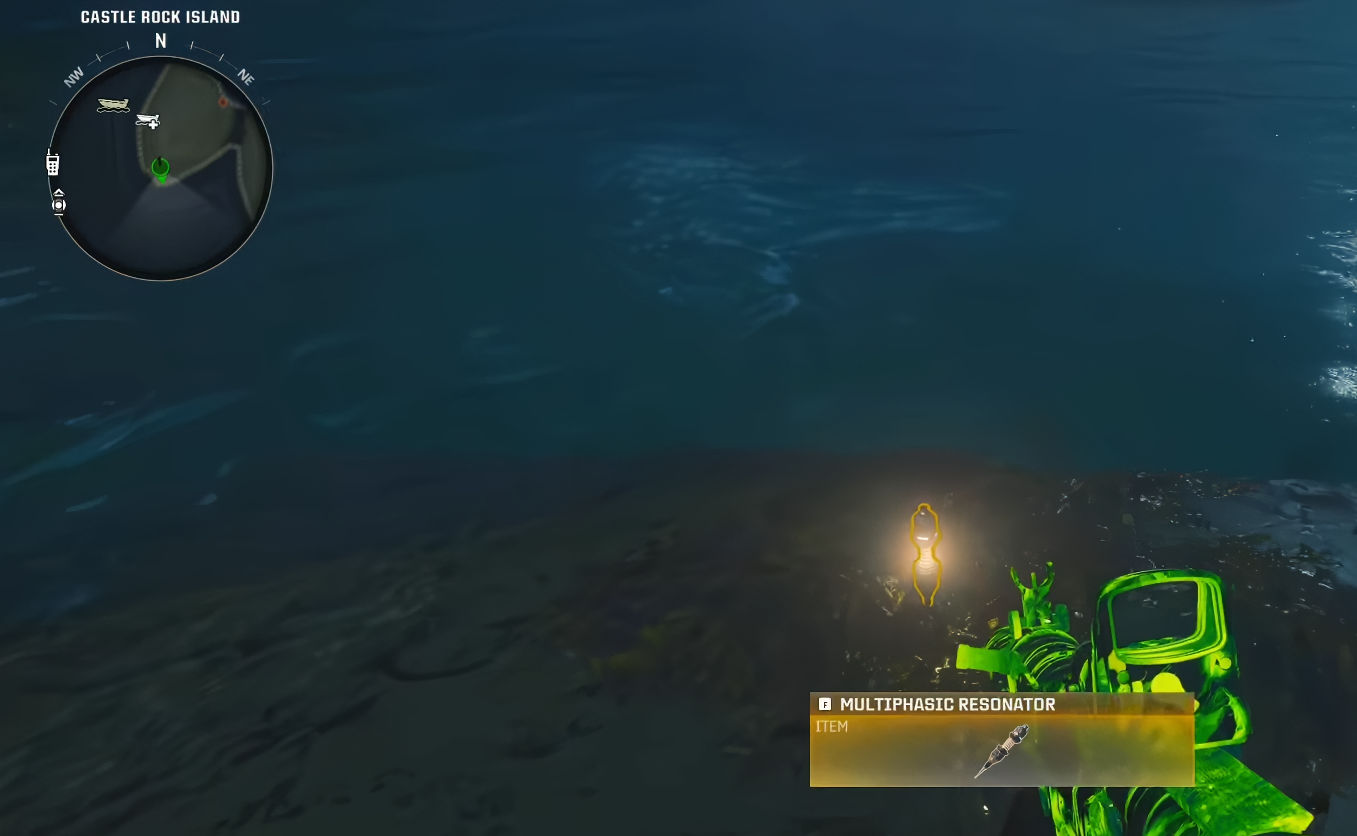
Head over to the table and open the briefcase, inside will be the MULTIPHASIC RESONATOR.
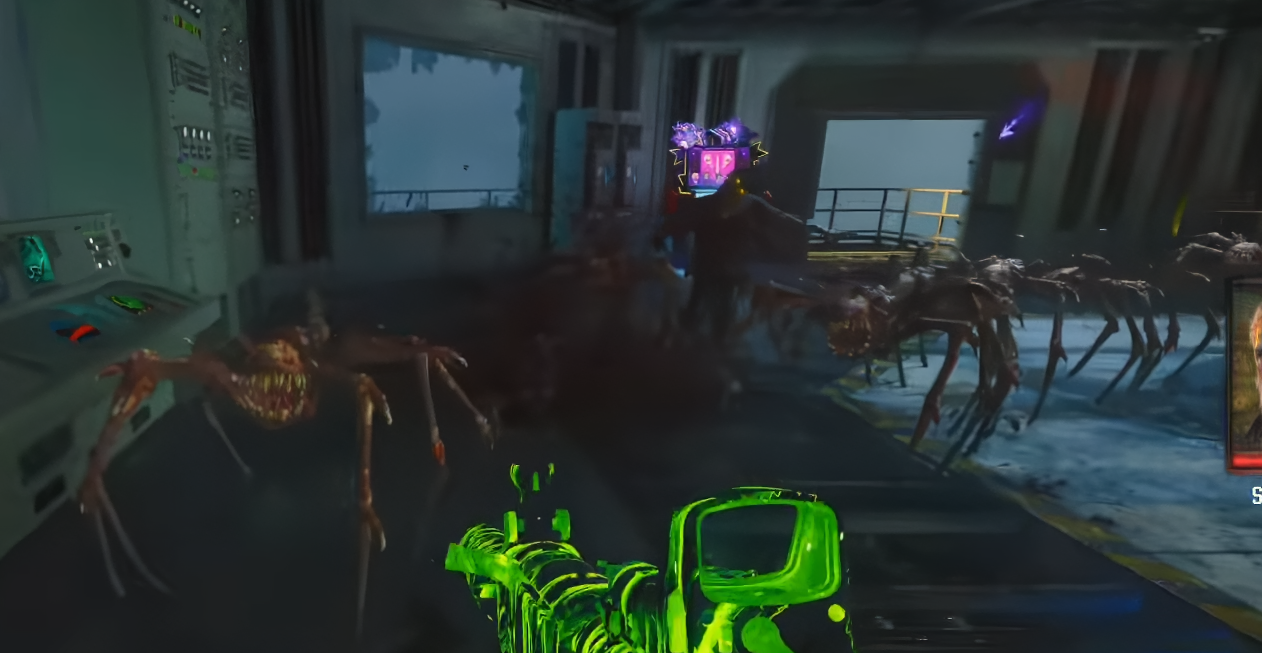
This will spawn a swarm of Vermin.
Step 4 - Place the Multiphasic resonator in the Research Office
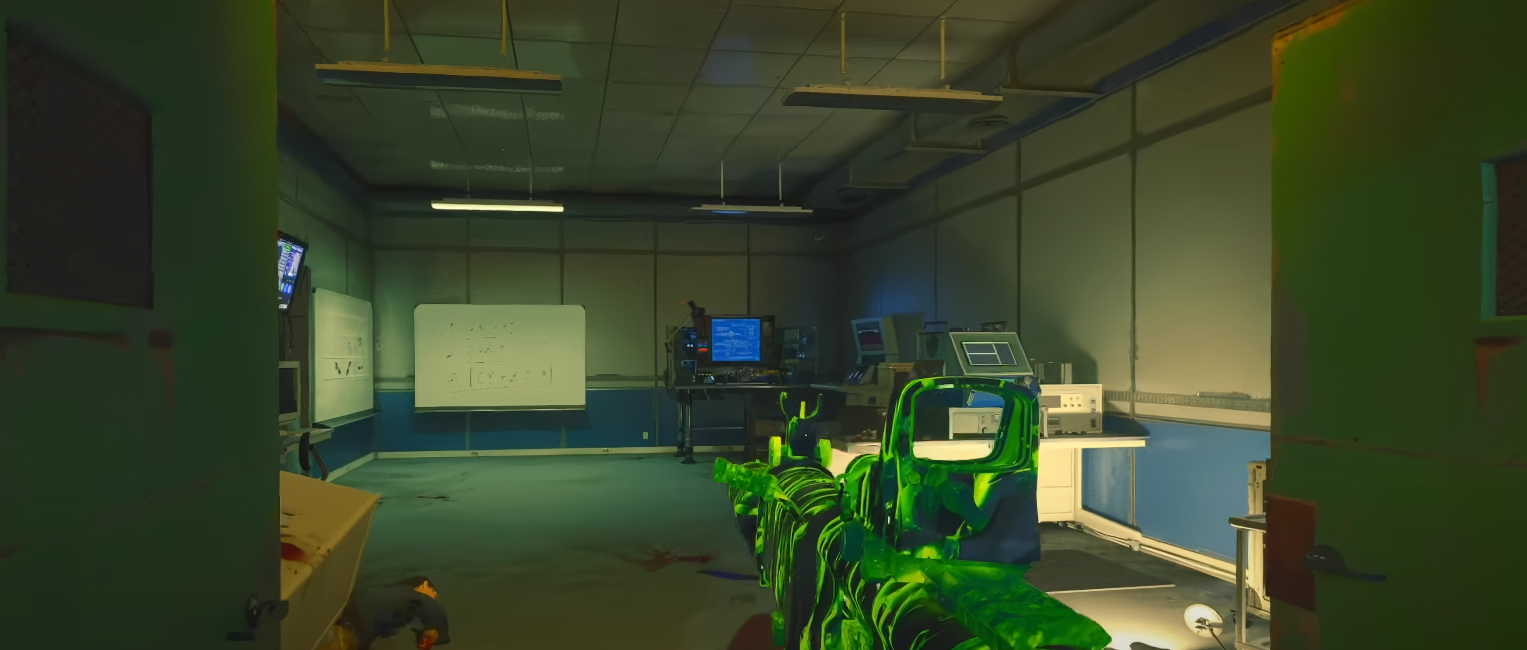
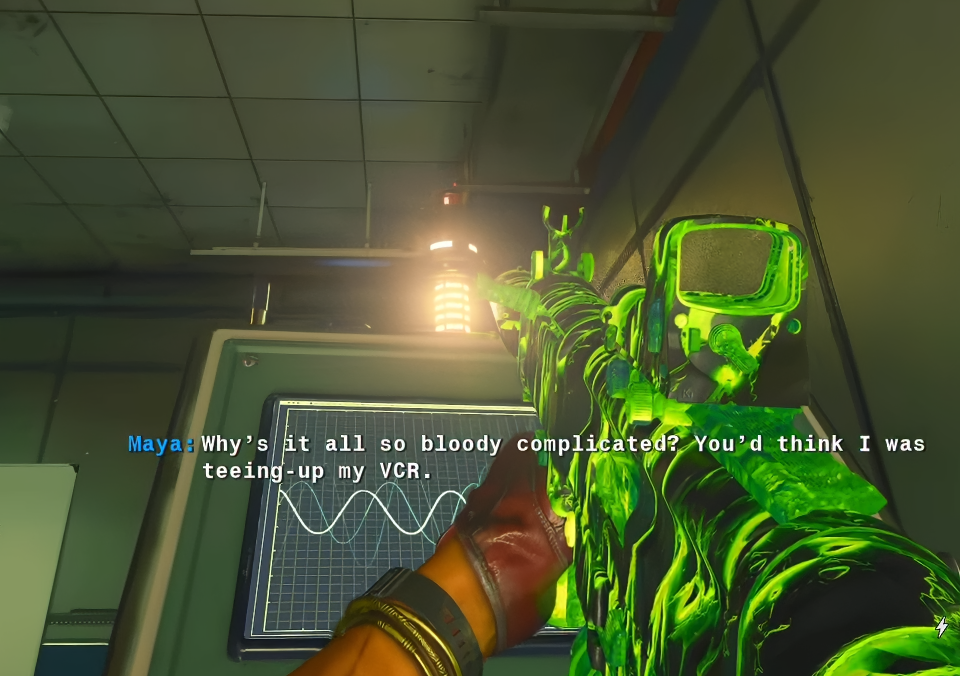
Head back to the Research Office and go to the machine on the right side of the room.
Place the MULTIPHASIC RESONATOR in the machine by interacting with it.
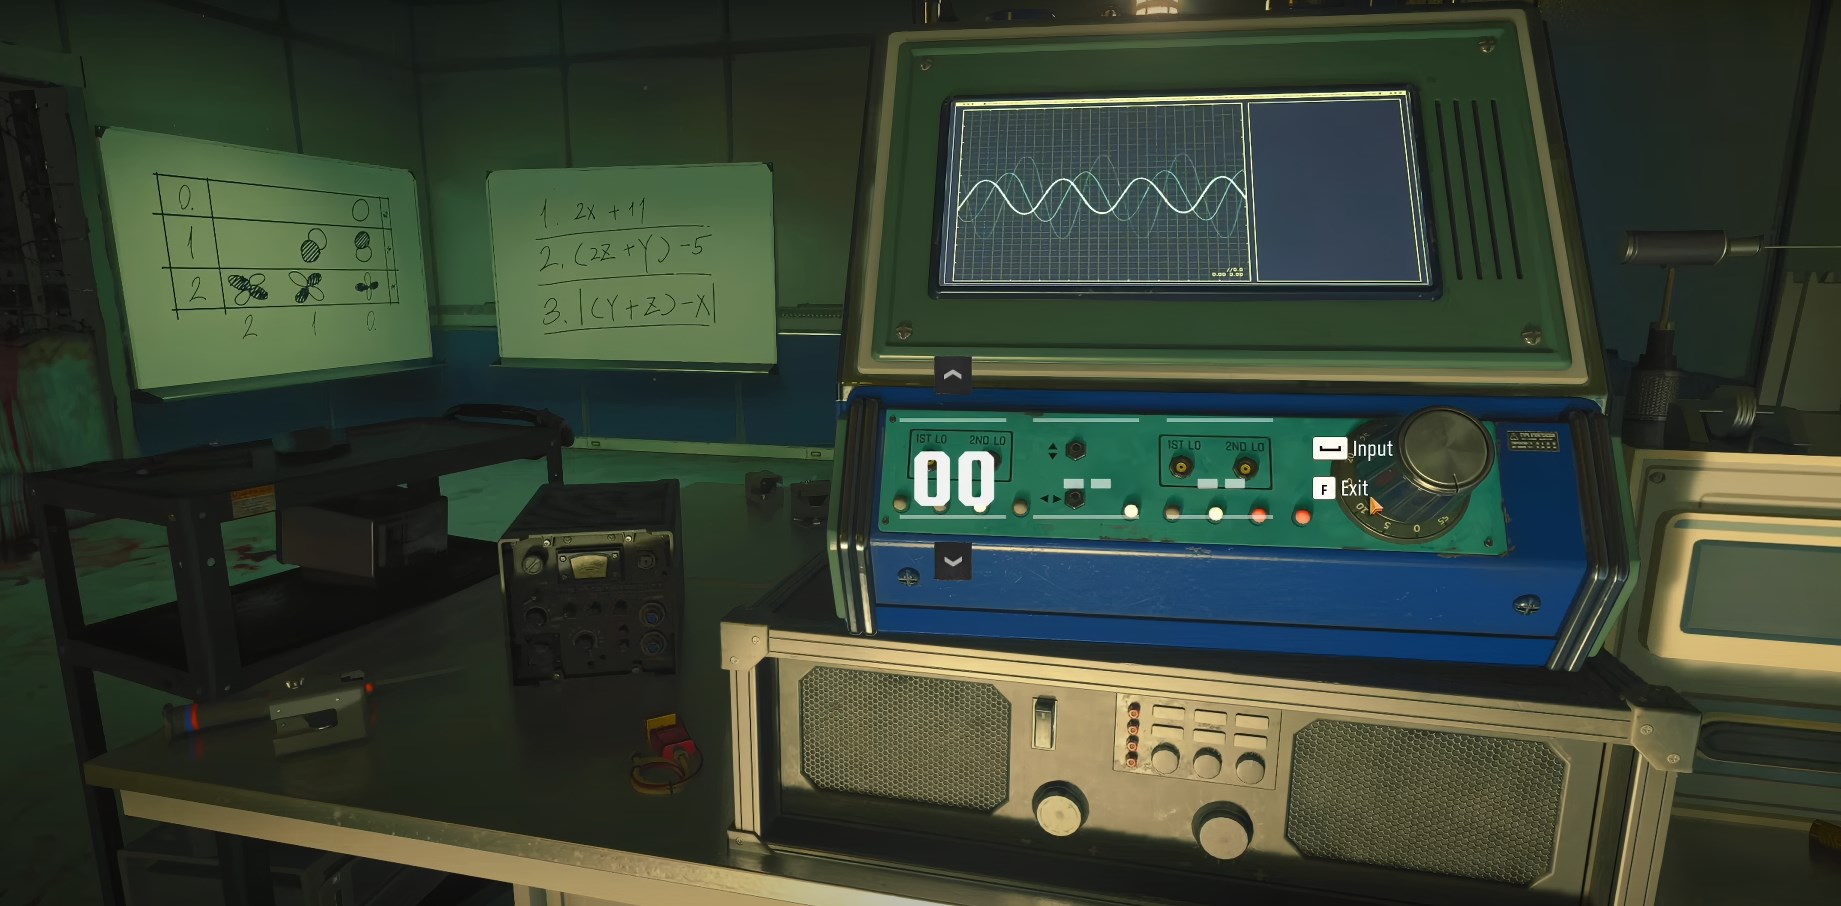
Interacting with the machine will bring up a code input.
Step 5 - Activating the Laptops
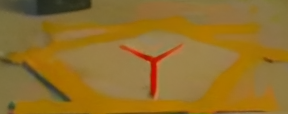
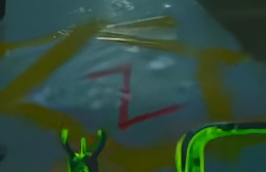
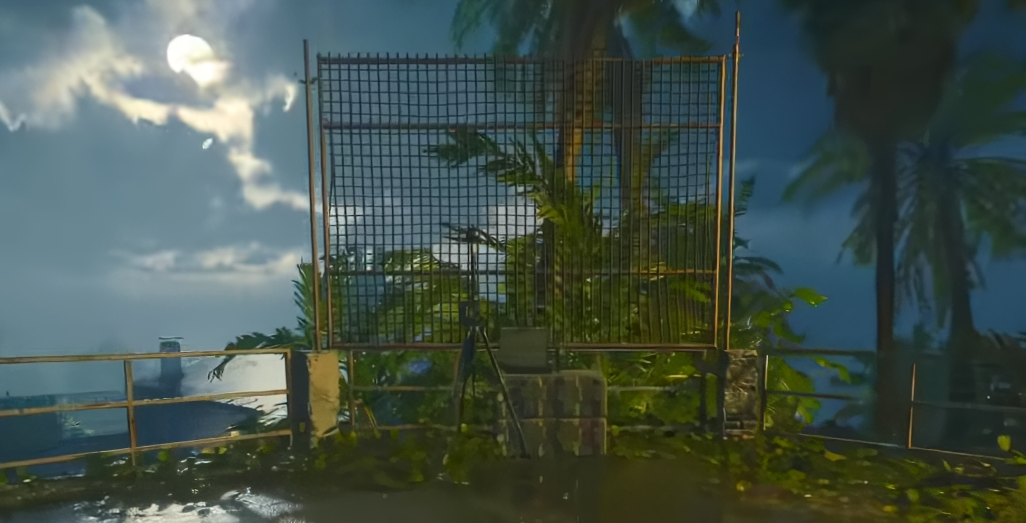
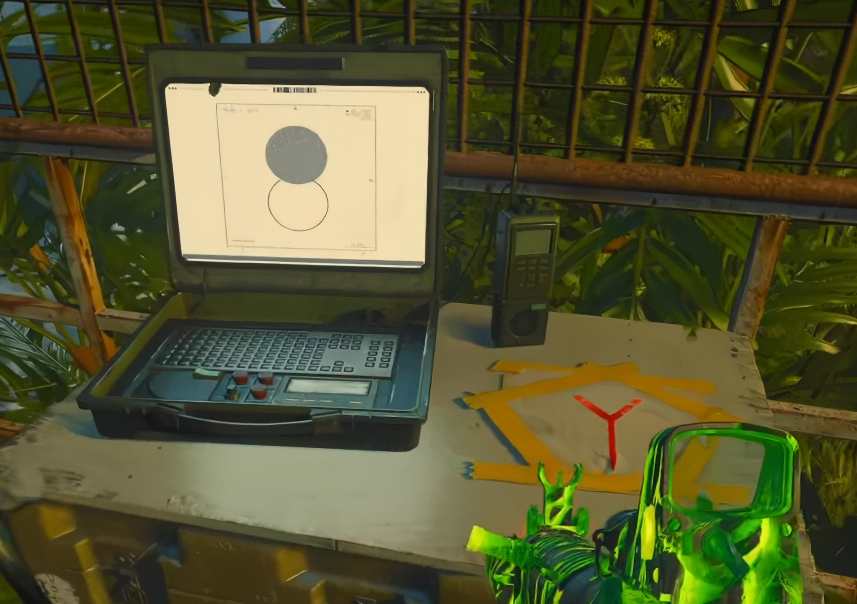
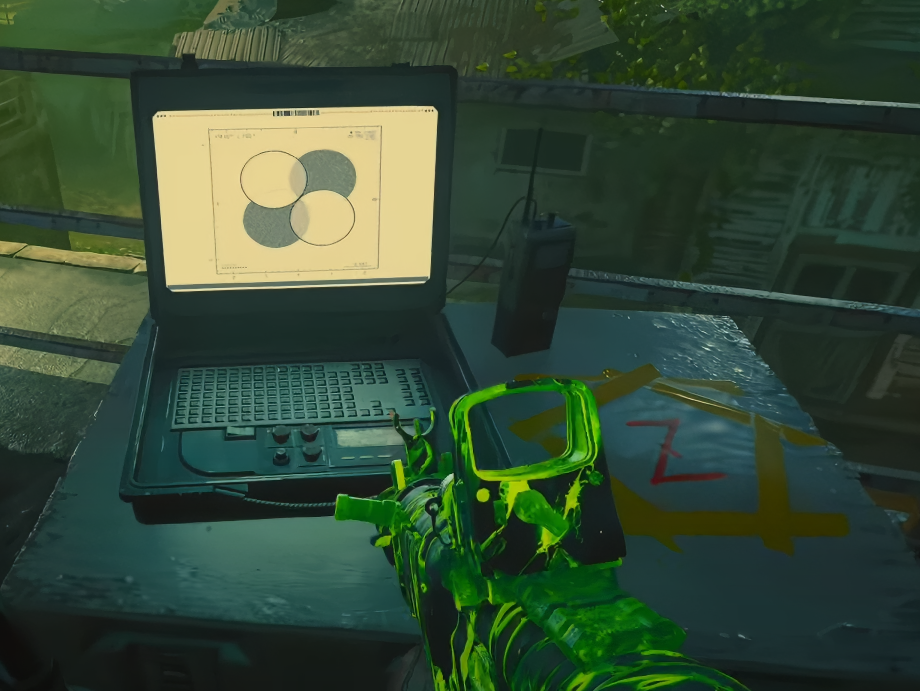
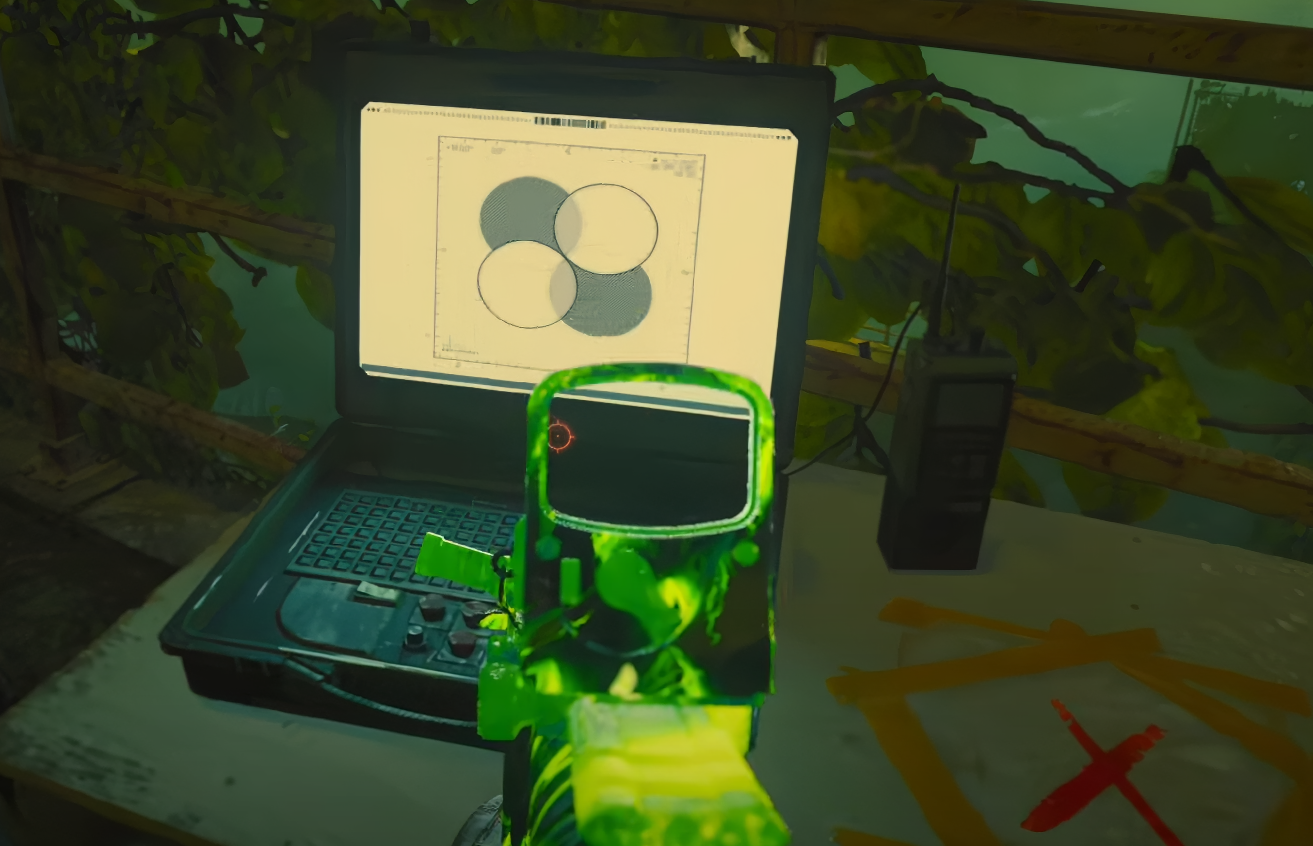
Next there are 3 laptops around the map that need to be activated. These are labelled X,Y & Z
The first laptop, labelled Y, can be found just outside of the Quick Revive machine.
When Activated the laptop screen will turn on and display a symbol on it.
The second computer, labelled Z, can be found near the Stamin Up machine, outside the control centre.
When activated the screen will display a second symbol
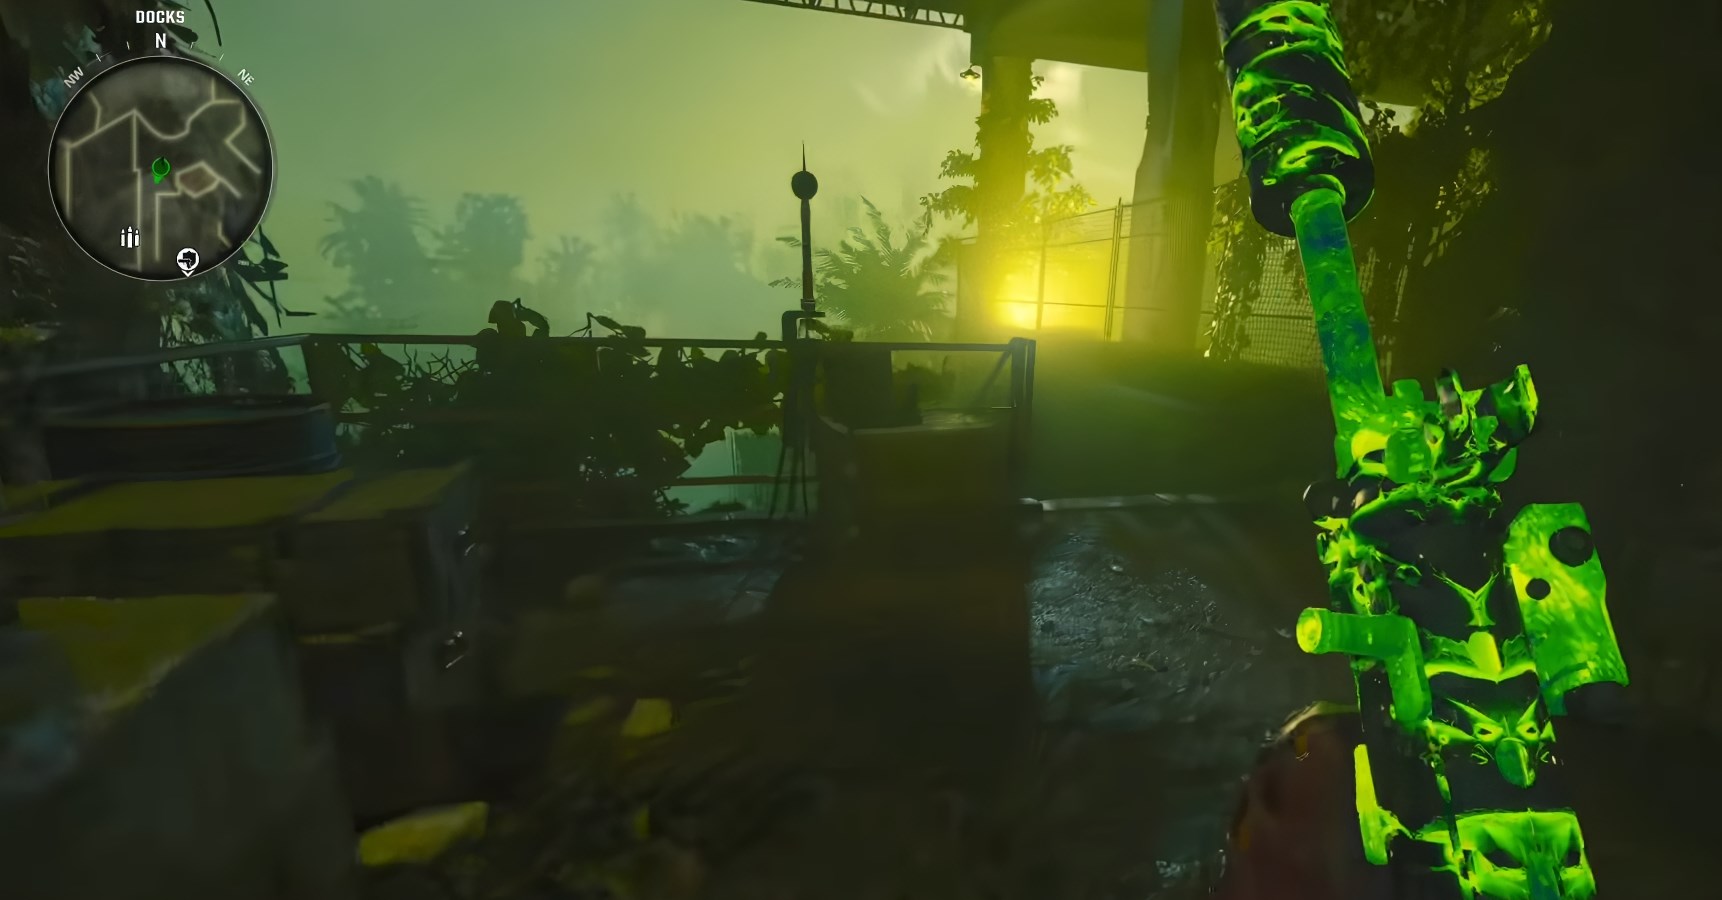
The final laptop, labelled X, can be found below the sea tower, toward the docks.
When activated it will display a third symbol on it.
Step 6 - Solving the code
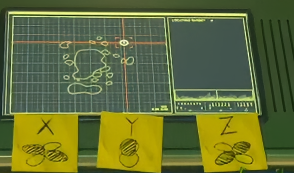
After activating all the laptops, head back to the research office and interact with the computer the Multiphasic Resonator was put into. The symbols on the laptops will now appear on post-it notes on the machine
From here there are 2 options to move to the next step.
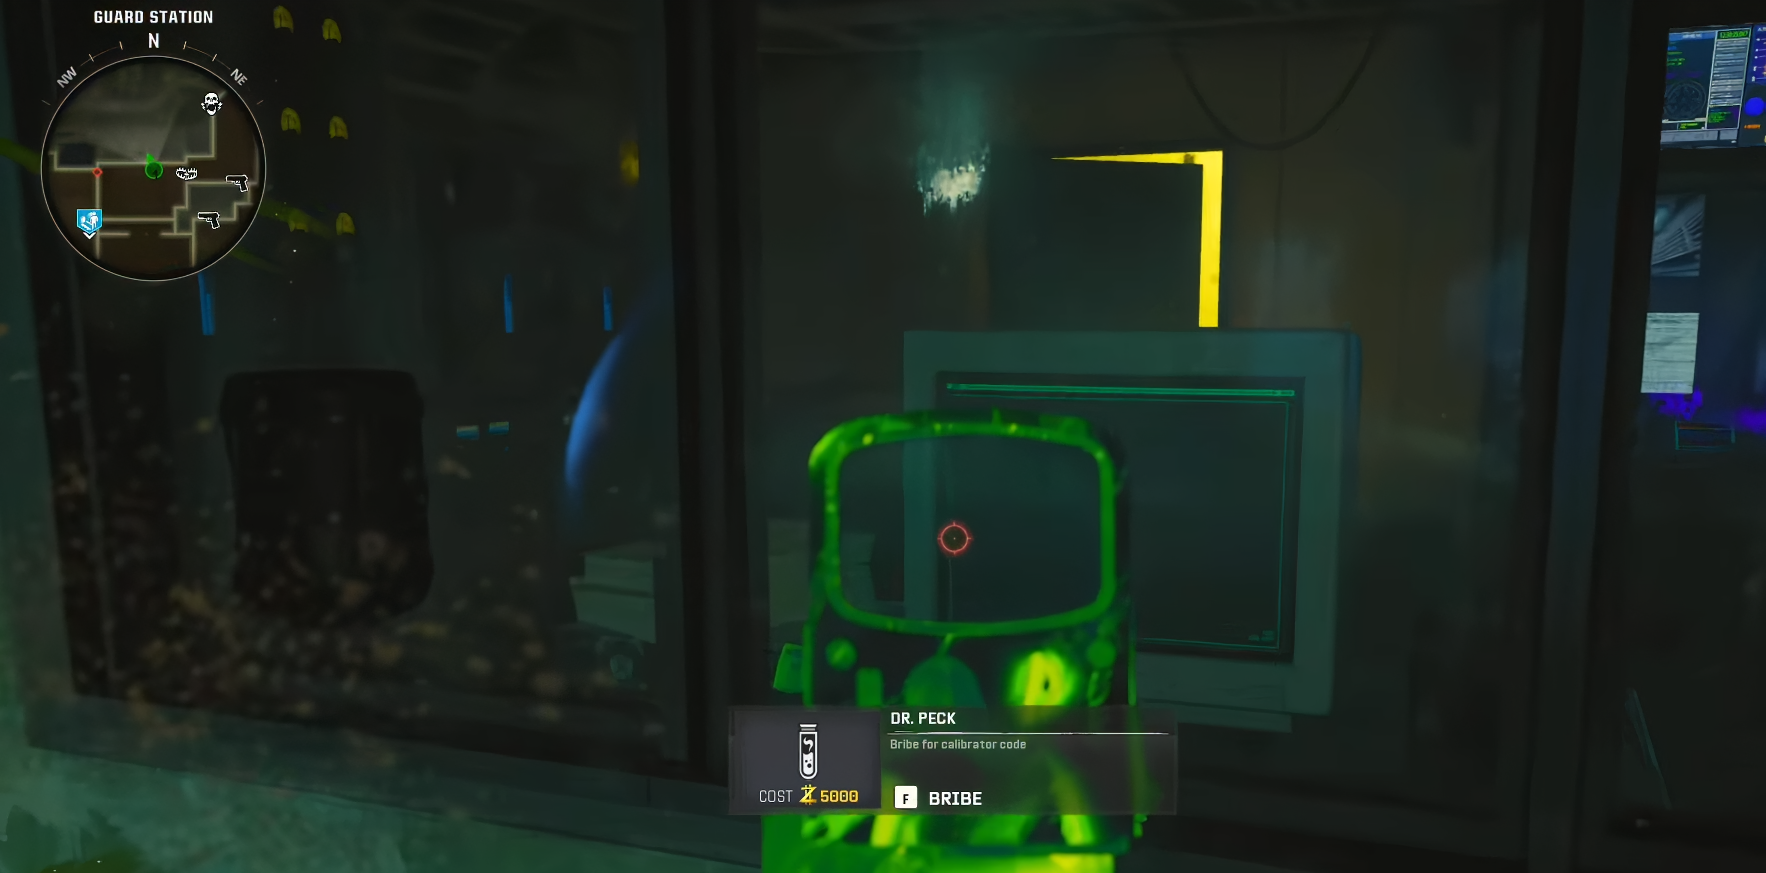
Solve the maths puzzle or bribe Dr. Peck $5000

Bribe Dr. Peck
Head to the guard station room and intersect bribe DR. Peck at the window. He will then display the code on the computer screen
Solve the maths puzzle
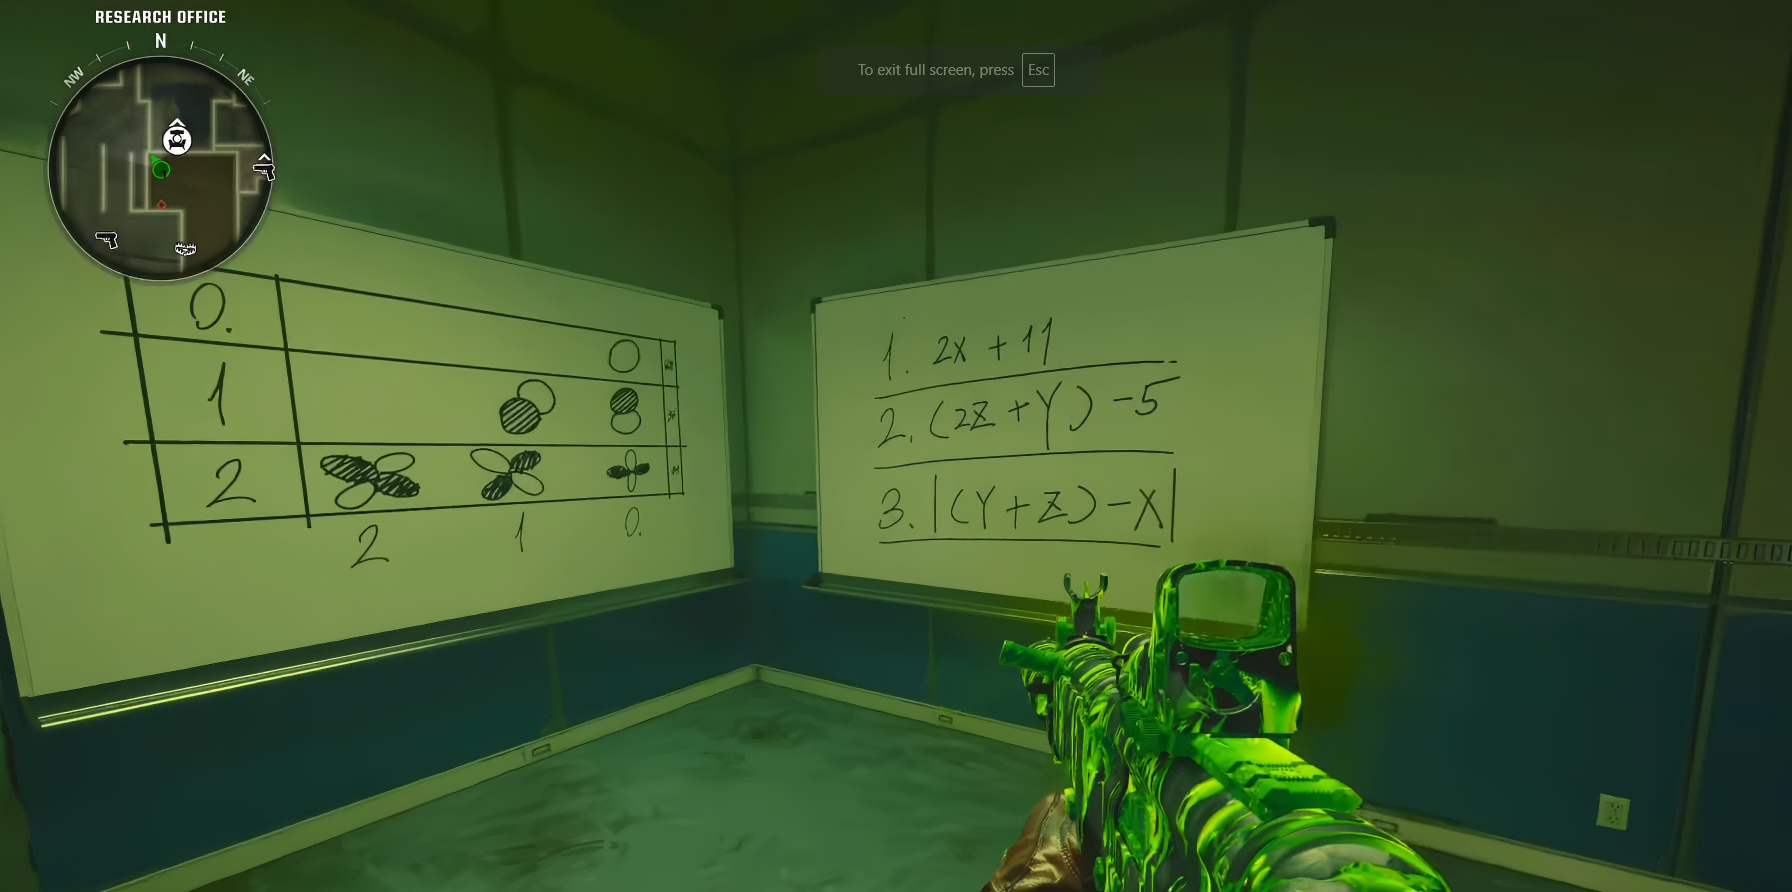
In the back left corner of the Research Office, there are 2 whiteboards
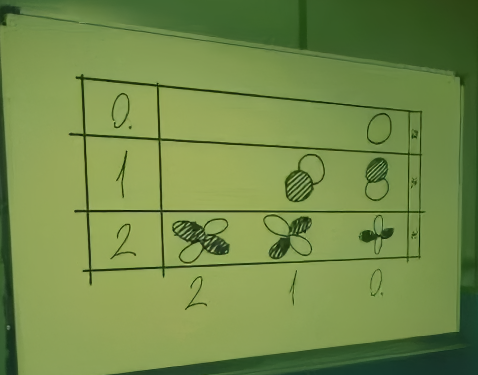
The left whiteboard indicates what numbers X, Y, & Z are.
The numbers on the left of the whiteboard are the fist digit and the numbers at the bottom are the second digit. Simply match the symbols on the post-it notes with the whiteboard.
In this case:
X= 22
Y= 10
Z= 21
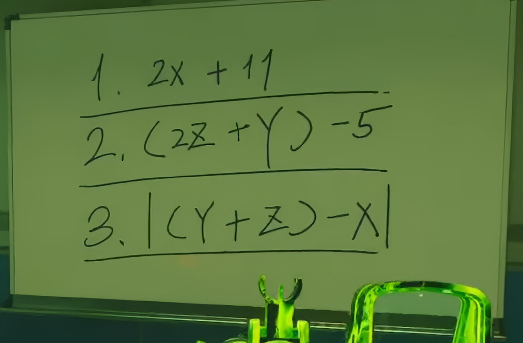
Next is to put the X, Y, & Z numbers into the equations on the whiteboard.
In this case:
Equation 1 = 2X + 11 = 222 + 11 = 55
Equation 2 = (2Z + Y) - 5 = (221 + 10) - 5 = 47
Equation 3 = |(Y + Z) - X| = |(10 + 21) - 22| = 9 (If you get a negative number, simply use the positive number)
Once the code has been input, the screen on the machine will flash multiple different locations.
Simply end the round and the location will lock in on the map and you will now be able to pick up the Multiphasic Resonator.
Pick up the Multiphasic Resonator.
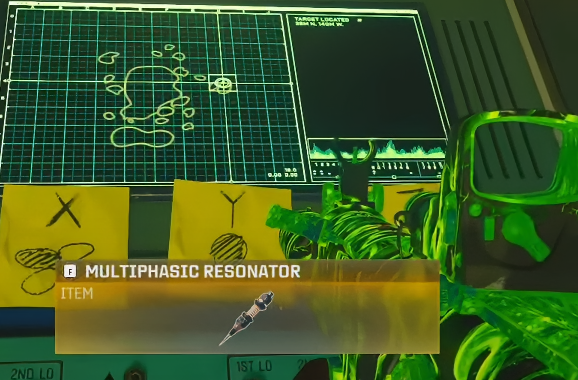
Step 7 - Charging the AMP Mutation
Next head down to the boat dock and summon the boat using the machine there.
Then in the boat, head to the location that was on the screen in the Research Offfce.
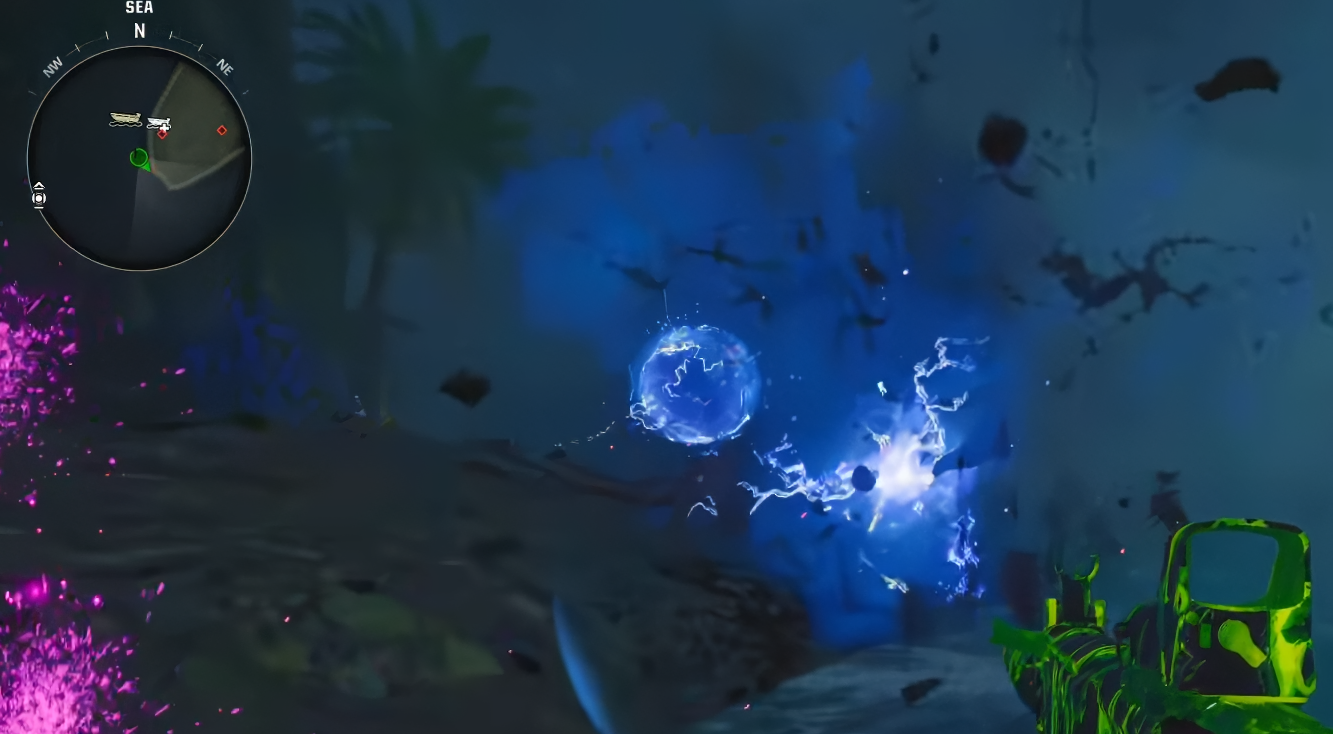
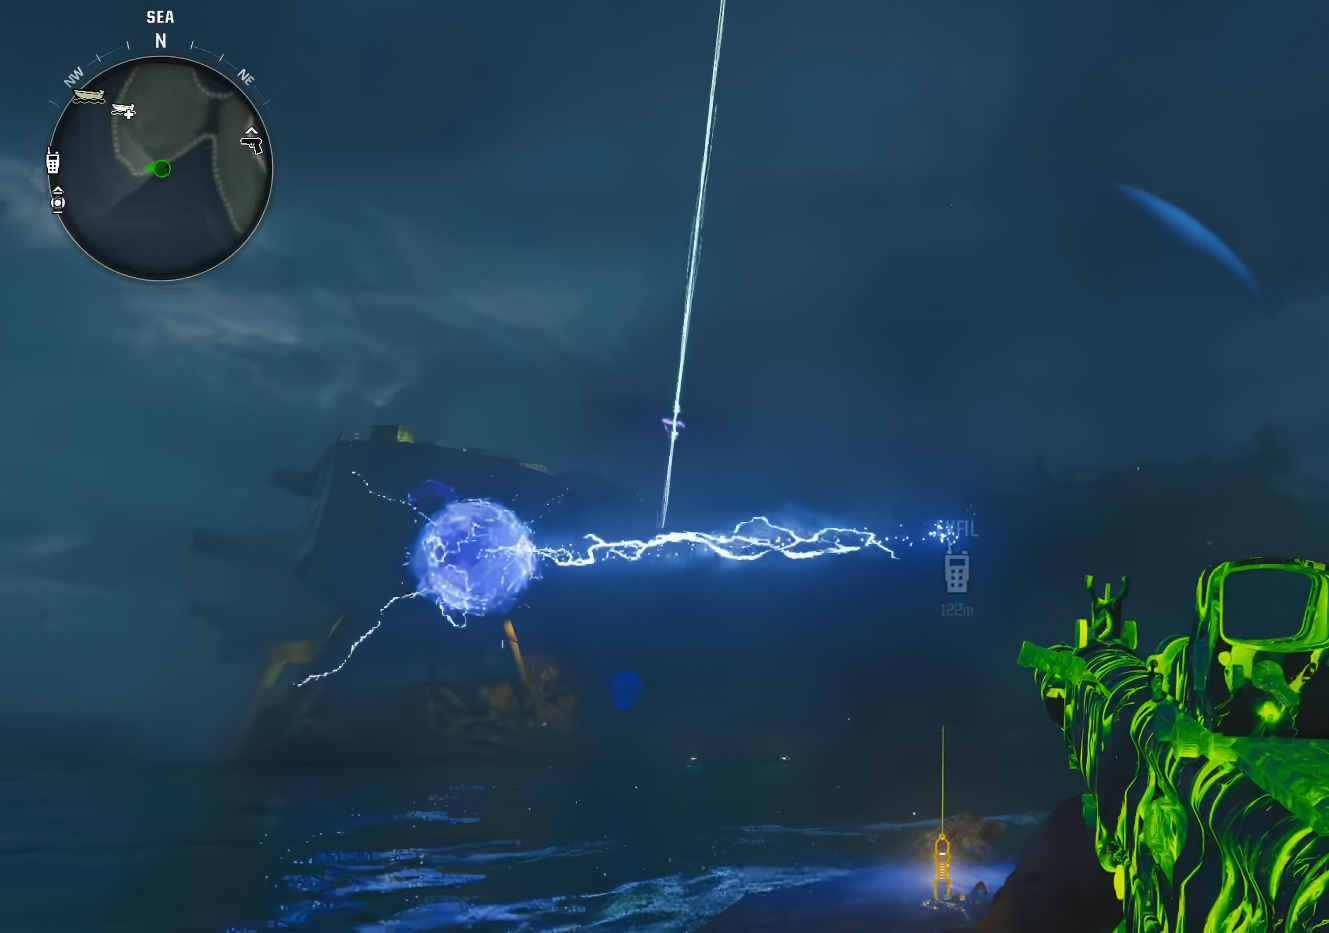
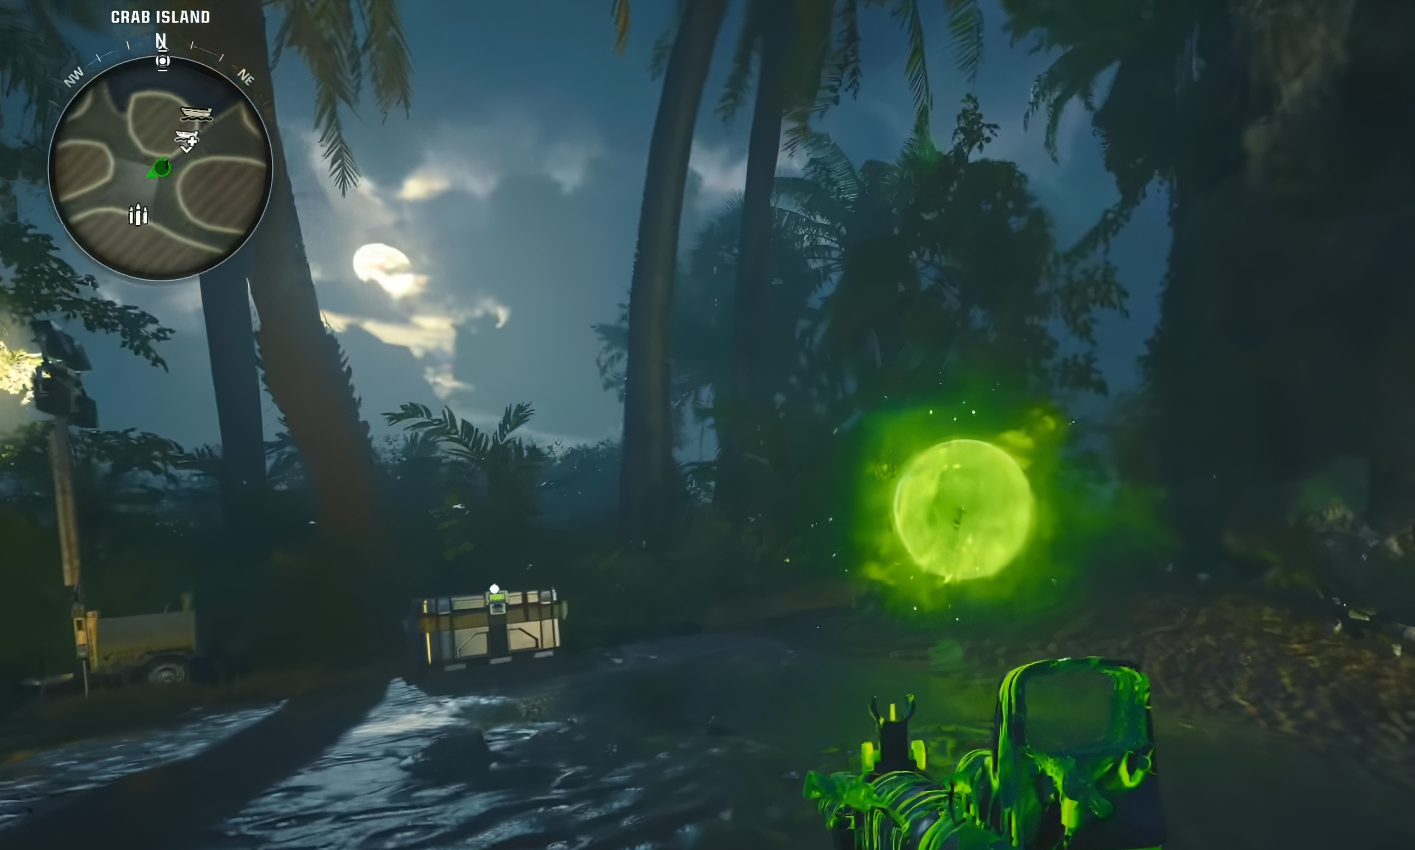
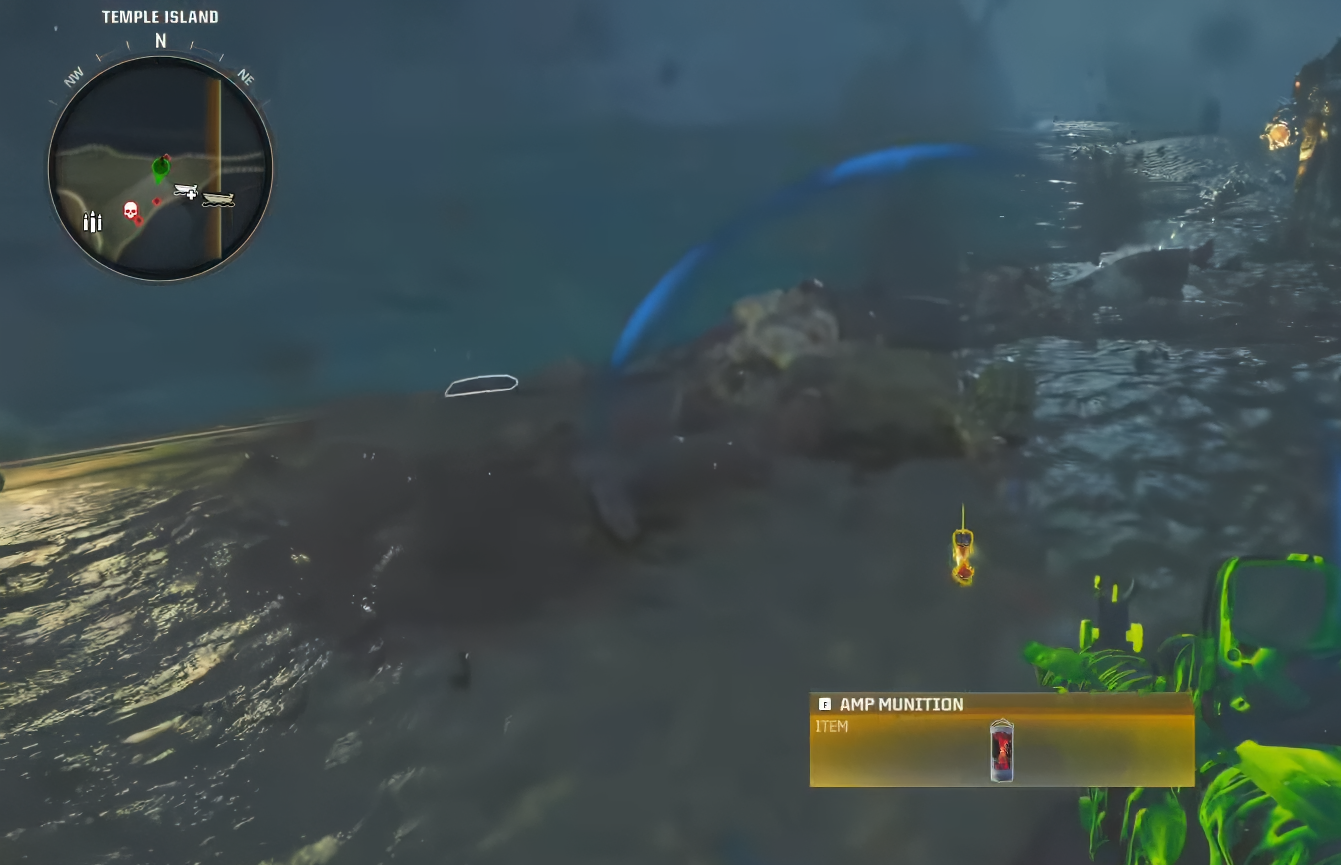
On the island, there will be an orb of energy with a part inside.
Interact with the orb and zombies will begin to spawn.
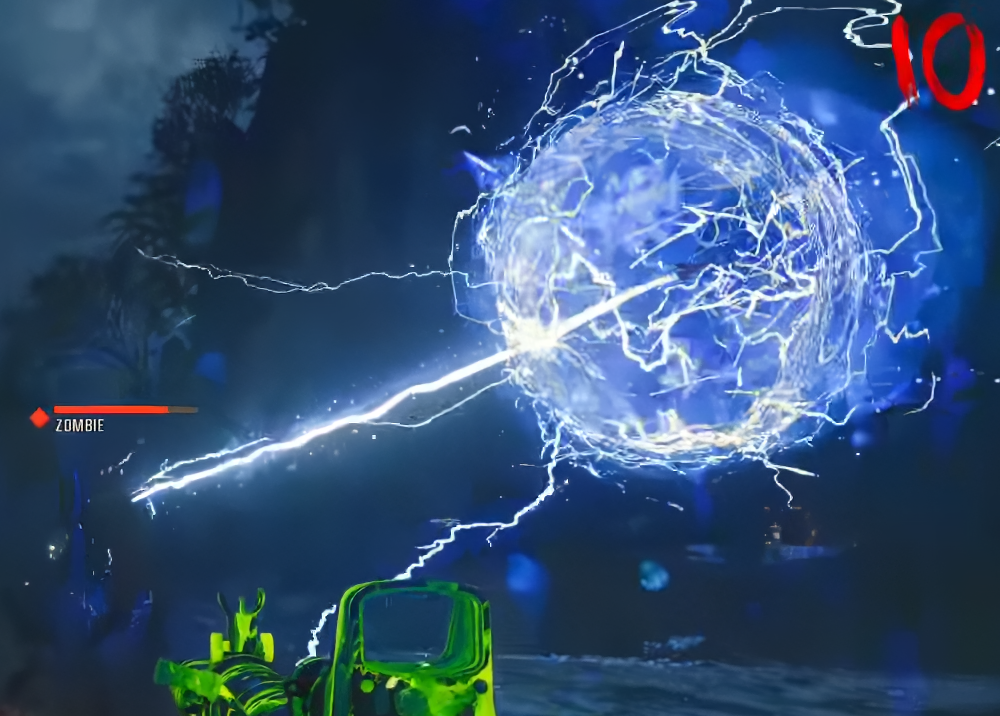
Bring a zombie close and a beam will attach itself to the zombie.
Killing a zombie while the beam is attached to it will drop a smaller ball of energy.
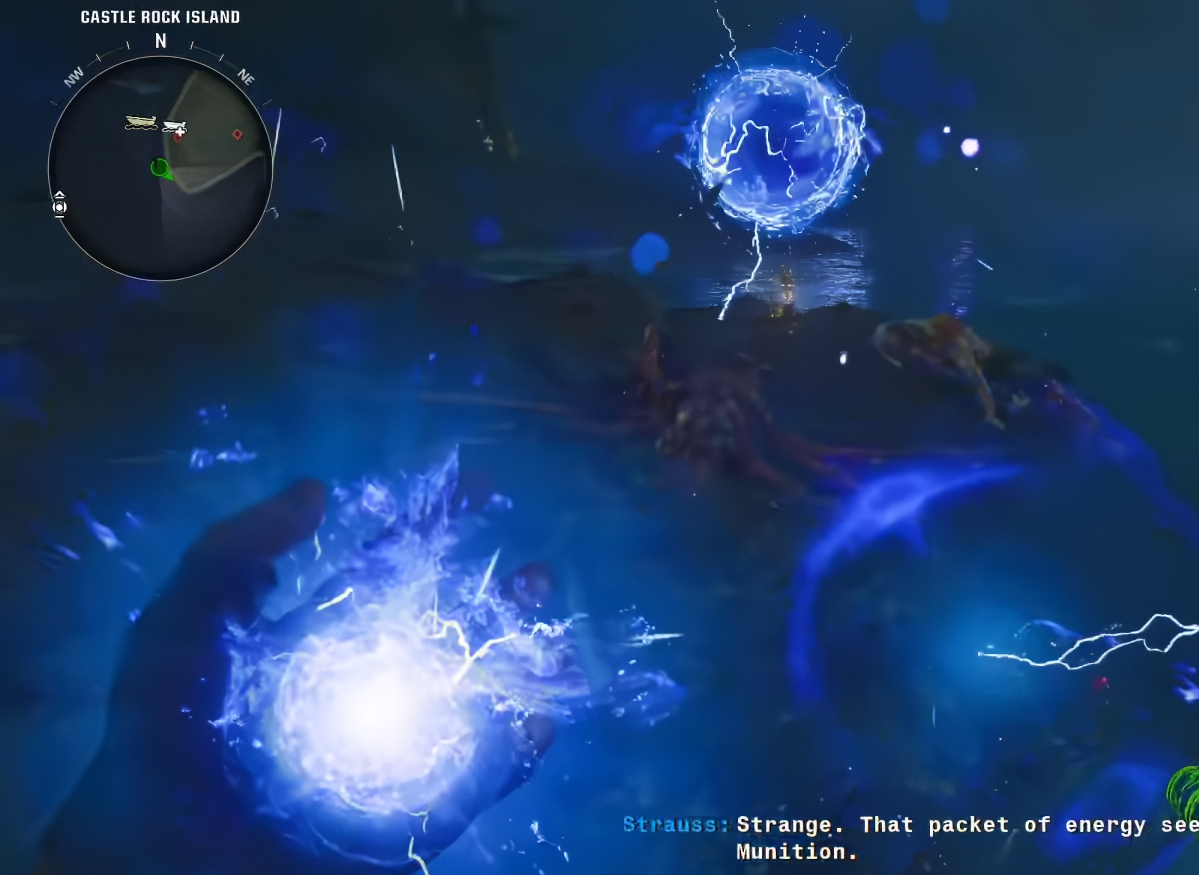
Pick it up and take it to the large orb.
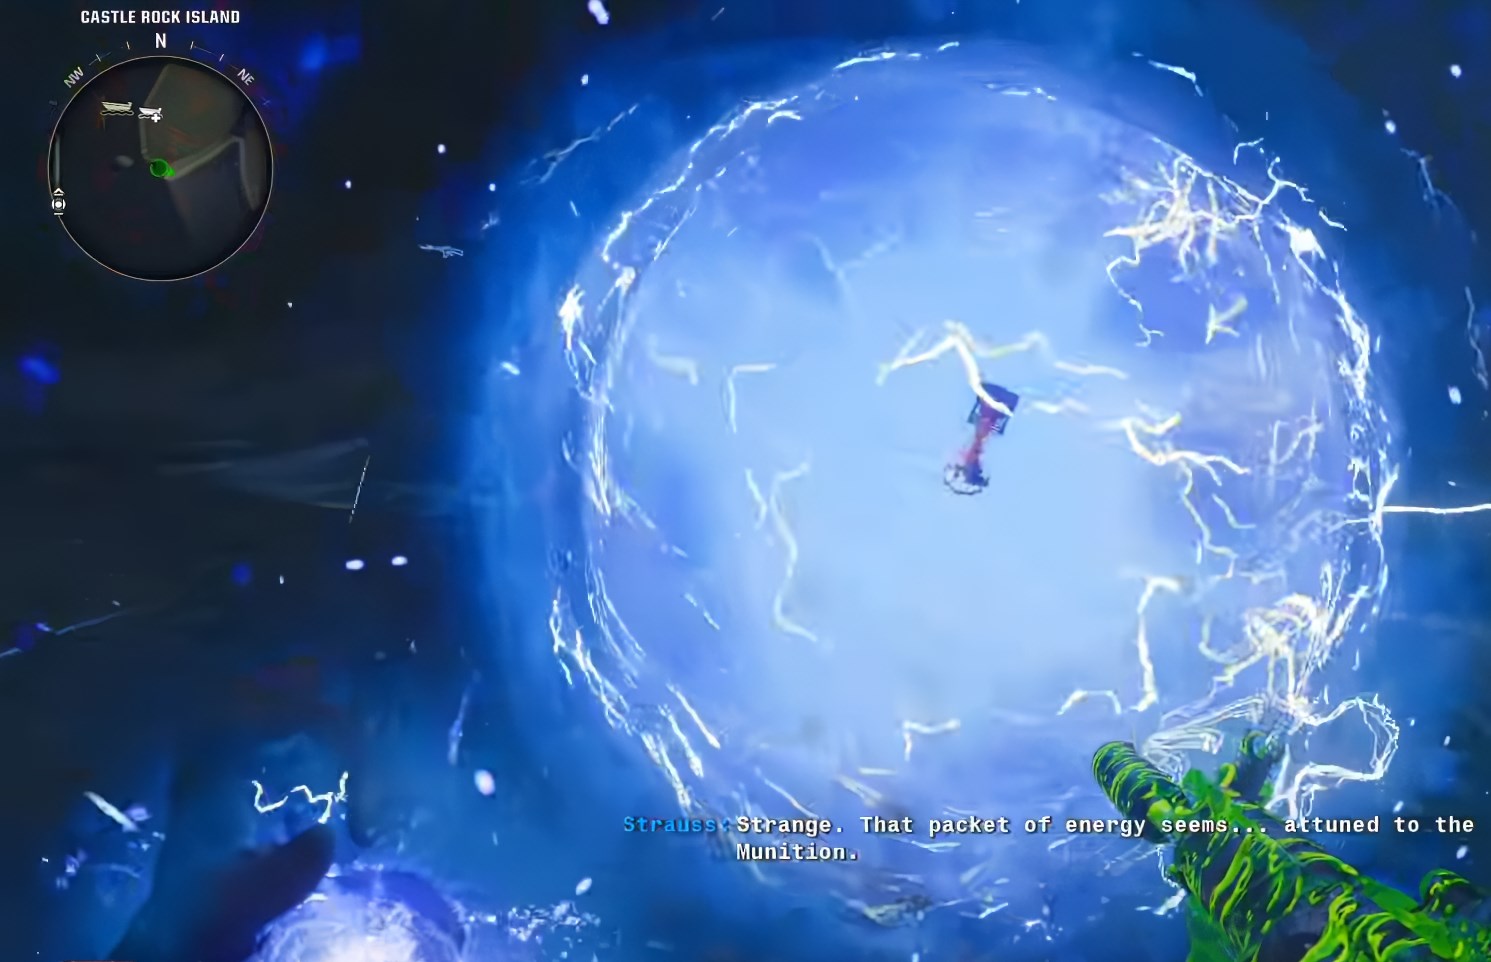
Place the orb in your hand into the large orb.
This will need to be done 2-3 times (depending how many players are in the game.) before the orb moves to a different island.
When the orb moves islands, pick up the Multiphasic Resonator before following it.
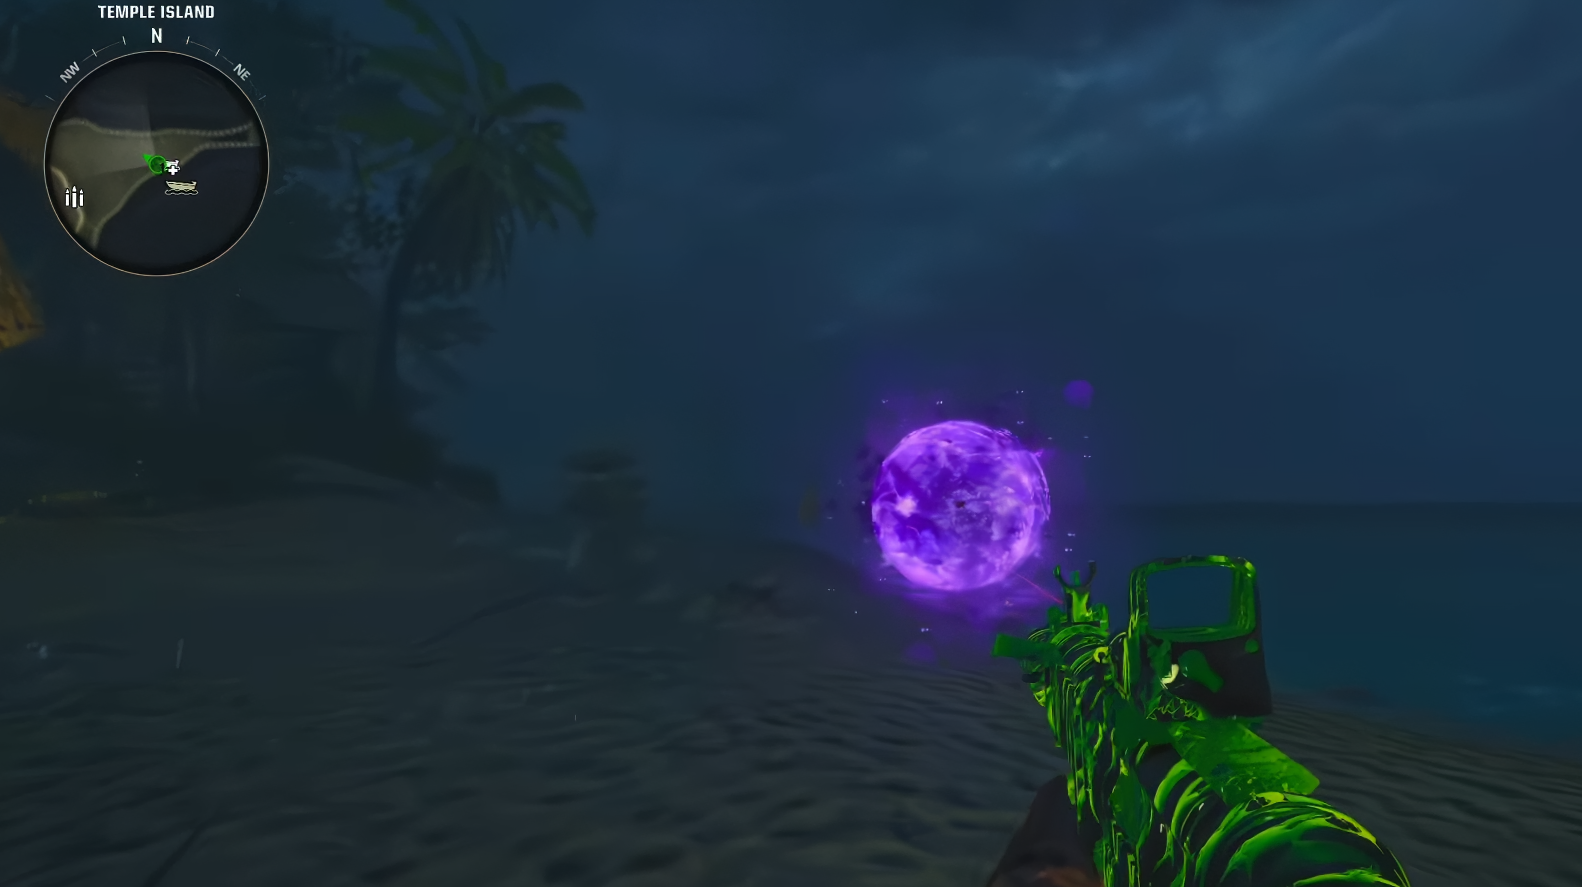
The next orb will be a different colour. Repeat the same process on this orb as the last orb, remembering to pick up the Multiphasic Resonator before moving on.
Charge the final orb.
When the final orb is charged the AMP Mutation, will drop
.
You will now have 3 items needed to craft the wonder weapon.
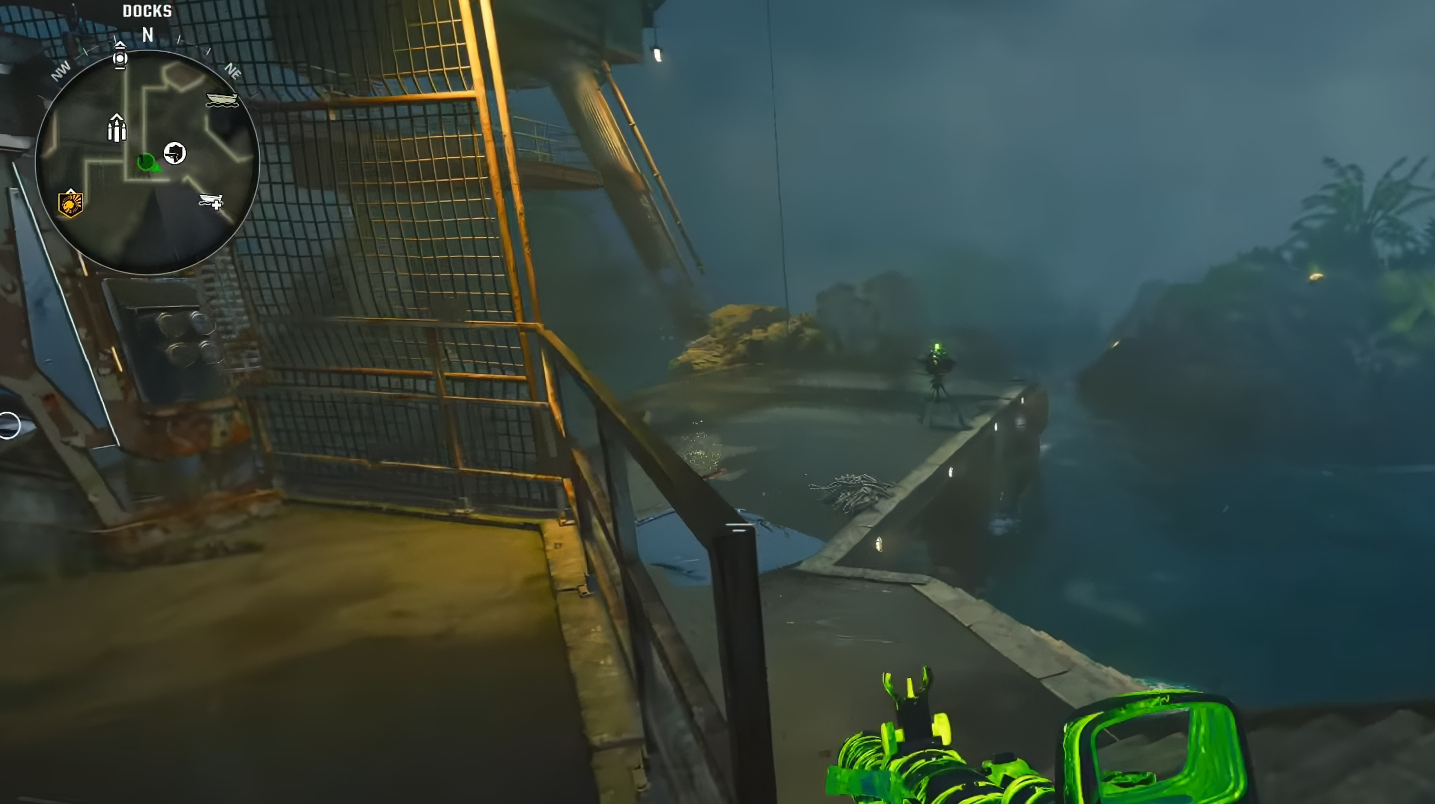
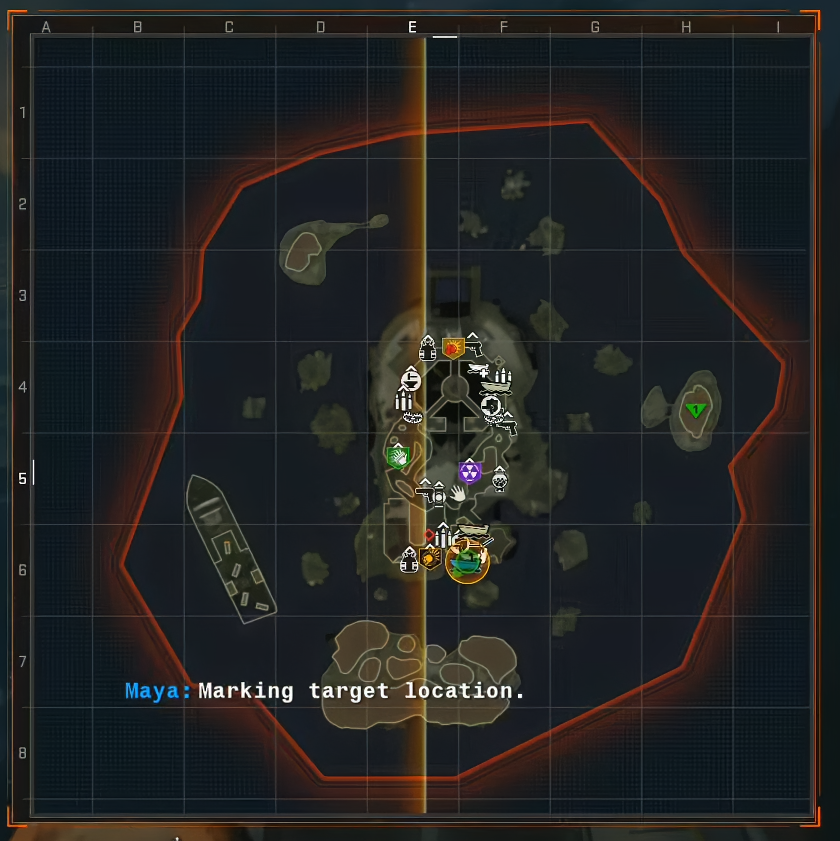
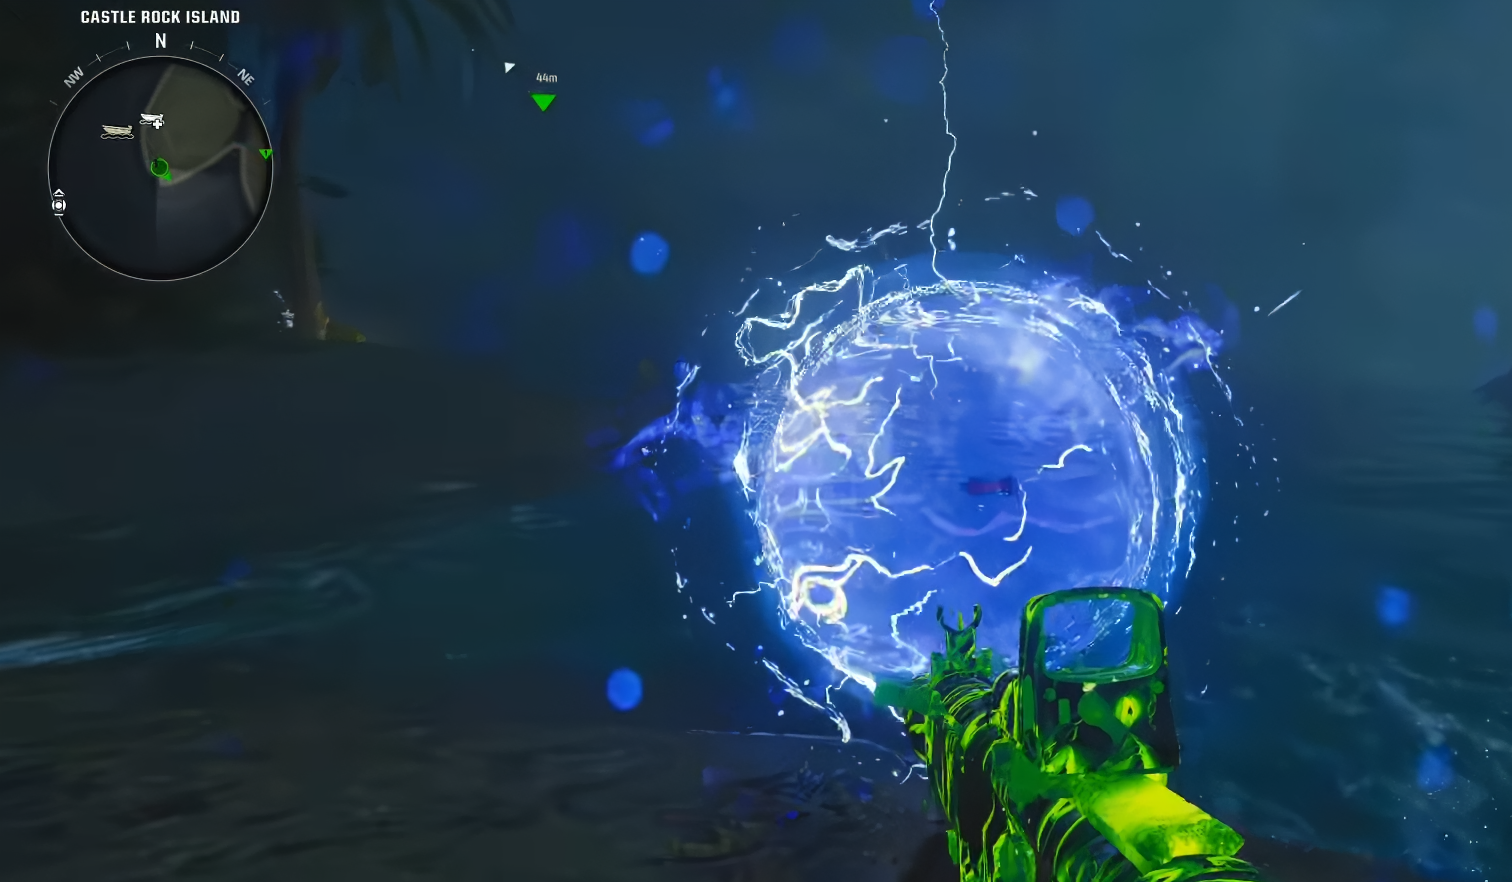

Step 8 - Craft the DRI-11 Beamsmasher
Head back to the main island, back to the Research office.
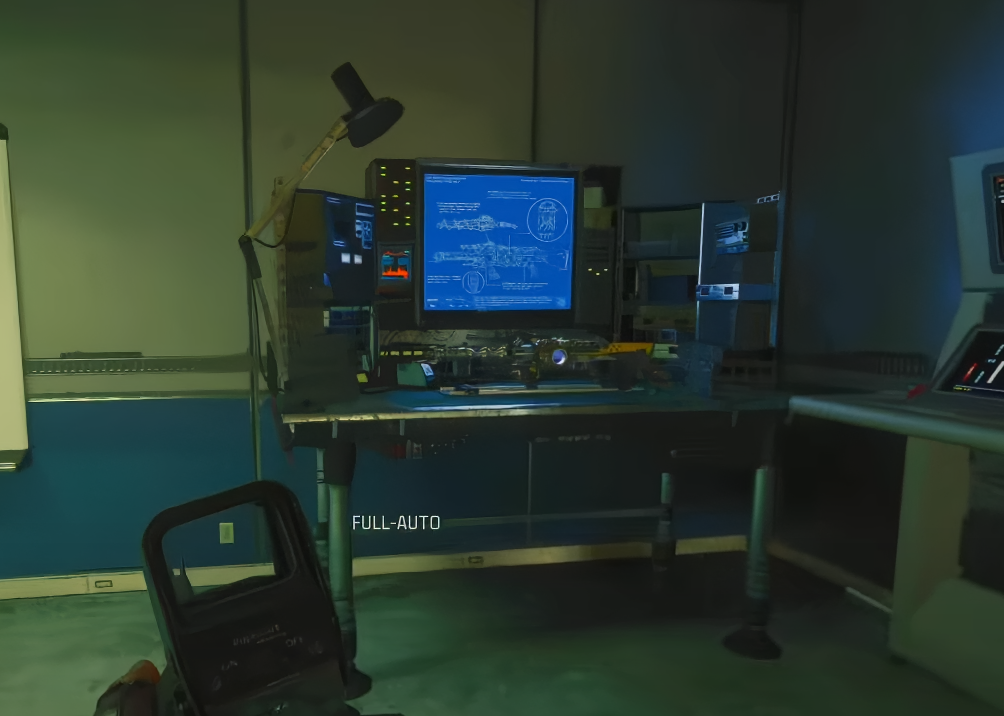
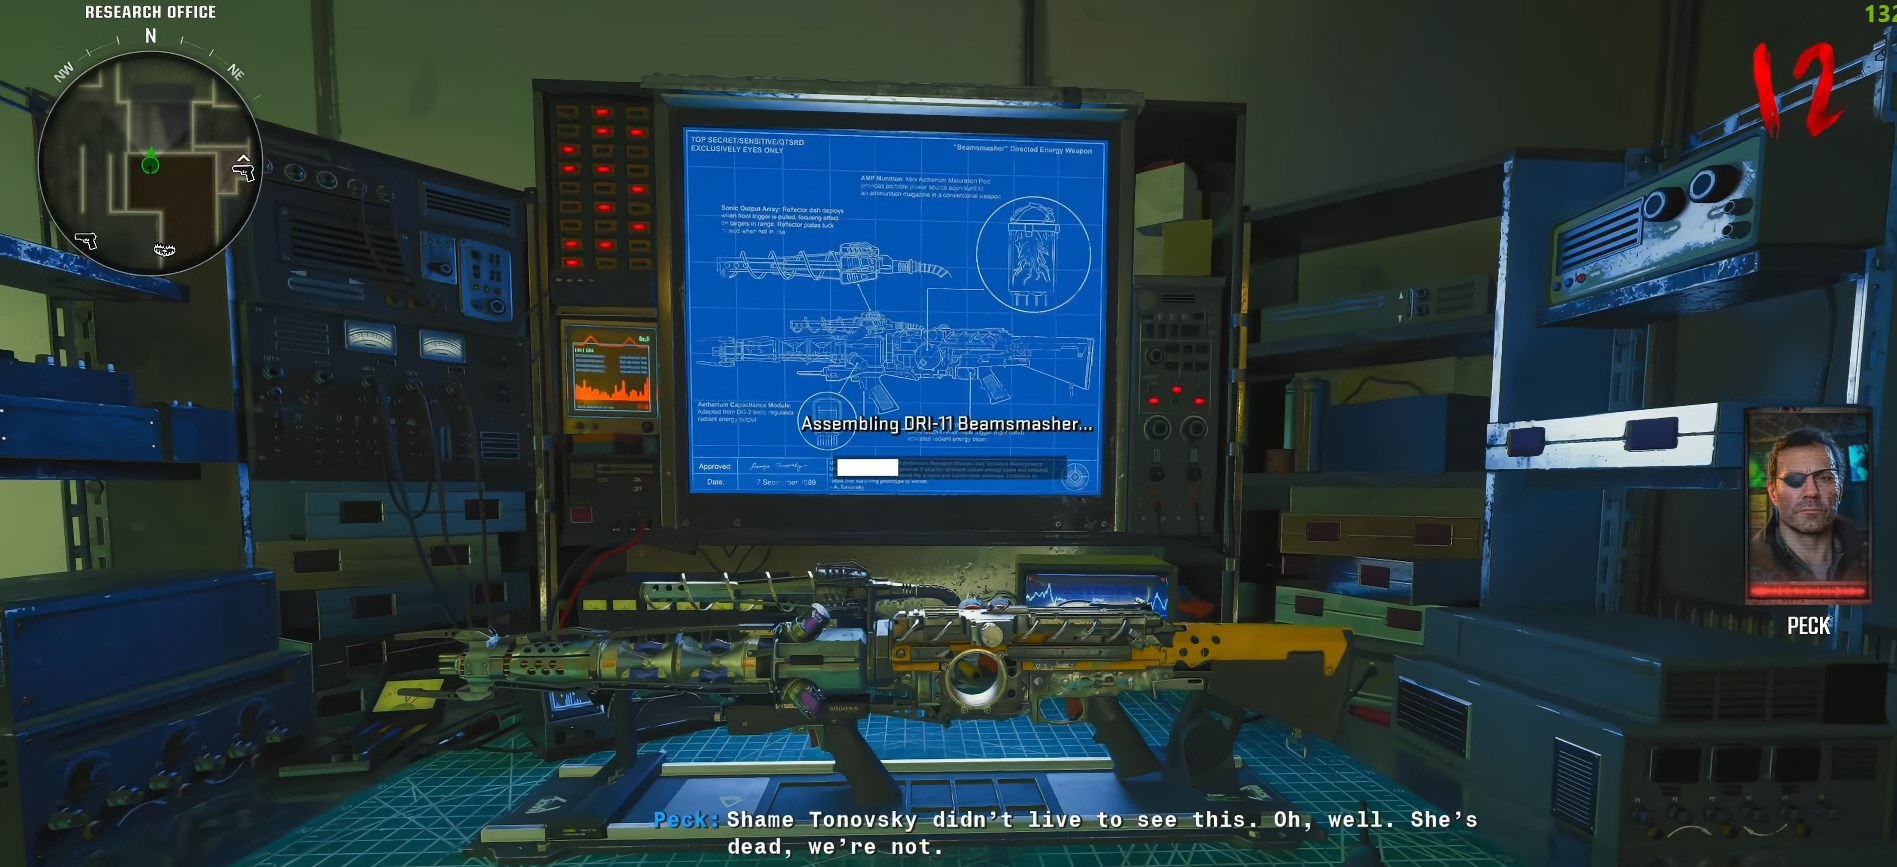
In the back right corner of the room is the Crafting table
Interact with it to start the DRI-11 Beamsmasher.
Pick it up.
Part 2 - Free Nathan
The second part of this Easter egg is to free Nathan from the Bio Lab
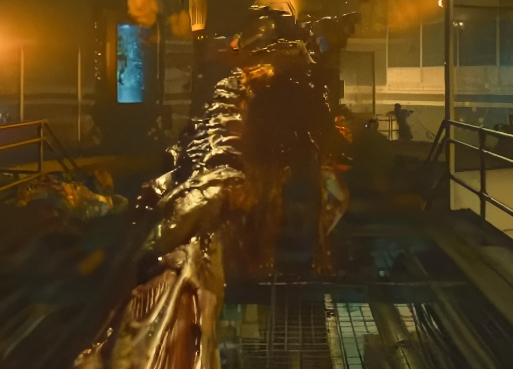
This will Trigger a boss mini Boss fight with an Amalgam.
Step 1 - Obtaining the Hard drive
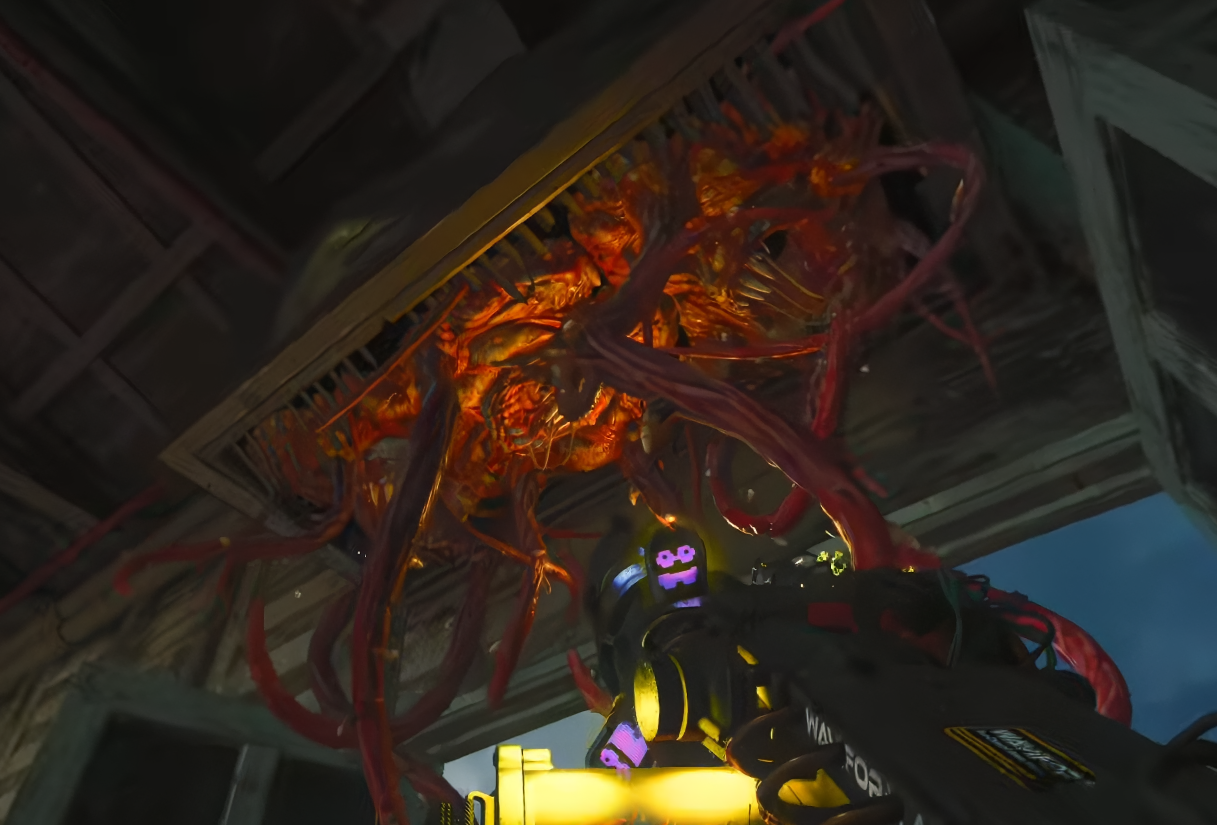
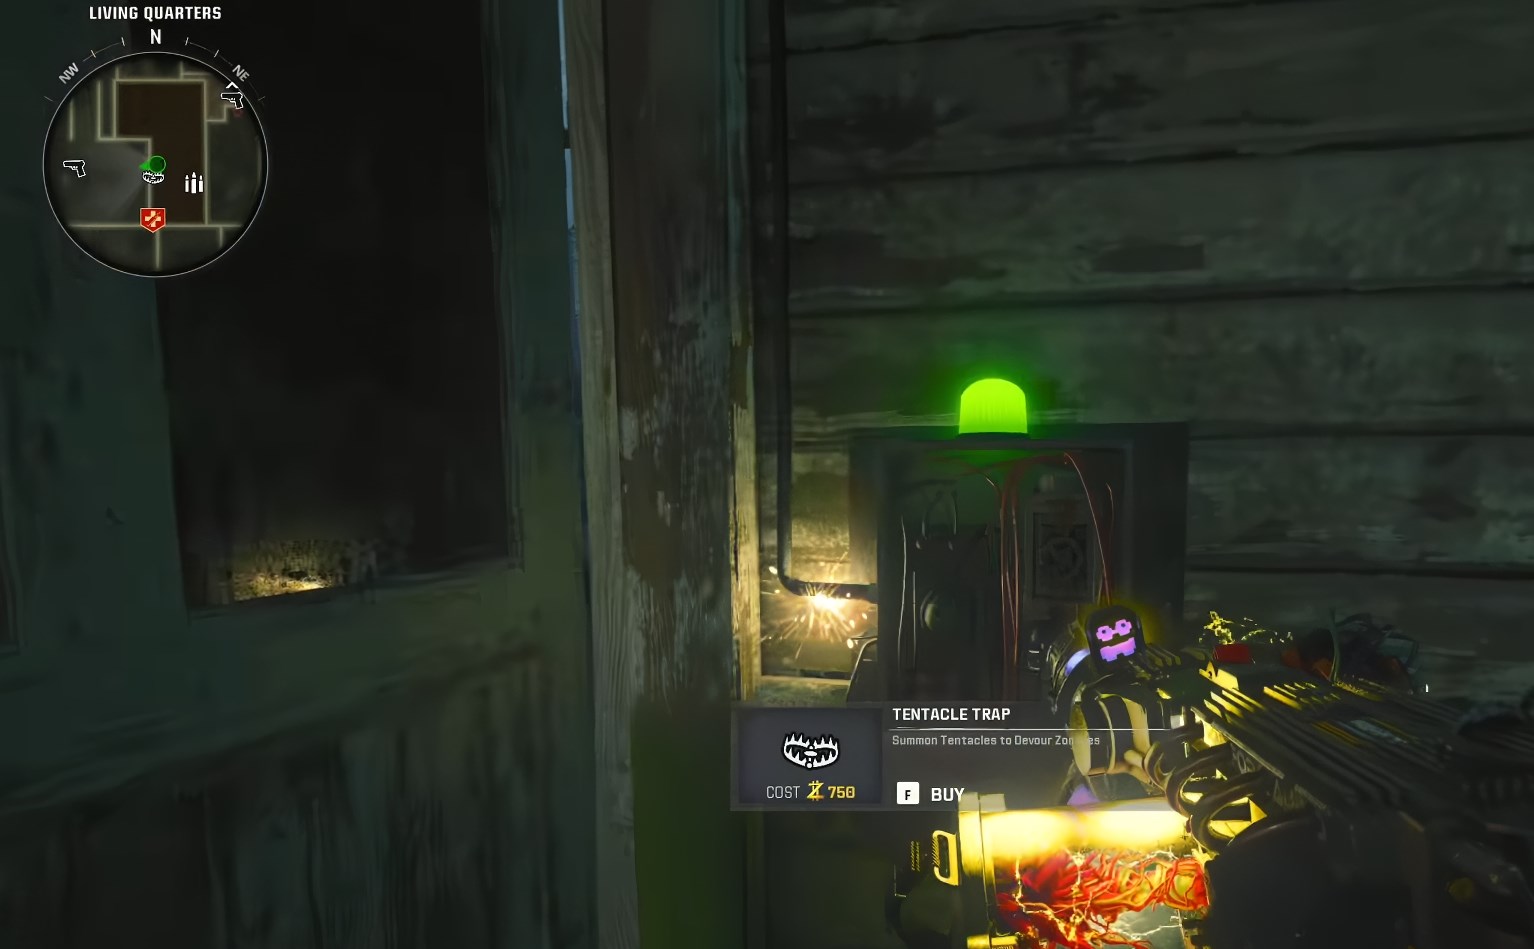
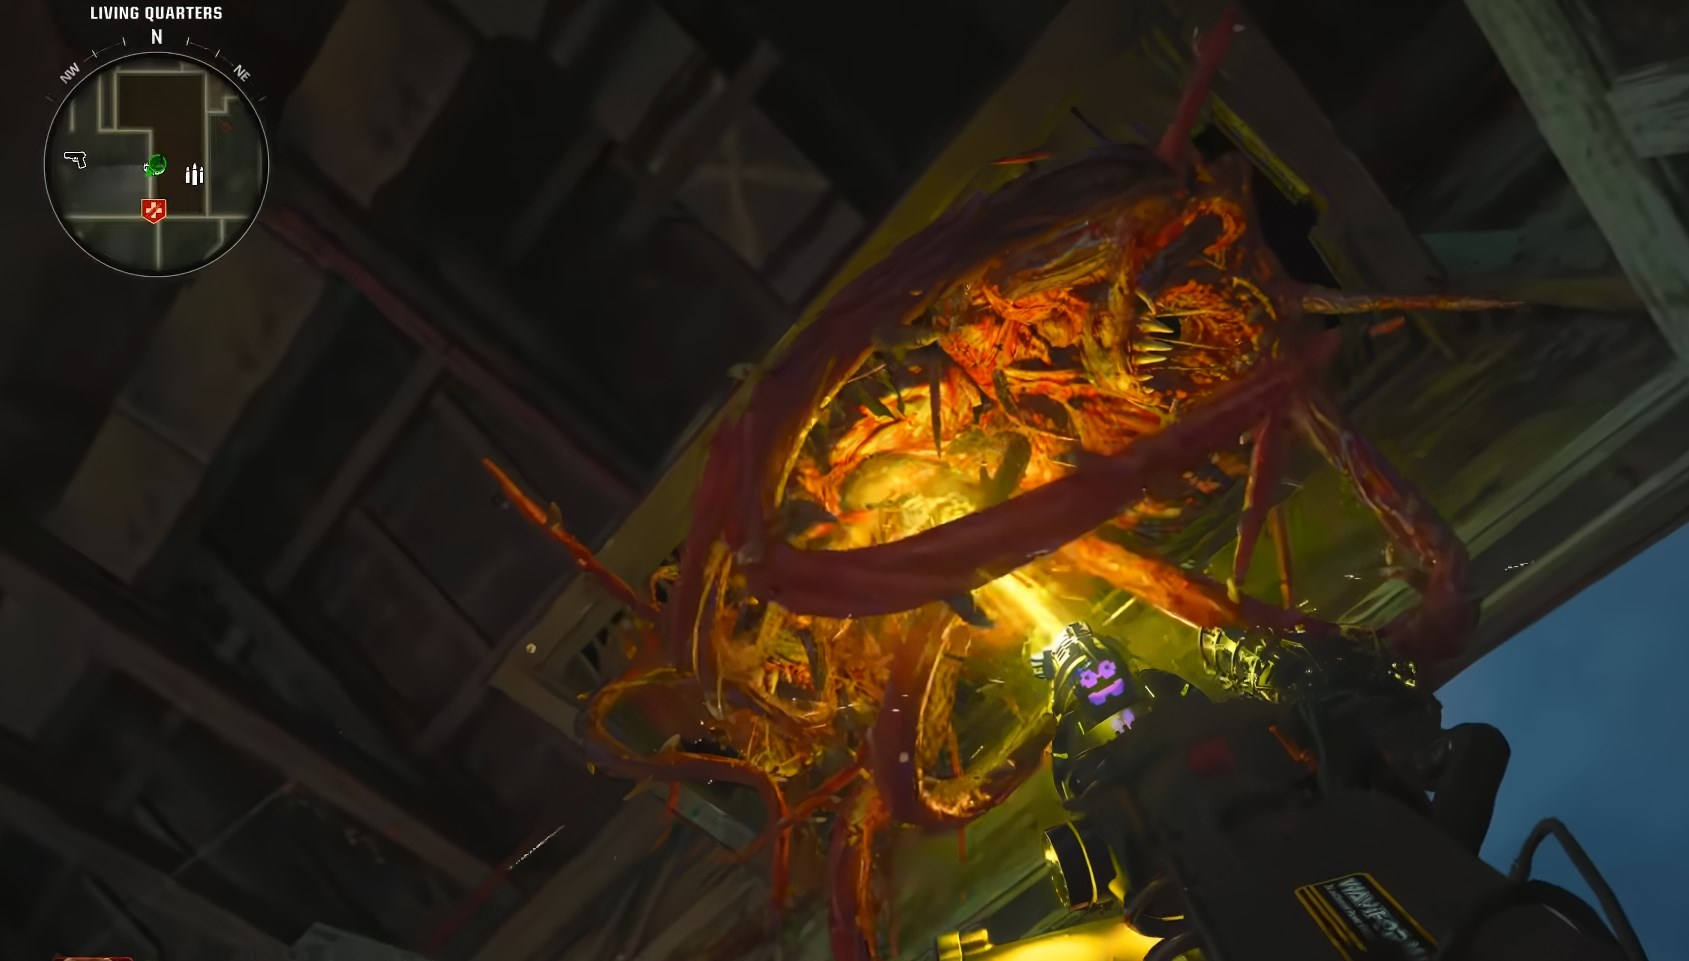
The Hard drive is hidden inside one of three tentacle traps scattered throughout the map.
To get it out, activate a Tentacle Trap.
Then Zap it with the DRI-11 Beamsmasher for a few second.
If you have the right one it will drop out of the trap.
[/previewimg]
Interact with it to pick it up, and take it back to Dr. PeckInteract with it to pick it up, and take it back to Dr. Peck
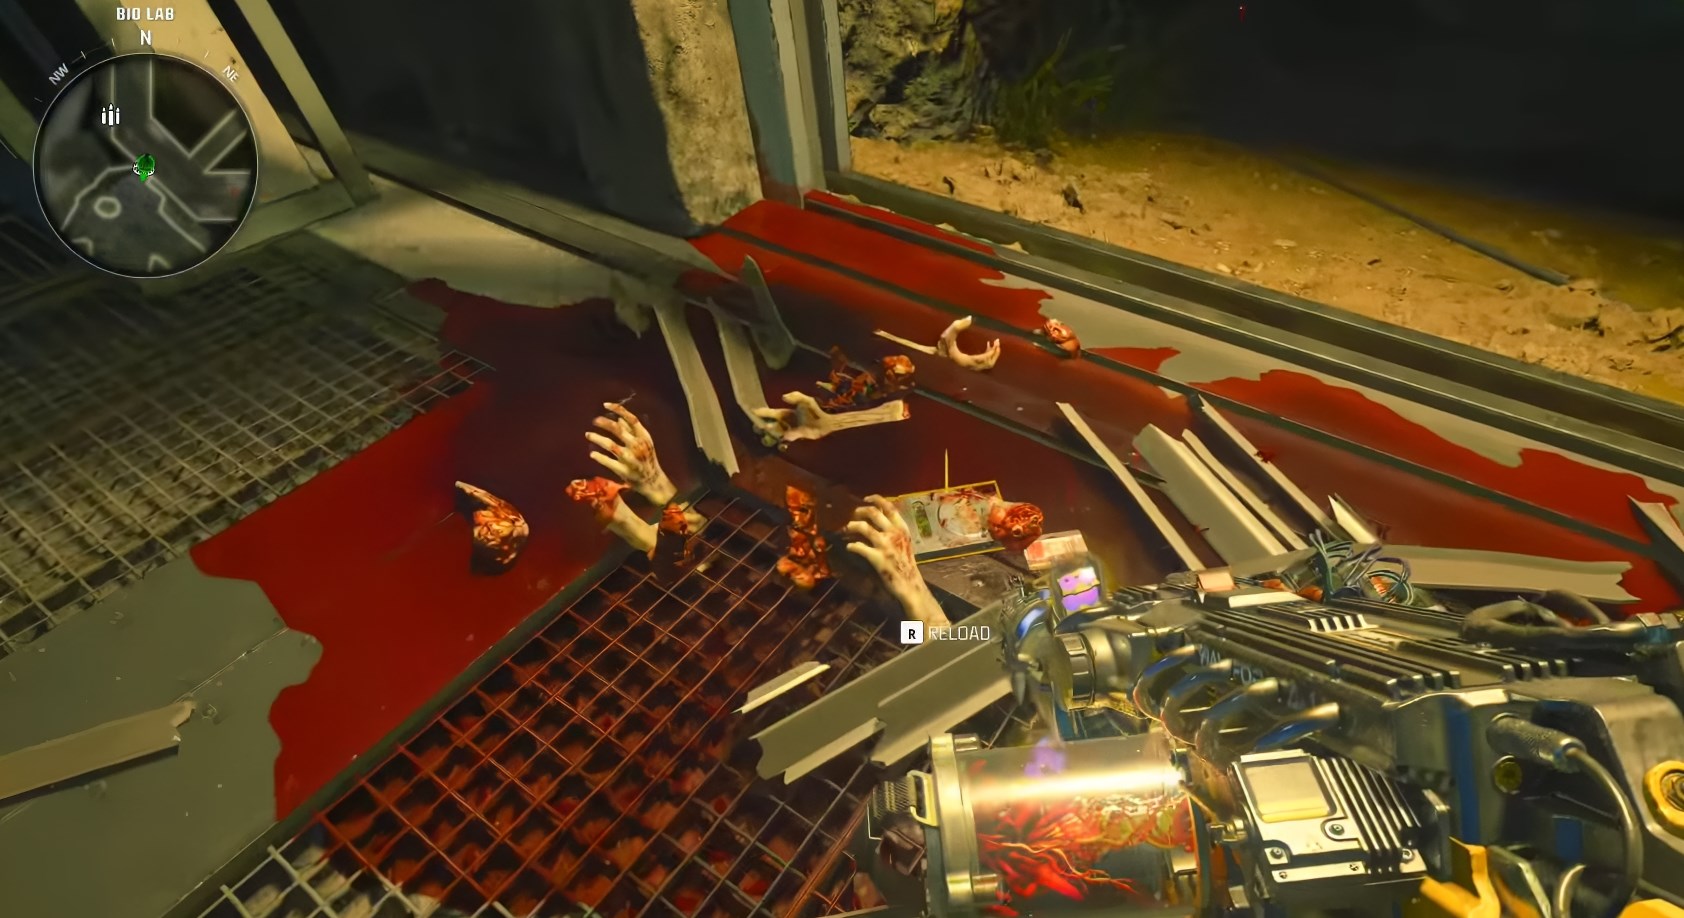
Step 2 - Drop off the Hard Drive
Insert the Hard drive in the slot under the window
This will trigger a dialog.
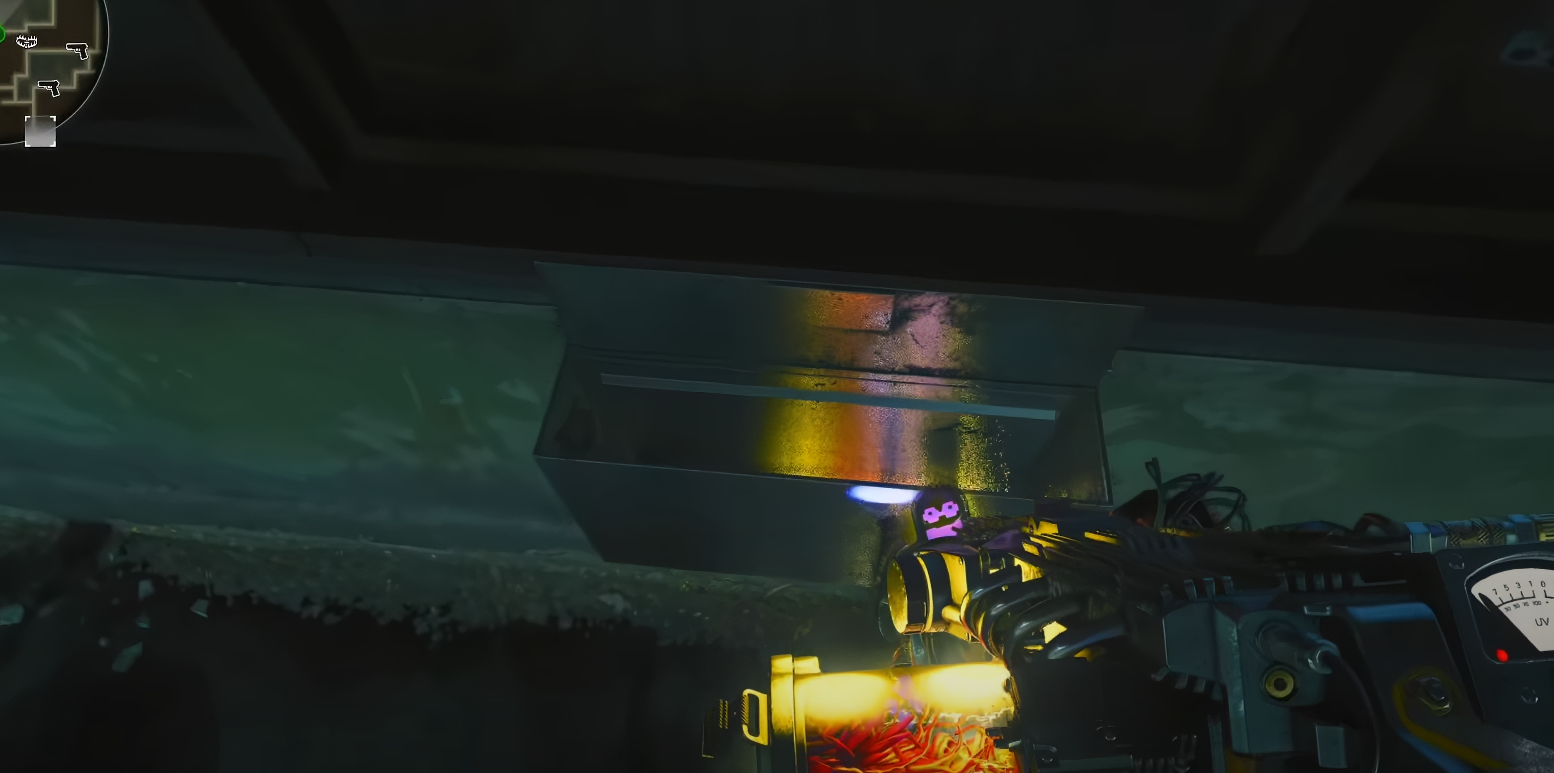
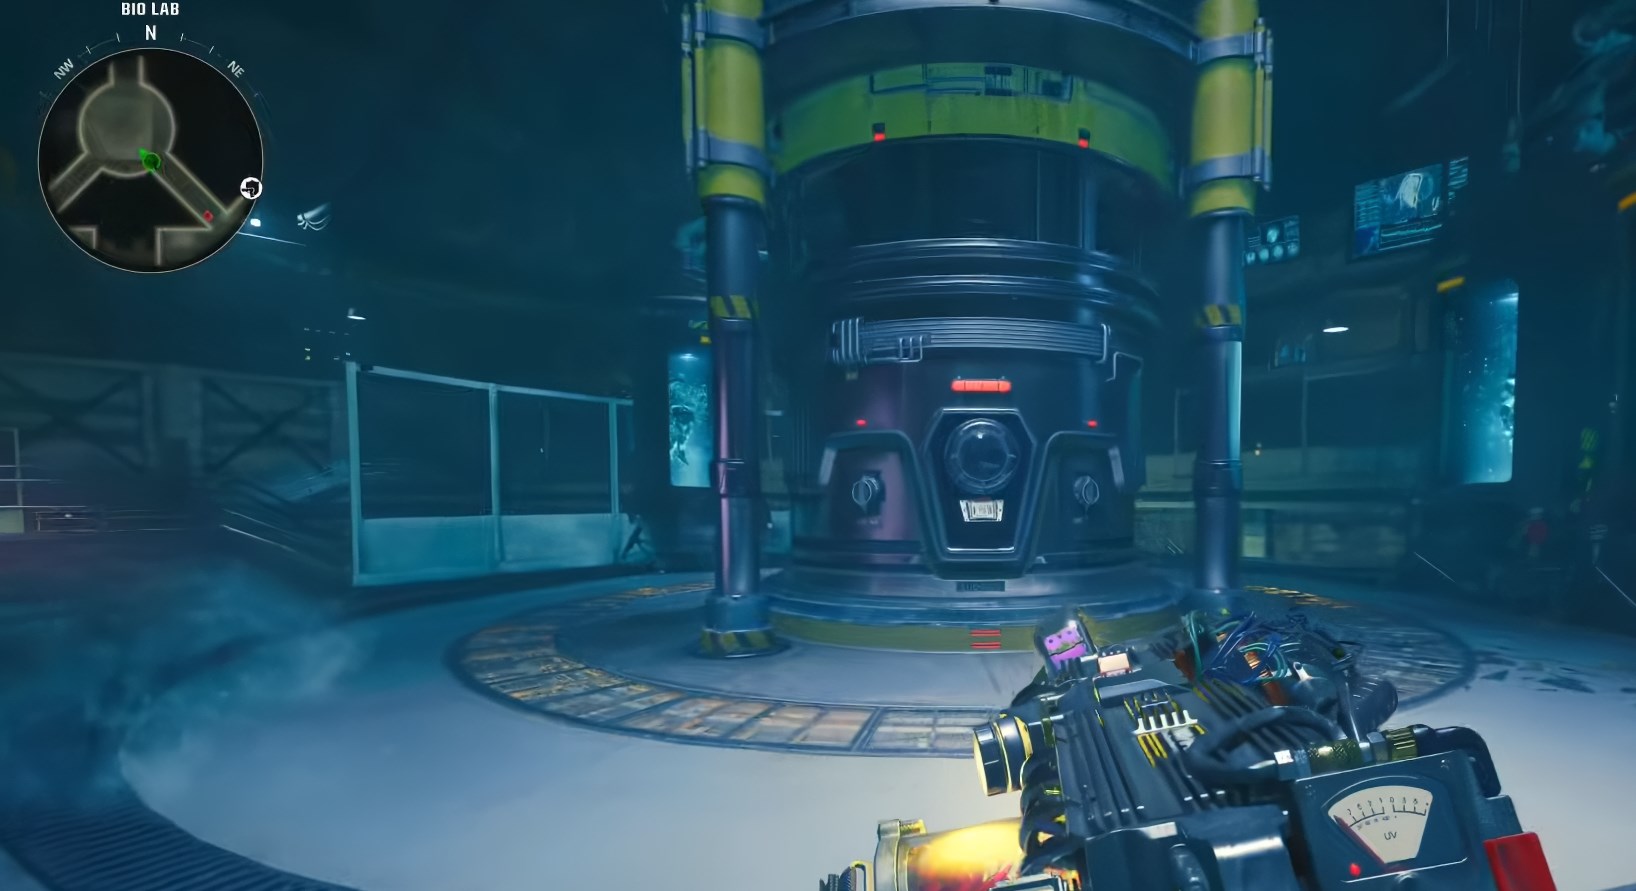
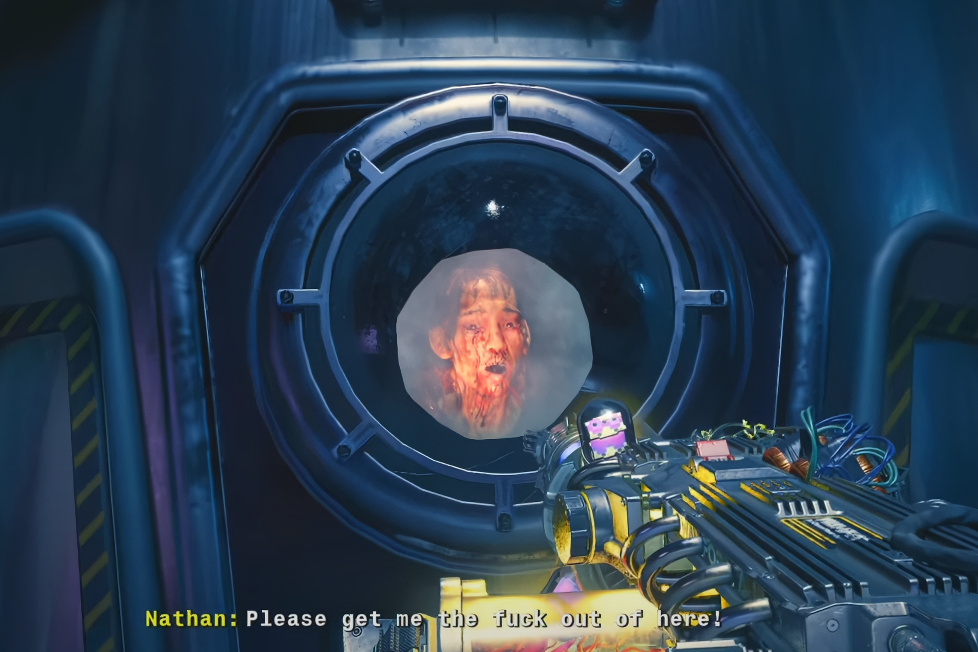
Next Head down to the Bio Lab
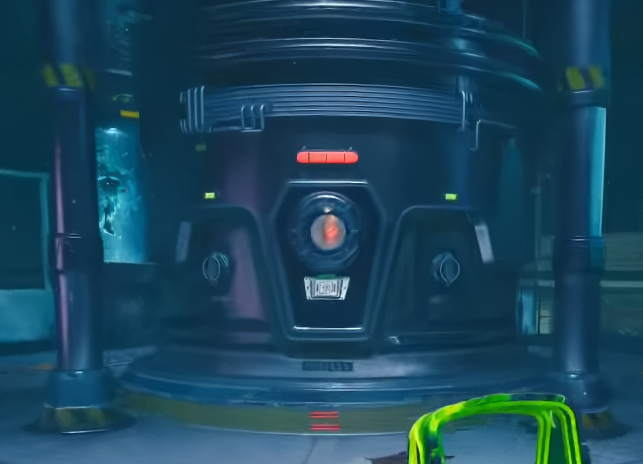
On the Object in the centre intact with it
This will trigger some dialog with Nathan
Step 3 - Keypad Code
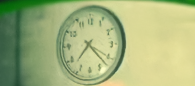
The first number of the code is in the Interrogation Rooms with Quick Revive, through a zombie window on a clock.
The hour the clock says of the time is the first digit.
In this case it is 7:23
So the First digit is 7.
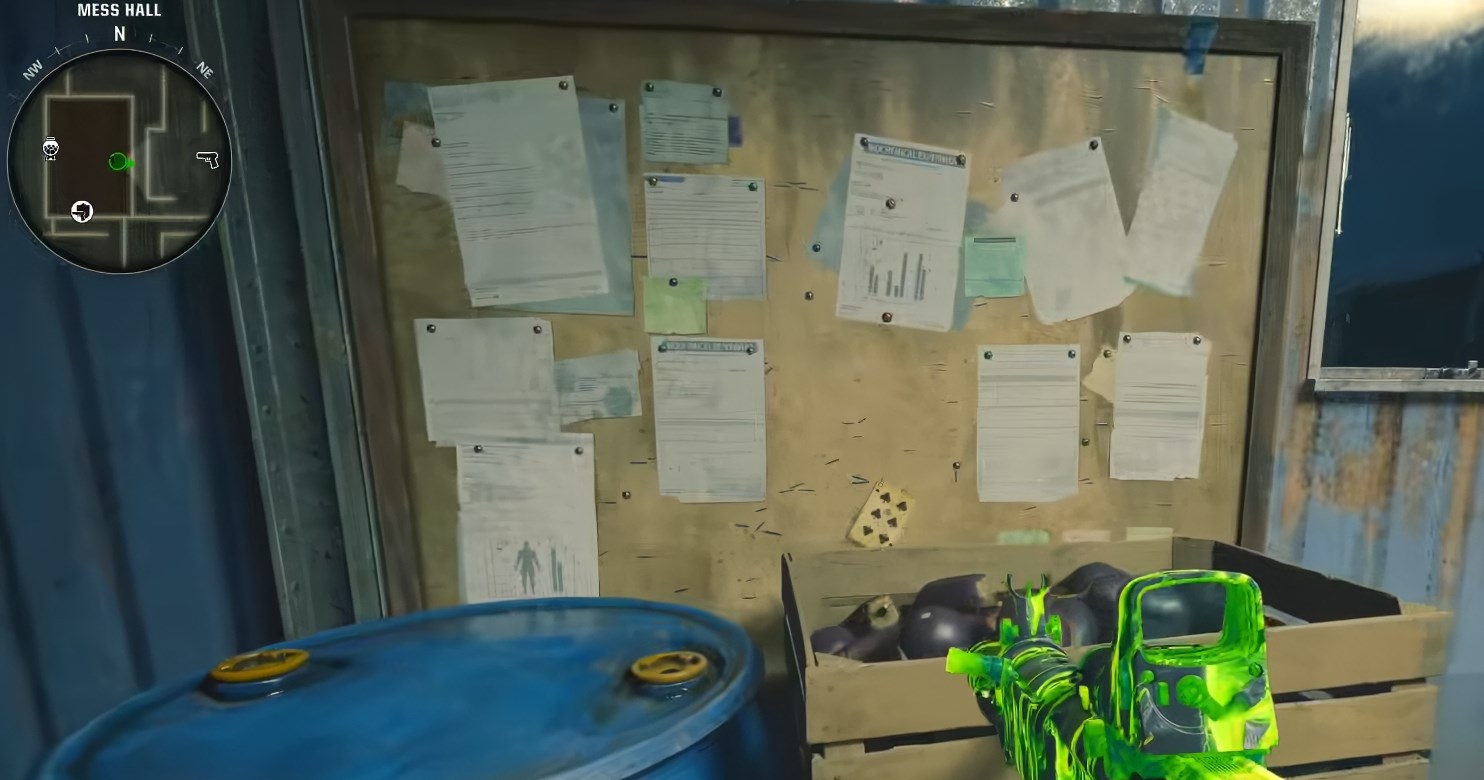
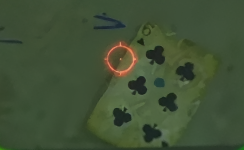
The second number of the code is in the Mess Hall, on a pin board there with a playing card.
The number on the playing card is the second digit.
In this case it is 6.
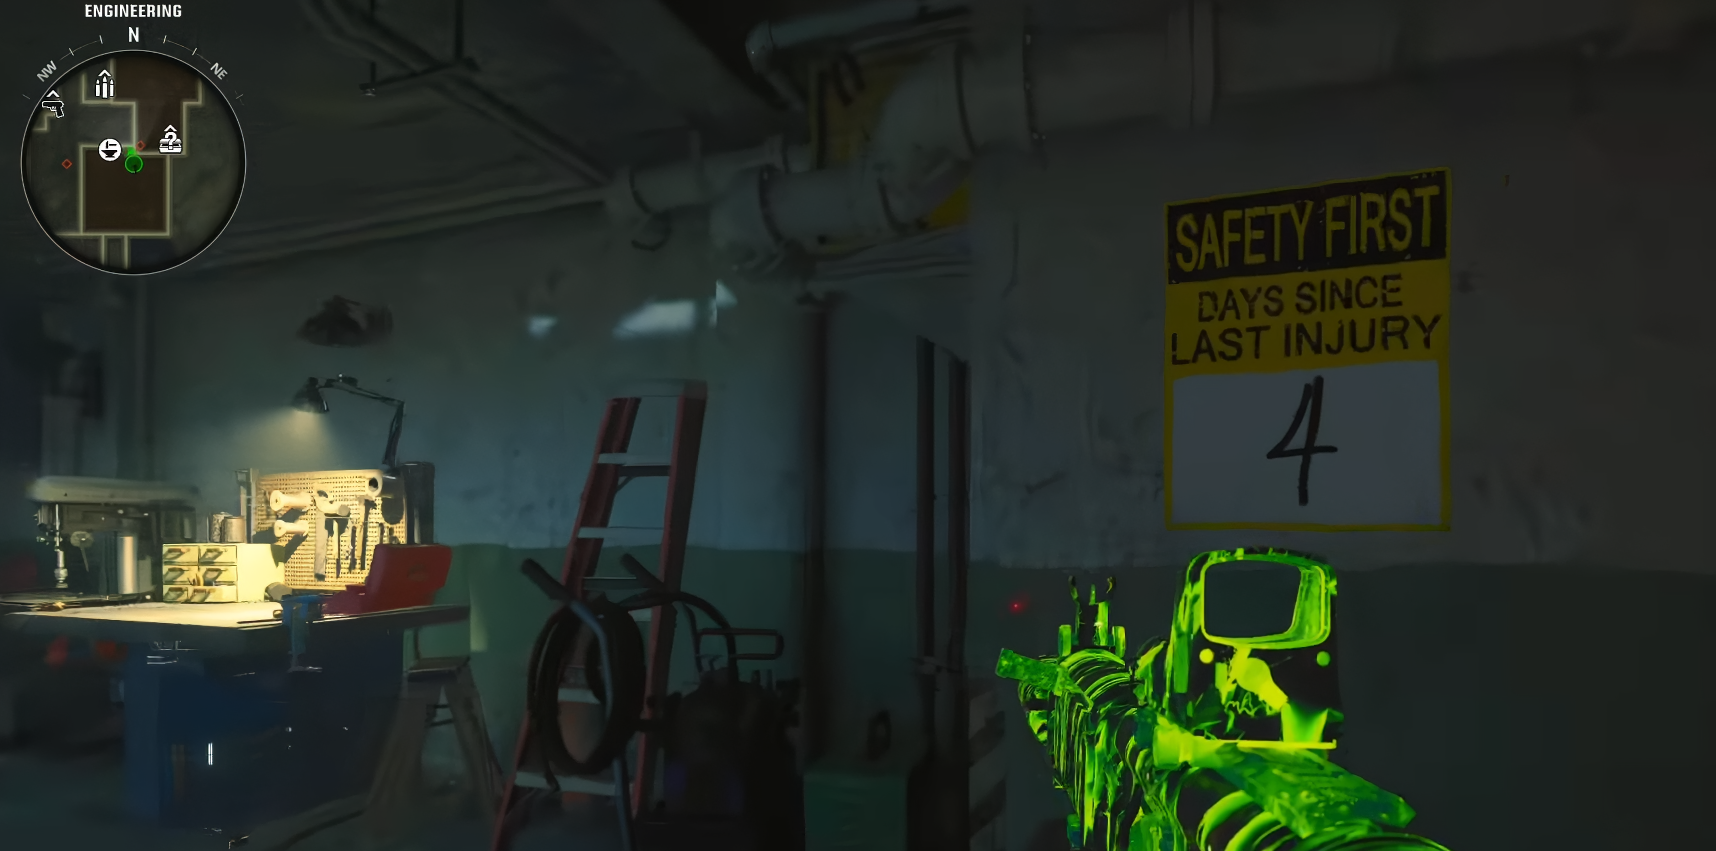
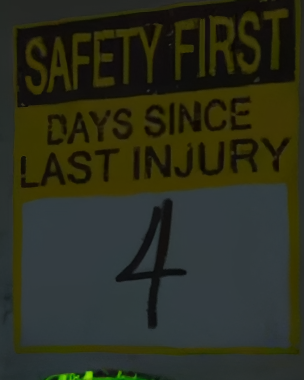
The third number of the code is in Engineering, On the wall next to the crafting bench.
The number on the Safety First sign is the third digit.
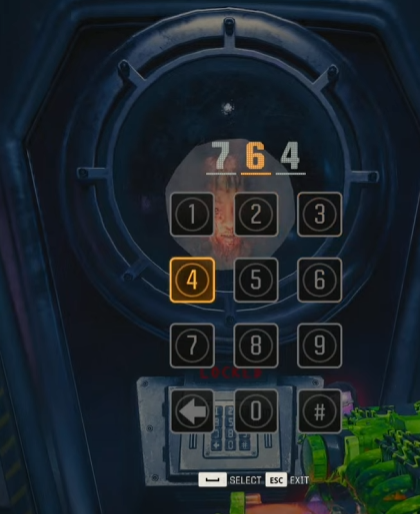
Head back to Nathan in the Bio Lab, Interact with the keypad and input the code we obtained,
In this case 764
Step 4 - Open Valves
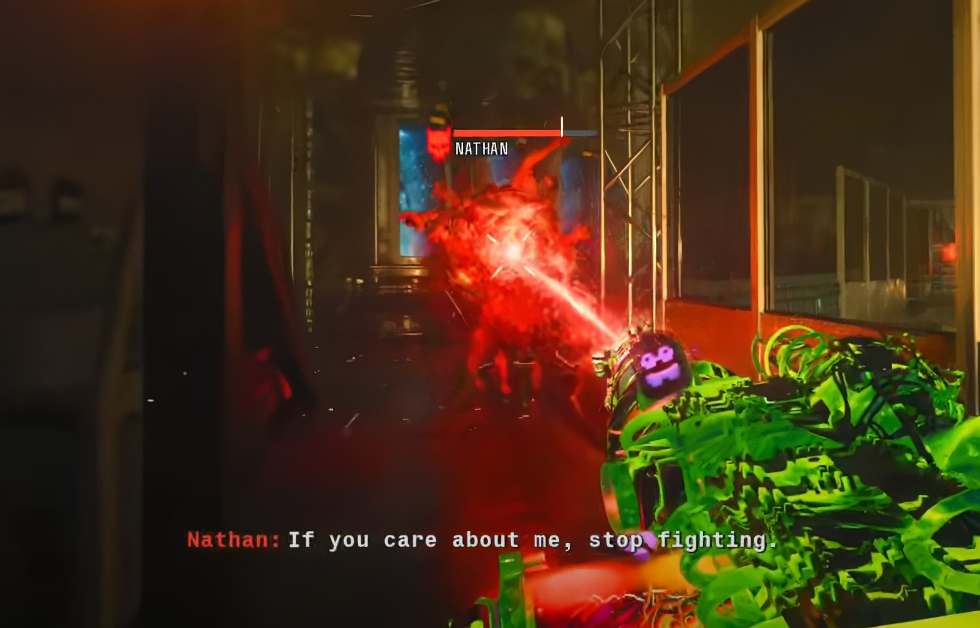
After this a mini boss fight with an Amalgam and a mini cut scene. It is recommended to have Pack-A-Punch tier 2 for this fight
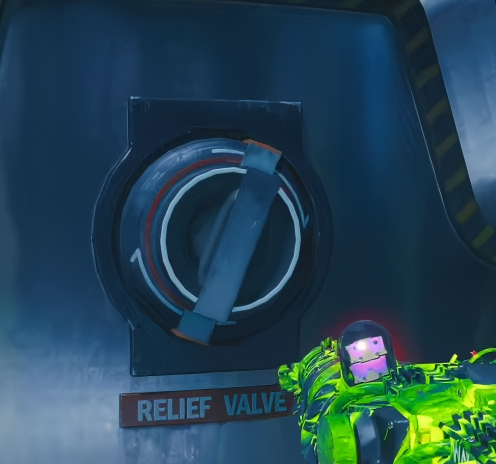
Players need to interact with the valves around Nathan
Step 5 - Amalgam Boss Fight
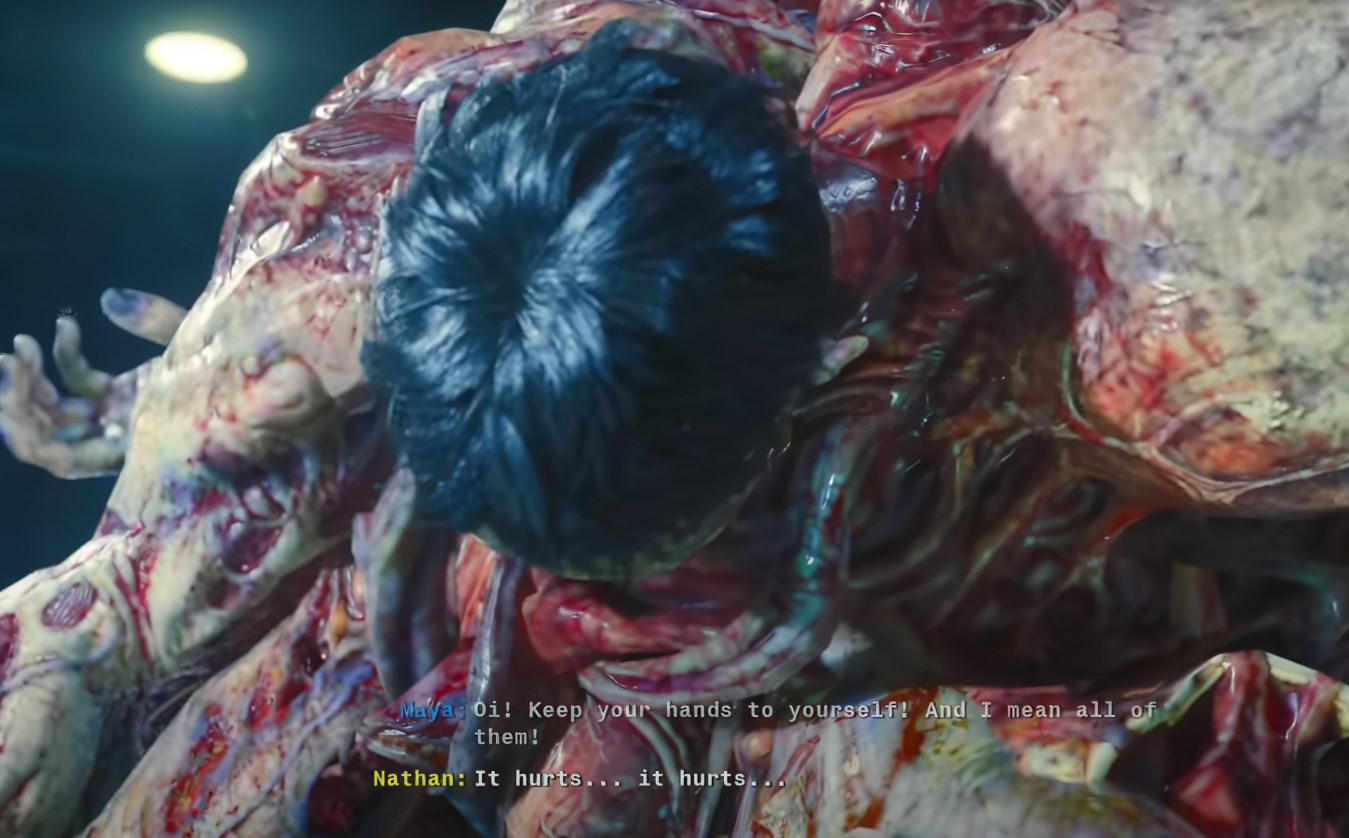
Once the valves have been opened, there will be a mini cut scene.
After the mini cut scene this the boss fight.
After the fight will be a cutscene.
Part 3 - Stop Dr. Modi
The third part of this Easter egg is to stop Modi from destroying the island.

Step 1 - Keycards
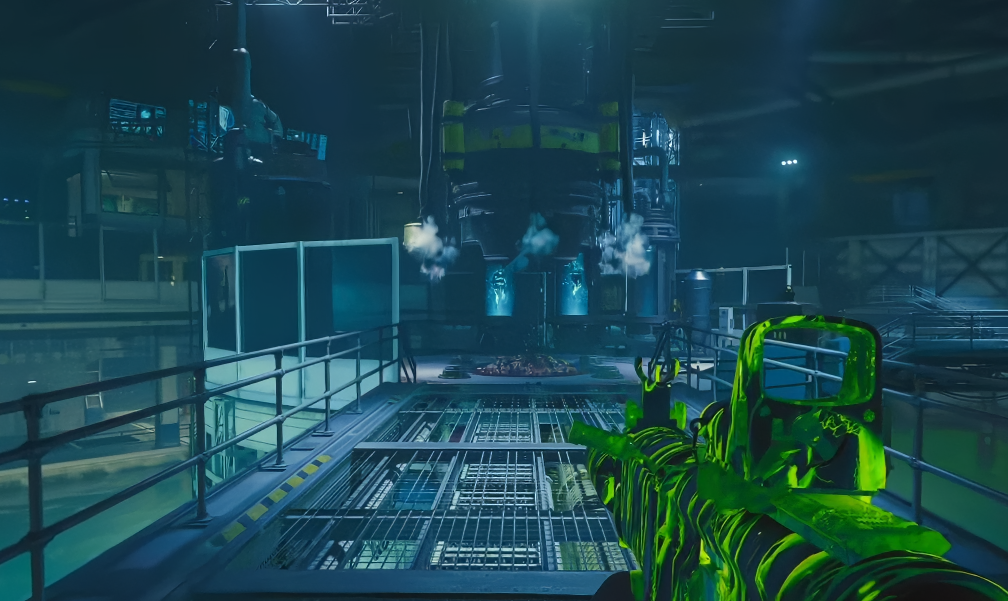
After the boss fight, in the Bio Lab.
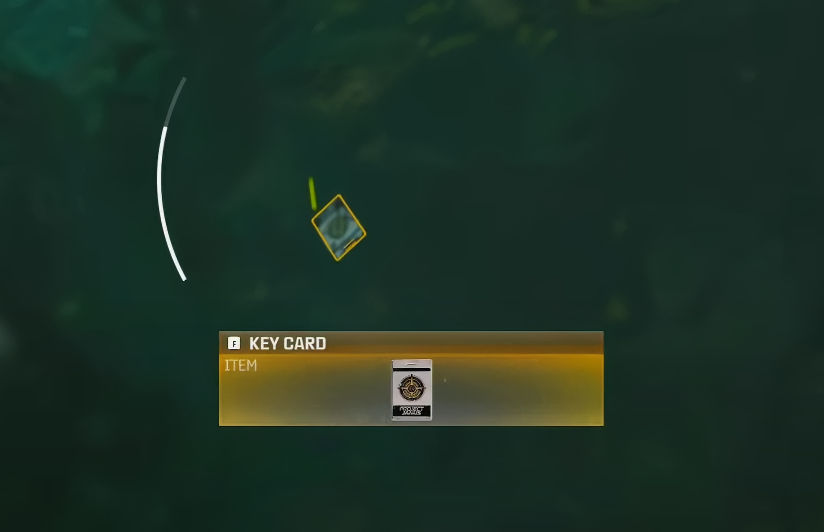
Under the bridges, dive into the water and pick up the Key cards
Step 2 - Repair Wires
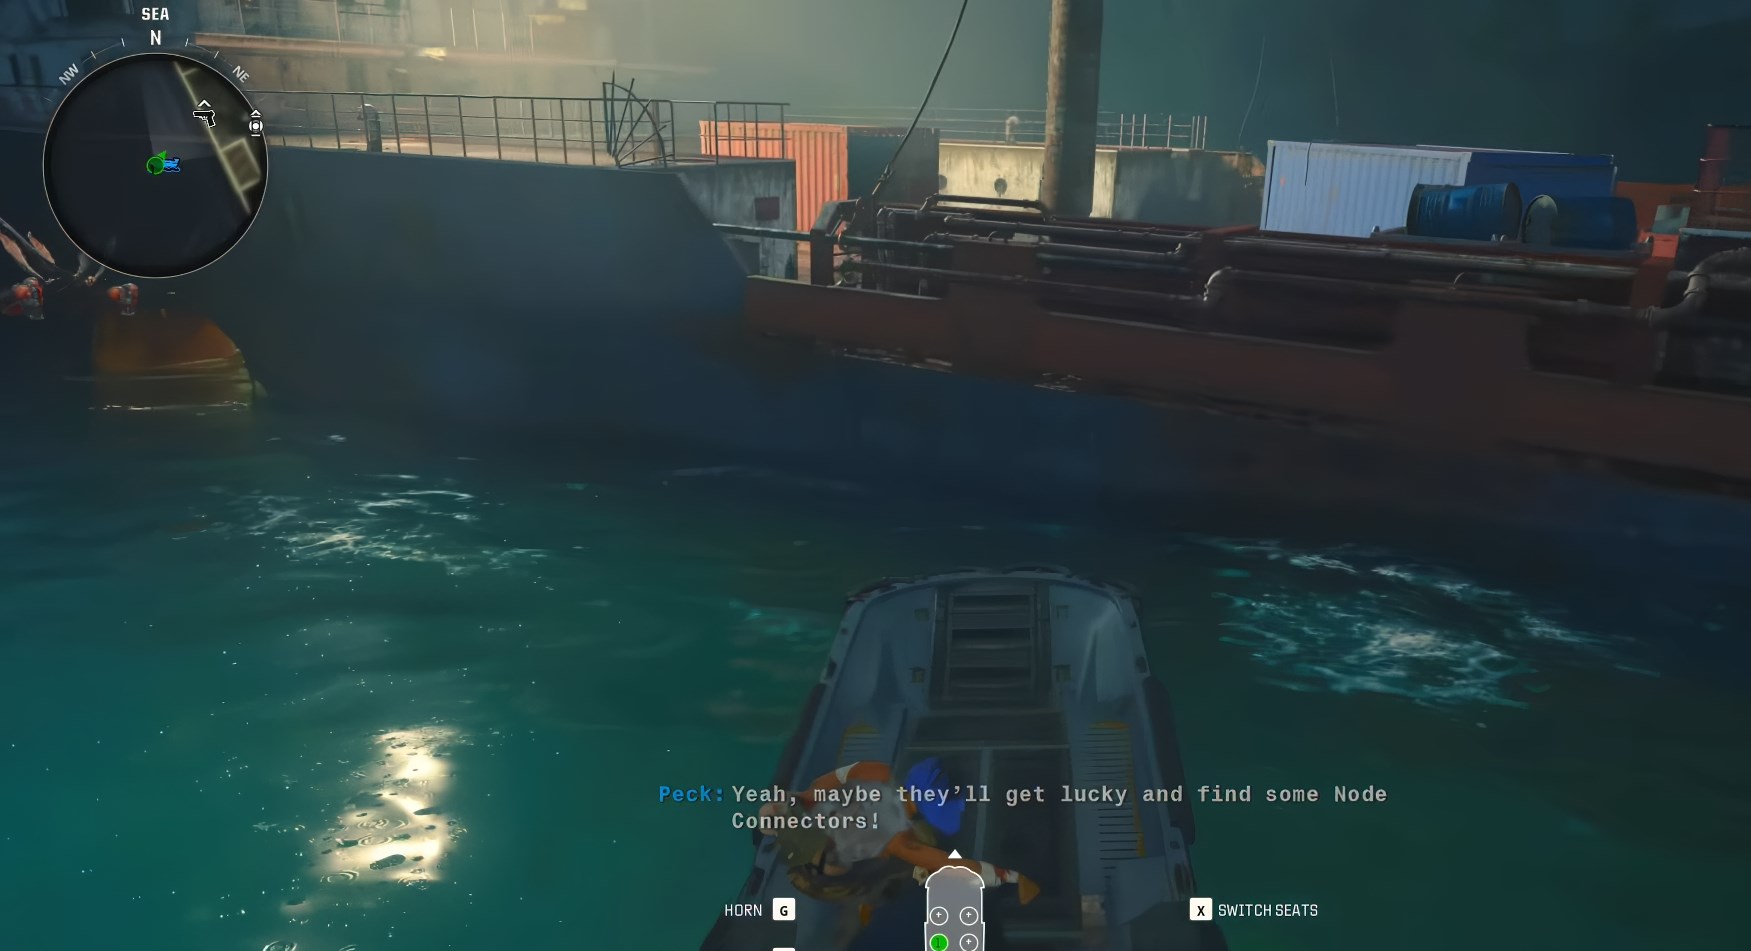
Head to the Docks, spawn a boat and head into the cargo ship.
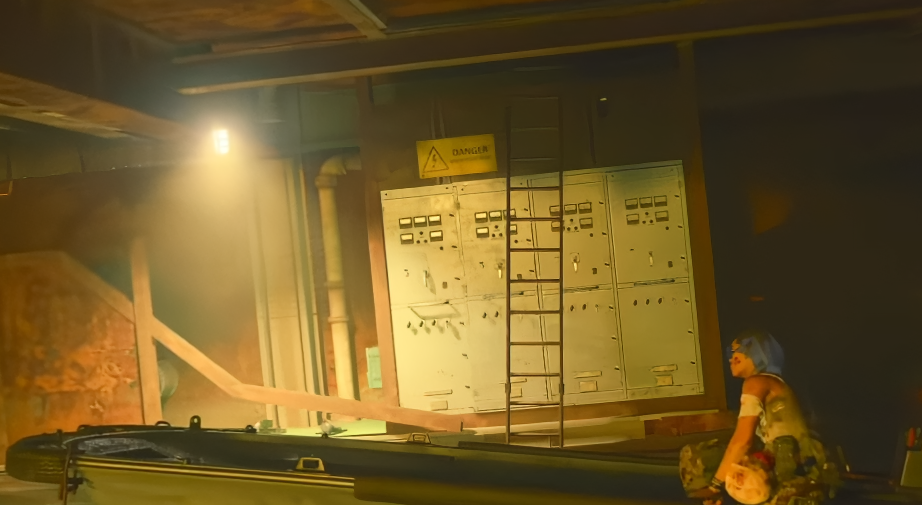
Inside the cargo ship to this electrical panel and ladder.
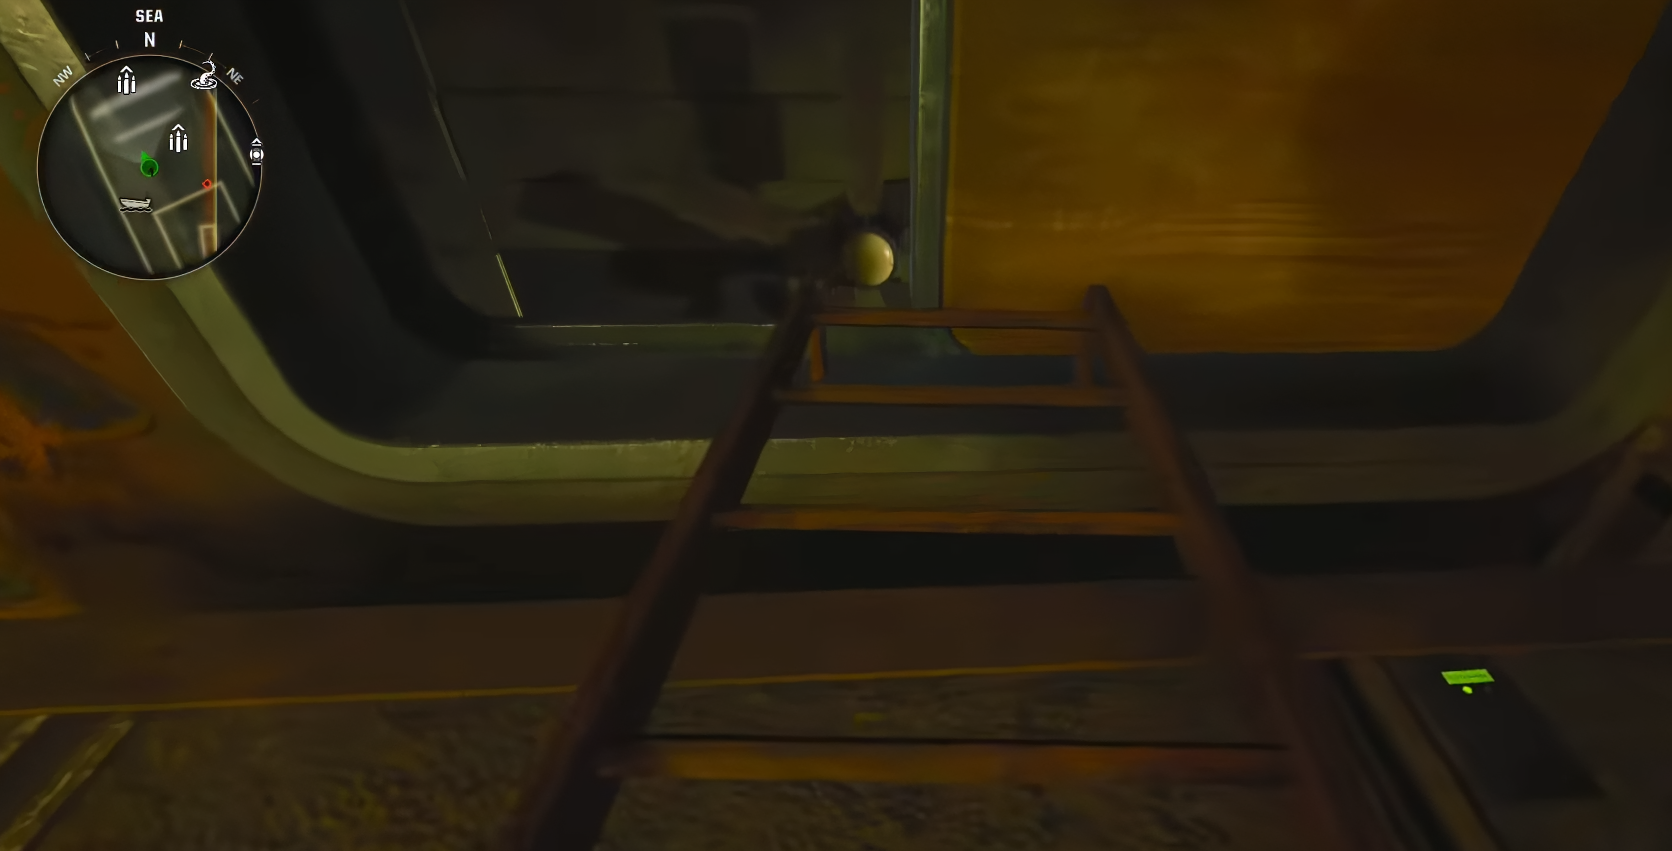
Climb the ladder into the room
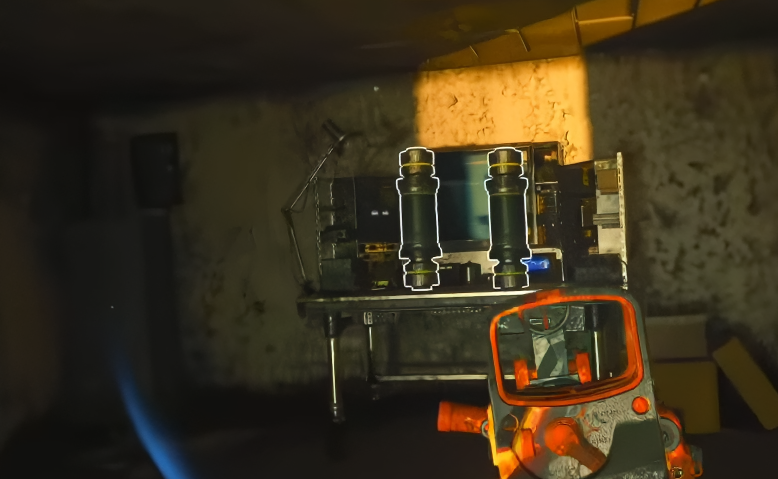
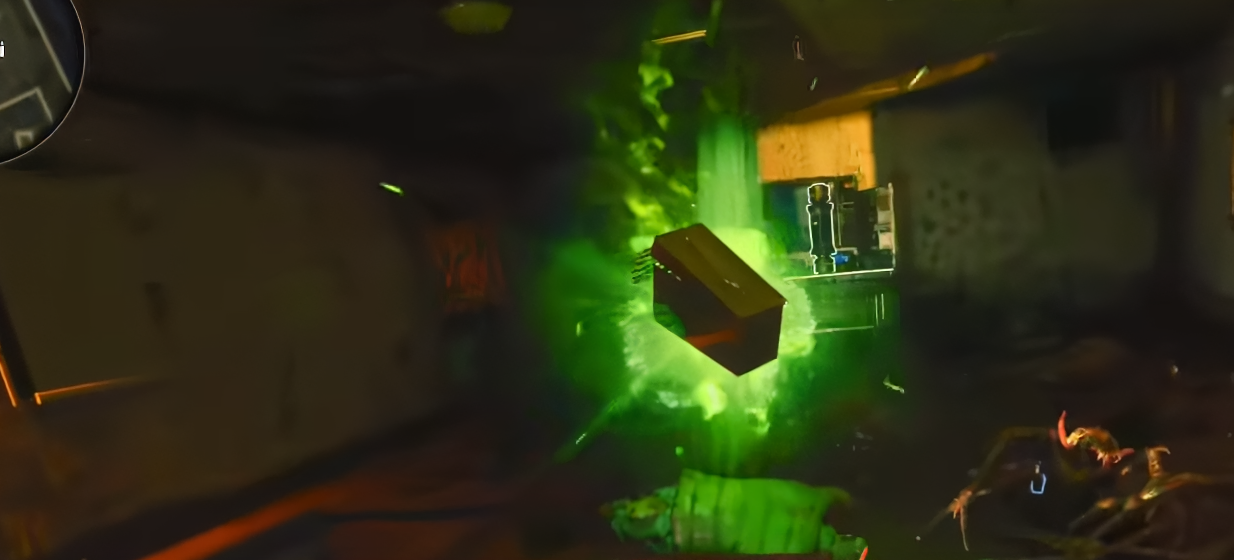
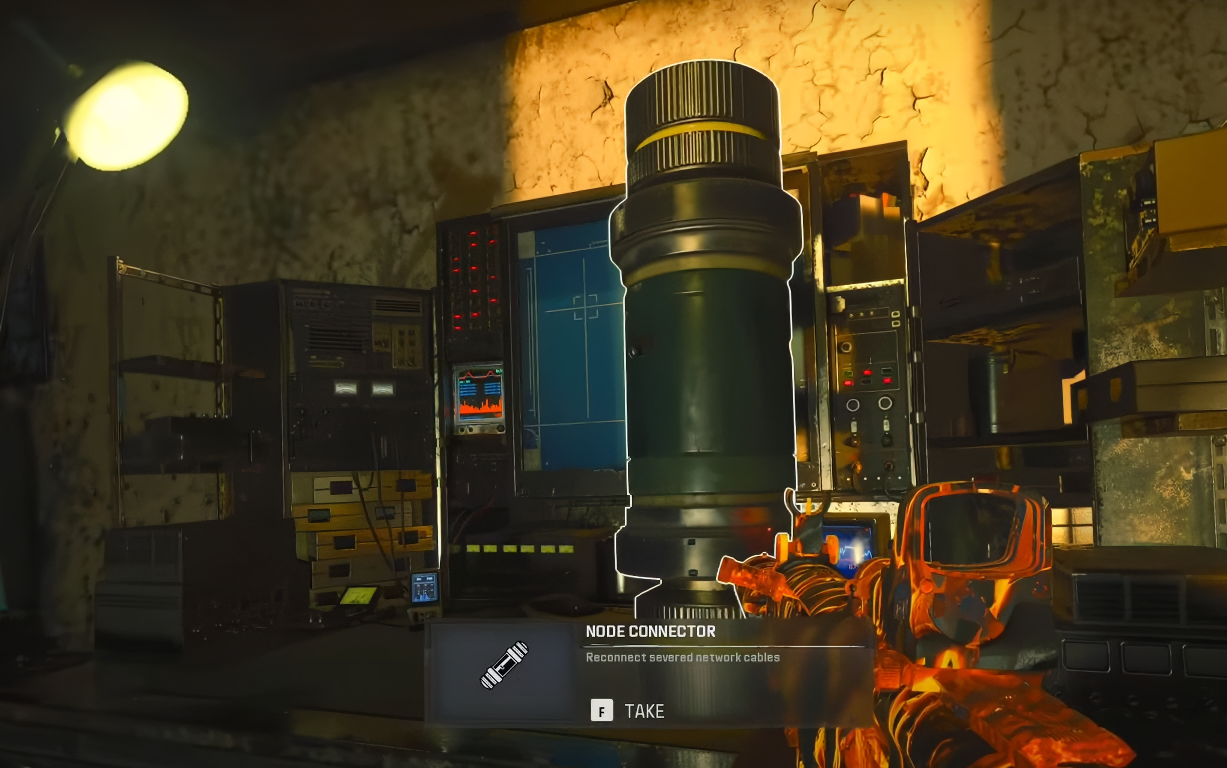
Here there is a bench with 2 Node Connectors.
When you pick one up, zombies will spawn in the room.
Survive the lock down and when finished a Max Ammo will spawn in.
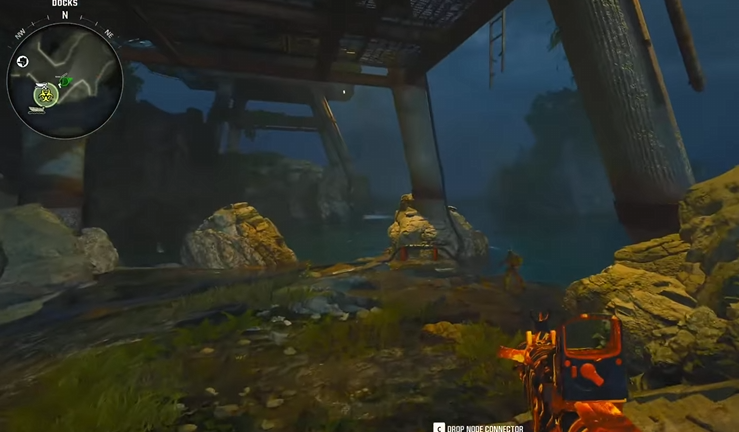
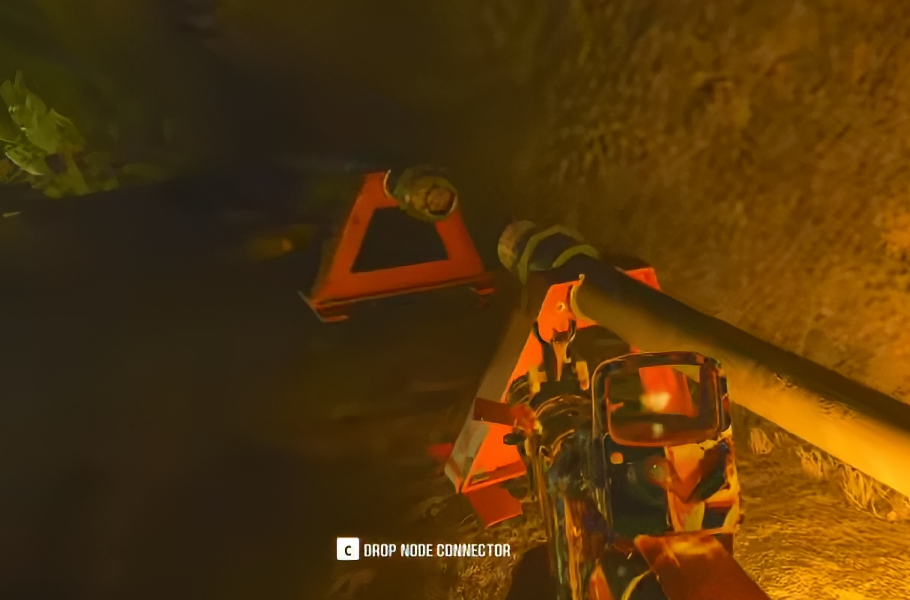
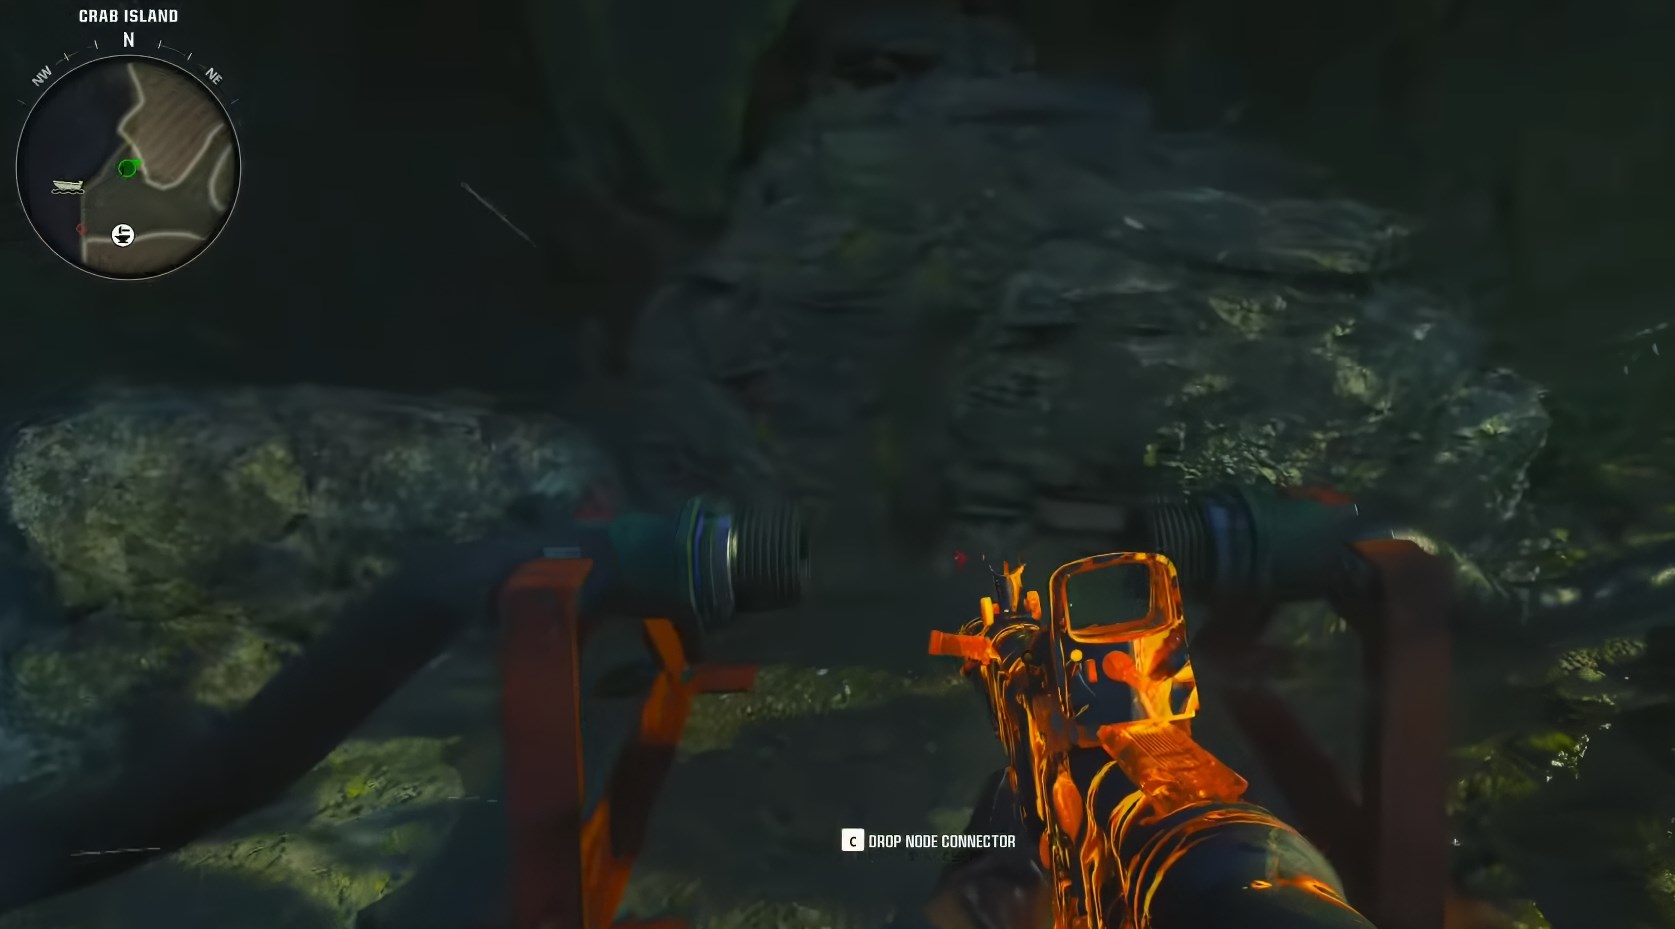
Next take the first Not Connector to one of the three locations.
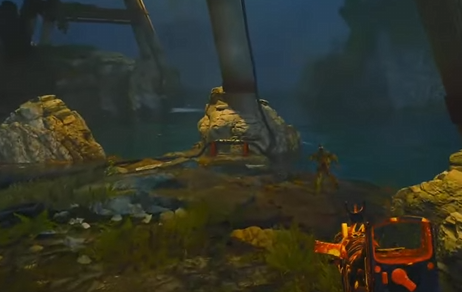
In Crab island Beach
Under the Sea Tower by the docks.
In the Sea Cave tunnels.
2 of the three will need the Nod Connector and 1 will already have one in place.
Interact with the wires to repair them.
Once the first wire is repaired, head back to the ship and pickup the second Node Connector and find the location of the second wire that needs to be repaired.
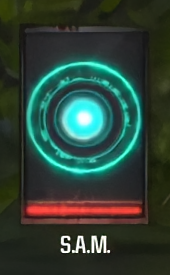
This will now activate S.A.M.
Step 3 - Collect the Hacking Device
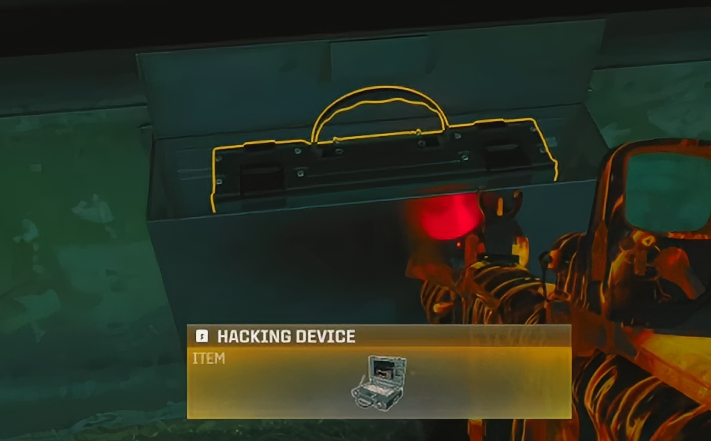
Head back to the Guard Station, and interact with glass. After some dialogue, The Hacking Device will be given to you, Pick it up.
Step 4 - Hack the Beacons
Head back to Docks, and spawn a boat.
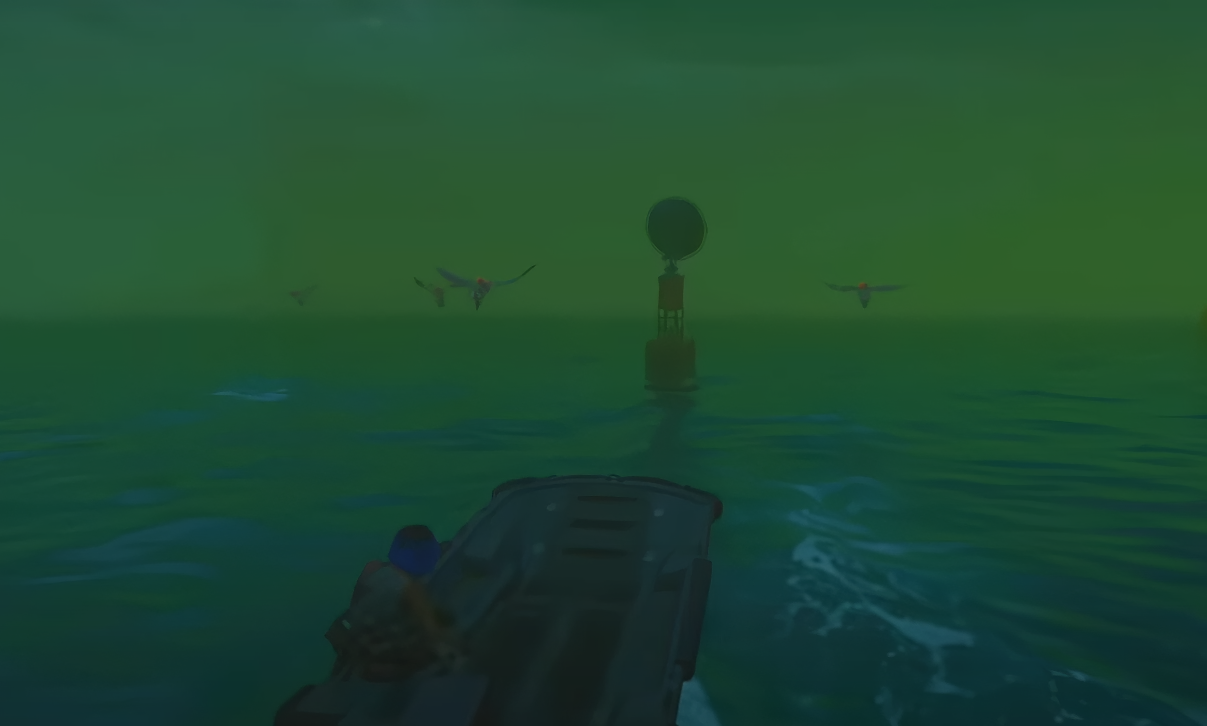
There are 3 Beacons around the island that need to be hacked.
Circle the island in the boat at the first one and jump into the water.
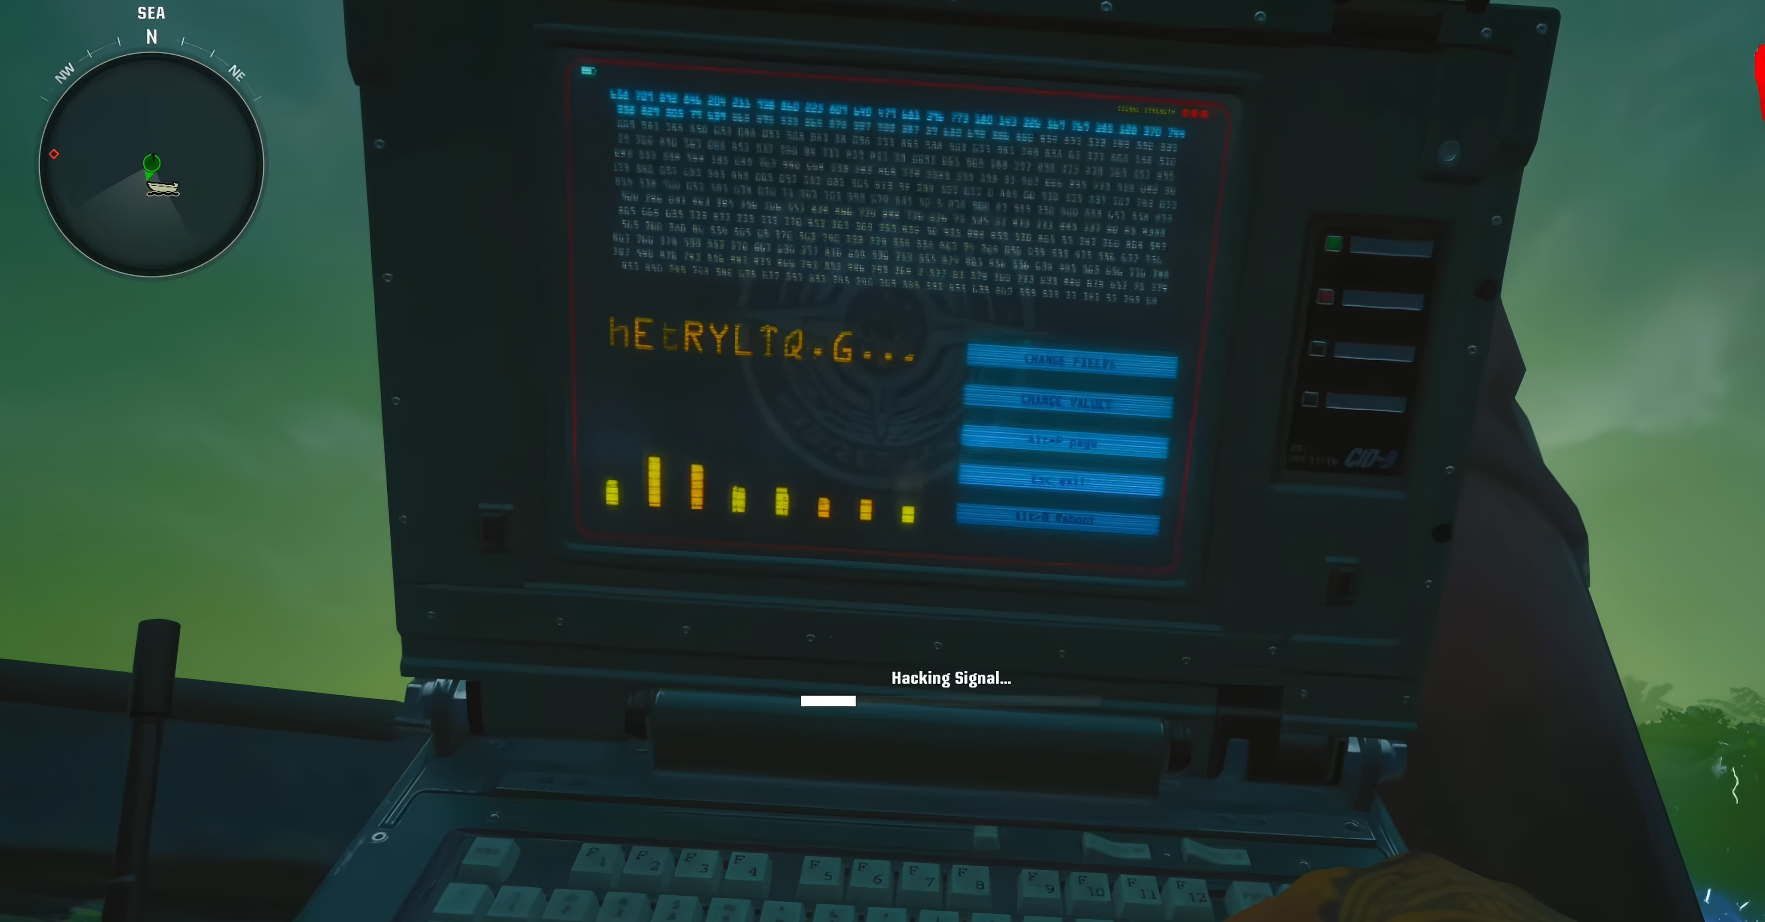
Interact with the beacon to pull out the hacking device and start hacking the beacon.
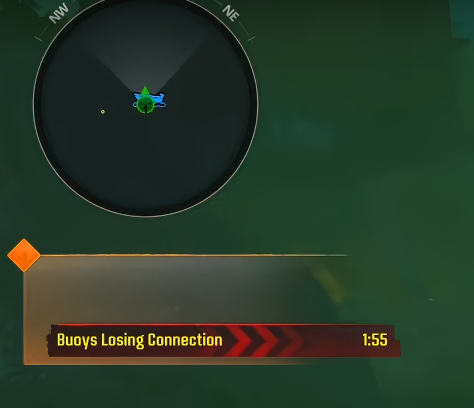
This will initiate a time under the mini map.
The other 2 beacons need to be hacked before the time runs out.
This will trigger some dialogue, as it is happeni